PostgreSQL is a popular, open-source database that organizations use to store and manage their data. Typically, users can access a PostgreSQL database using the command line to run scripts. This can be a time-consuming and complex process, especially for non-technical users needing to access databases themselves.
Postgres GUI tools are designed to help make the process of storing, retrieving, and managing PostgreSQL databases easier and more efficient. These tools help both technical and non-technical users visualize and manage their data, saving engineering teams time and resources when managing their databases.
Airplane is a developer platform that allows users to transform scripts, queries, APIs, and more into powerful tasks and UIs within minutes using code. The basic building blocks of Airplane are tasks, which are single-step or multi-step functions that anyone on your team can use. Specifically, Airplane Views makes it easy for engineers to quickly build Postgres GUIs for their teams to manage data effectively. The platform's pre-built component library and template library make it easy for users to build UIs quickly. Views also offers the ability to customize components, streamlining the process of creating complex and custom internal dashboards.
In this article, we'll walk through the benefits of using Airplane to create a Postgres GUI, and how to create, modify and deploy an Airplane View for a PostgreSQL table.
Benefits of using Airplane Views to build a Postgres GUI
- Extensive pre-built component and template library - Airplane has an extensive library of pre-built components and templates that users can leverage to build robust dashboards quickly. These include items such as buttons and forms, and templates such as an admin panel and a support dashboard.
- Code-first approach - Airplane's code-based approach makes it flexible to use. Users can customize complex UIs that fit their organization's needs and integrate the code into their codebase, making it easy to version control, manage and modify their code.
- Granular permissions setting - Airplane offers built-in granular permissions setting. Users can quickly grant access to team members securely. This opens up access for non-technical users who can then directly make edits and changes to the Airplane View, removing engineering bottlenecks.
Let's now walk through how to build a PostgreSQL View using Airplane.
Prerequisites
Before we get started, ensure you have the following:
- An Airplane account
- Node.js and npm
- nvm
- A PostgreSQL database
- The Airplane CLI
Signing up for Airplane
Navigate to the Airplane sign-up page. Then enter your email address or link a Google account for convenience:
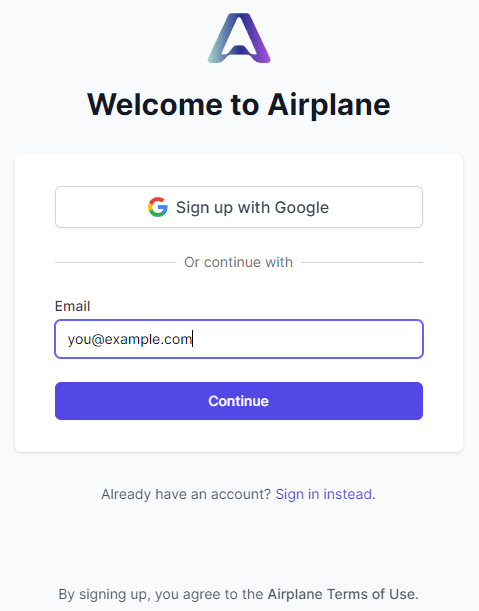
After registering with an email address, fill out the Create a new team form:
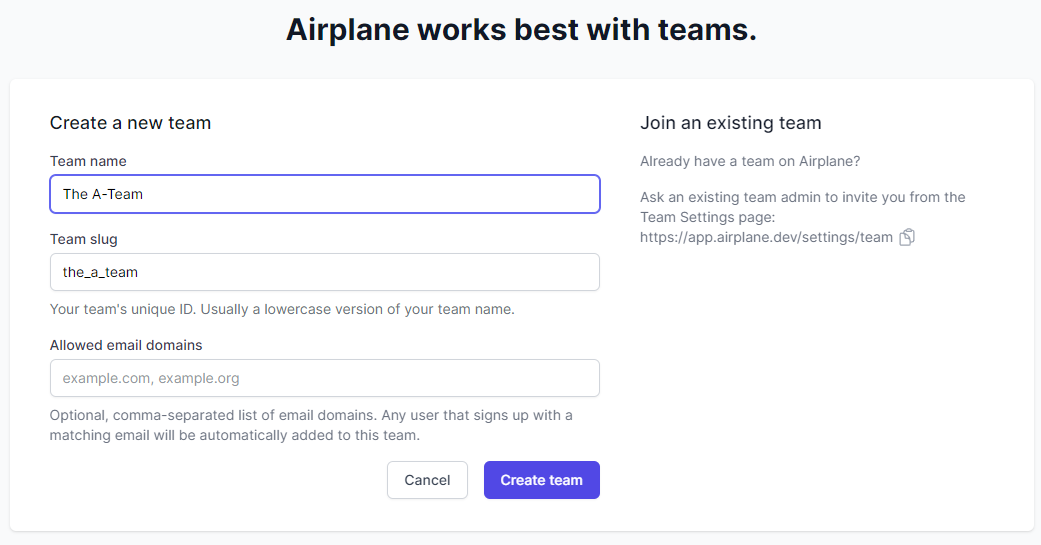
Once the above is complete, the Airplane account will be ready to use.
Installing Node.js and npm
For this tutorial, we'll need the Node.js runtime environment and npm, the Node package manager, installed on the local system.
On many newer Linux distributions, Node.js and npm are already installed, but they may be dated. Airplane requires Node.js version 18 to work properly, and it's recommended to use Node Version Manager (nvm) to install the required version.
Navigate to the nvm website and follow the installation instructions to install the latest version.
Once nvm has been installed, download and activate version 18 of Node.js with the following command:
Finally, test that the installation worked by running the following commands:
If there aren't any version numbers or if there is an error message, you'll need to troubleshoot the Node.js installation.
Setting up a hosted PostgreSQL instance
Next, let's set up a hosted PostgreSQL instance. We can either install a local instance of PostgreSQL or use a hosted instance.
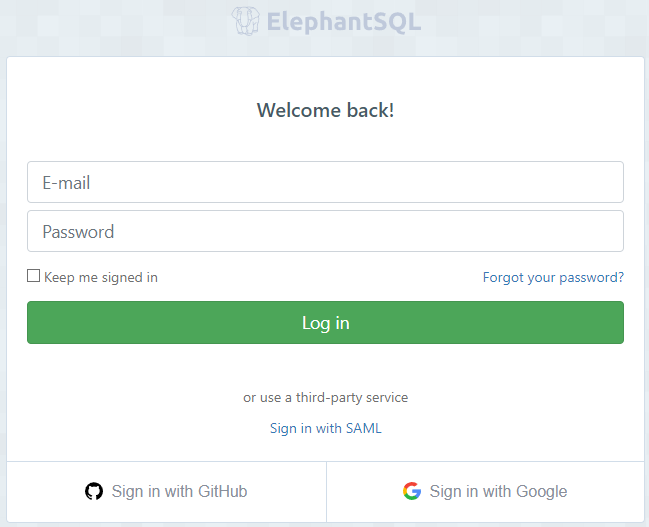
This tutorial will use a hosted instance on ElephantSQL. The free tier will work perfectly. Navigate to ElephantSQL's sign-up page and create an account:
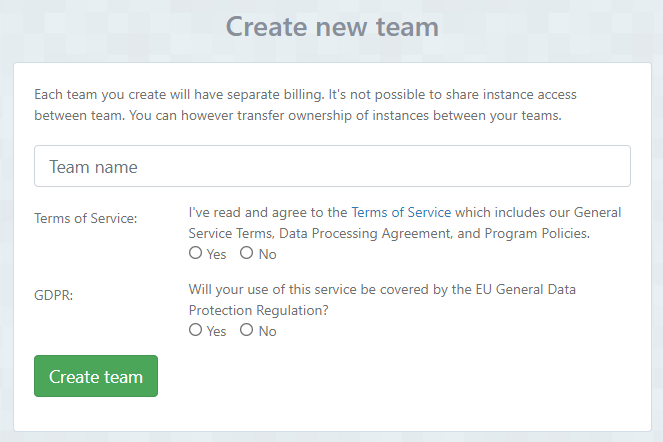
Then, create a team name:
Once logged in, create a new PostgreSQL instance and name the instance. Then, click Select Region when complete:
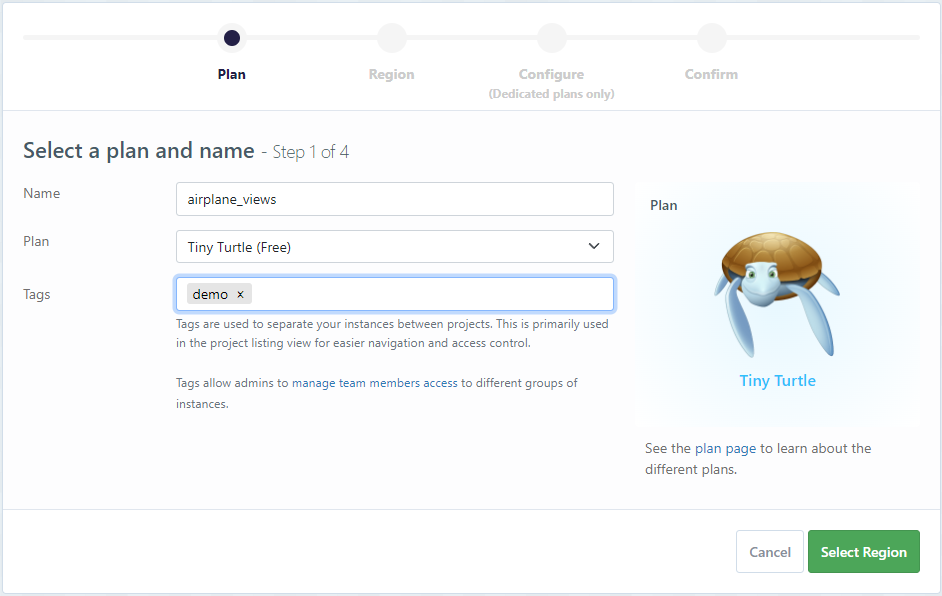
A few warnings may pop up regarding missing credit card information, but no information is necessary for the free tier.
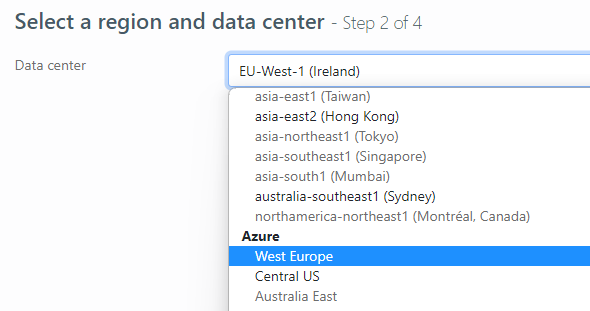
Now select the region and cloud provider closest to your location:
Finally, confirm all the information is correct and click Create instance:

Let's now connect this new instance to Airplane as a Resource that can be used with Airplane Tasks and Views.
First, click the newly created instance on the ElephantSQL dashboard for more details. In the detailed view, note the server address, database name, username, and password:
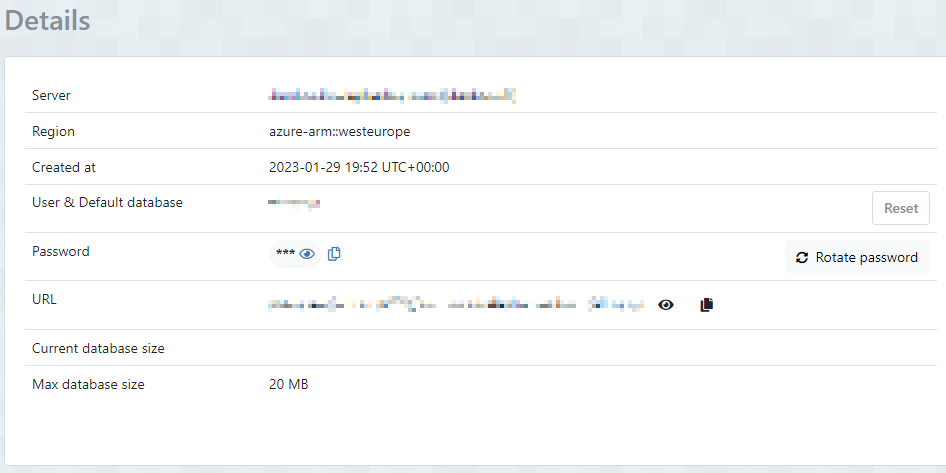
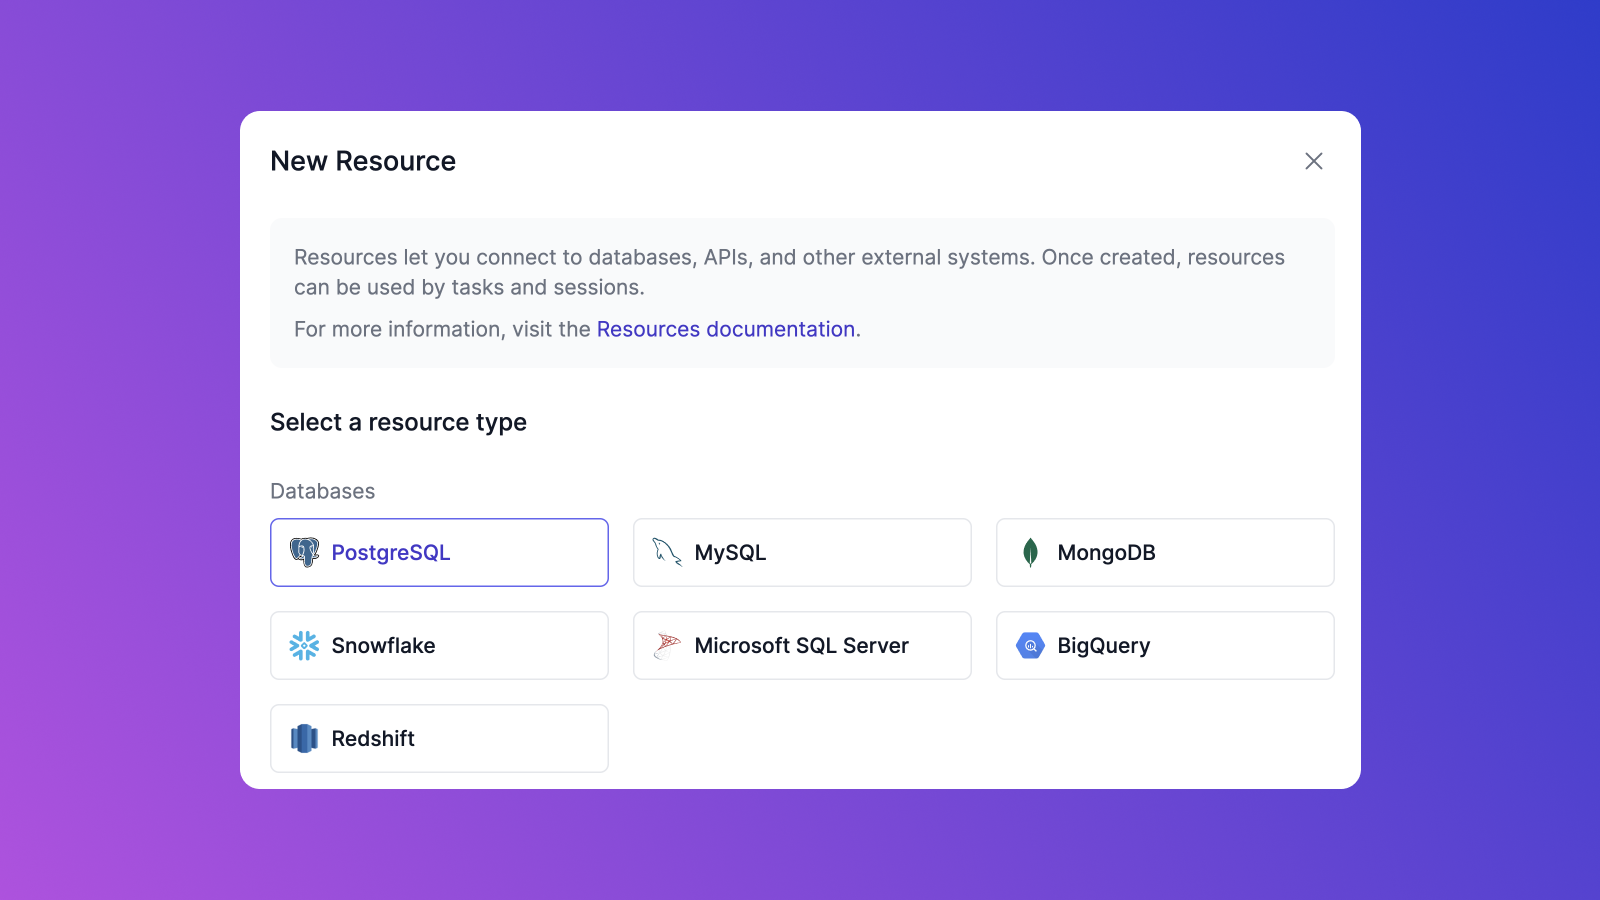
Then, navigate to the Airplane Resources page by clicking Settings and then Resources. Click New Resource, select PostgreSQL, and fill in the database details from the previous step:
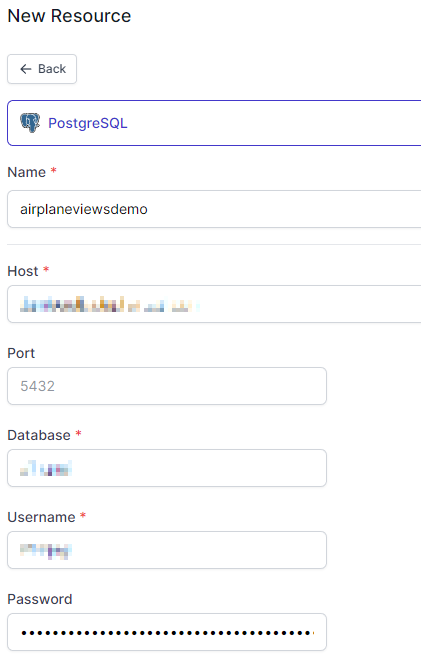
Then, test the connection by clicking the Test connection button. If it succeeds, click Create to create the new PostgreSQL resource in Airplane:

Once the resource has been created, we can start using it in the Airplane Task and Views:

Installing the Airplane CLI
This tutorial also uses the Airplane CLI to create Airplane Tasks and Views. Run the following to install the Airplane CLI:
Once the installation has been completed, we'll see the following message:
Follow the instructions by adding the two export lines to the end of the .bash_profile or similar profile configuration file, depending on the operating system and choice of shell:
Save the file, then run the source command to reload the variables in the existing session:
The changes to the $PATH variable should now be active, and they should also persist between logins.
When running the Airplane CLI, we should see the version number:
Finally, connect the local Airplane CLI to the Airplane interface by logging in from the CLI.
Paste the token, which will be retrieved in a moment, into the command line after running airplane login:
Note that the link to the token is only available after running airplane login. Open the link in a browser to fetch the login token for CLI access:
We are now ready to start building the PostgreSQL View.
Creating a demo table
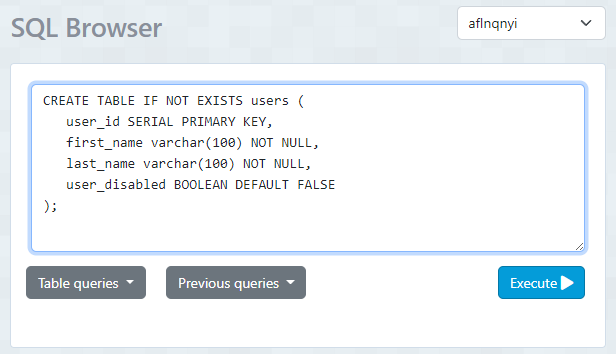
While logged in to ElephantSQL, access the query browser. Run the following query to create a table:
Once we click Execute, the query will run and the table will be created:
Then, run the following query to add demo users:
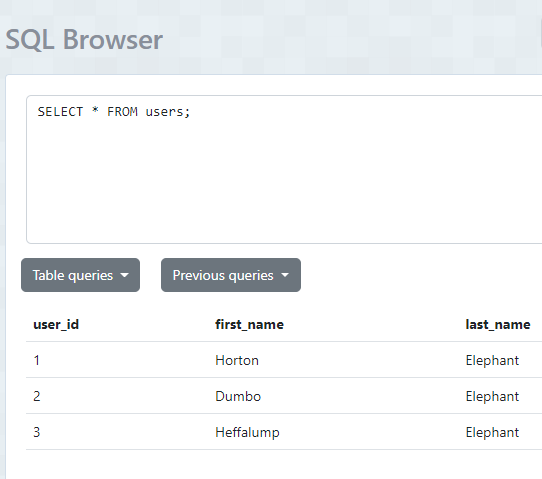
Finally, execute a simple SELECT script to see the users in the table:
We should see the following after running the above script:
Let's now create an Airplane Task for this table.
Creating an Airplane Task
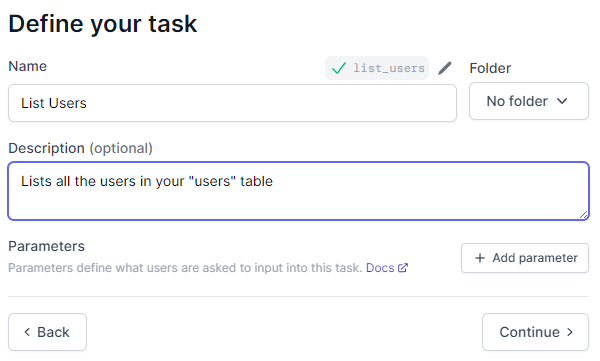
For now, we'll create a simple "List Users" task that will list the users in the users table.
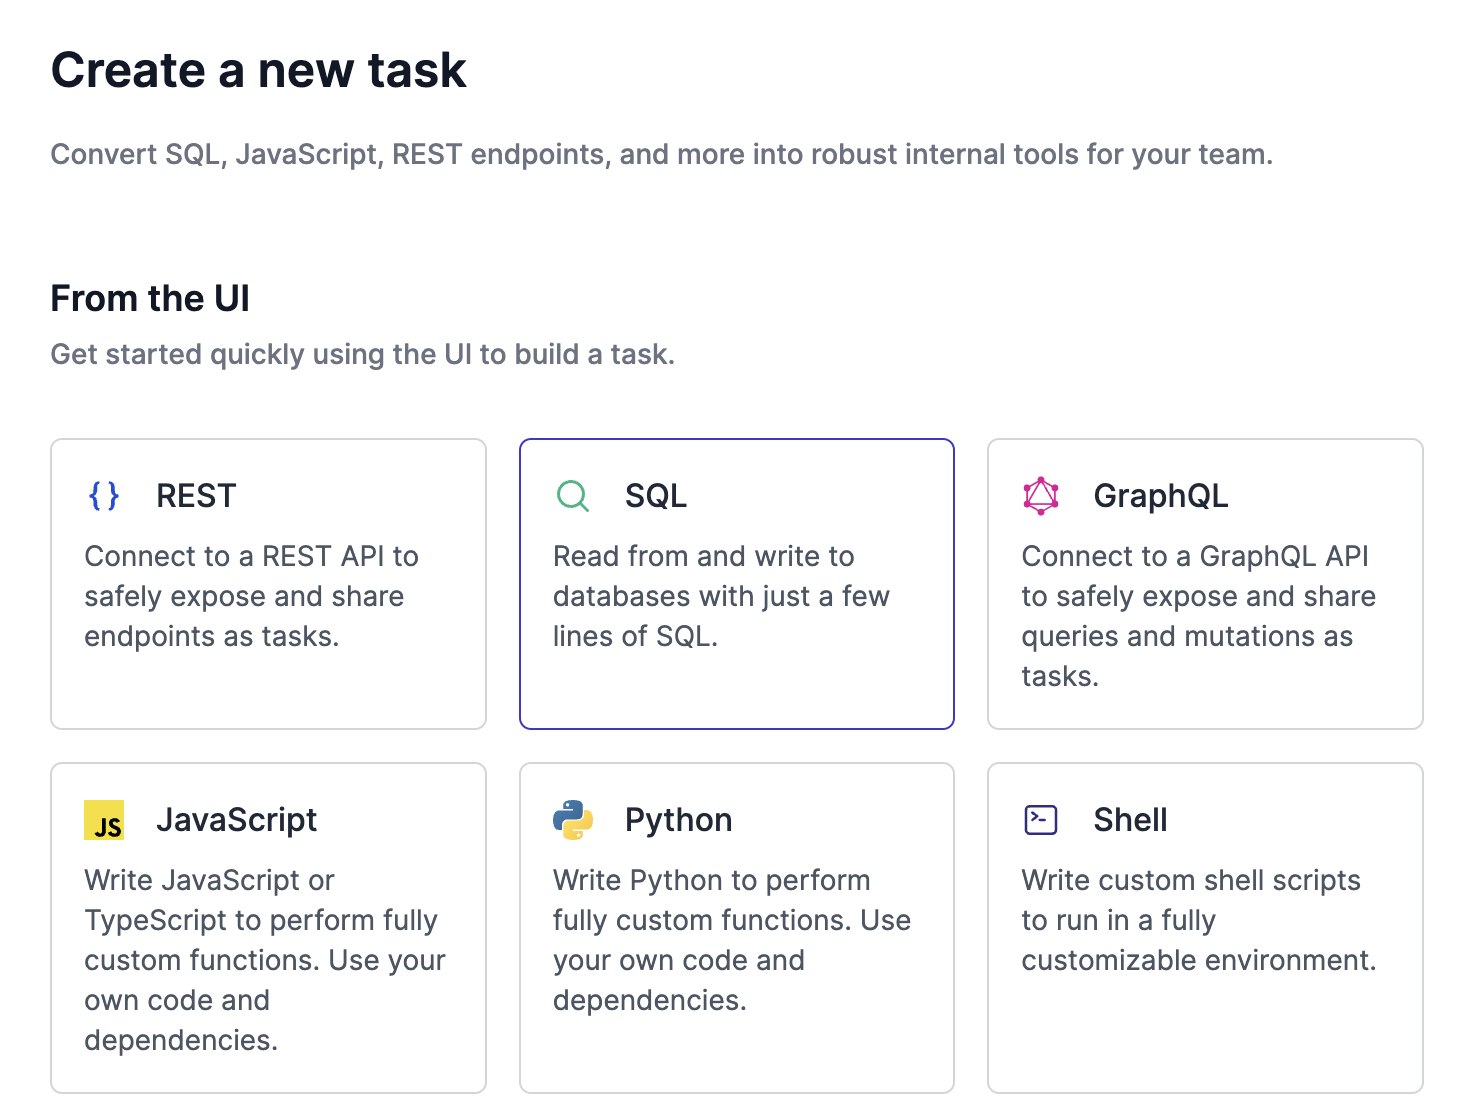
Navigate to Airplane's Library page. Click the New button on the far right-hand side of the dashboard. A list of options will be presented, and click Task and then SQL to create the task:
Name the task "List Users" and click Continue:
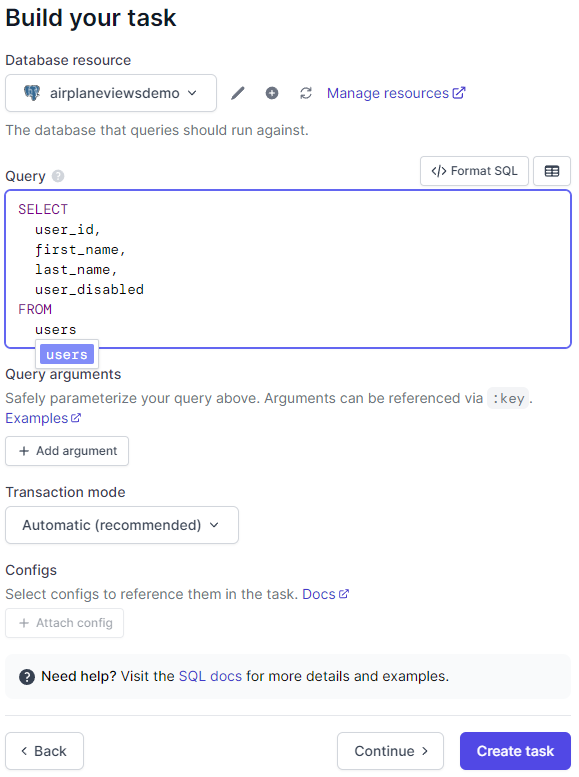
We won't need to add any parameters since we'll select all users. The SELECT query should look like this:
Don't forget to select the correct database resource (airplaneviewsdemo) that we set up earlier:
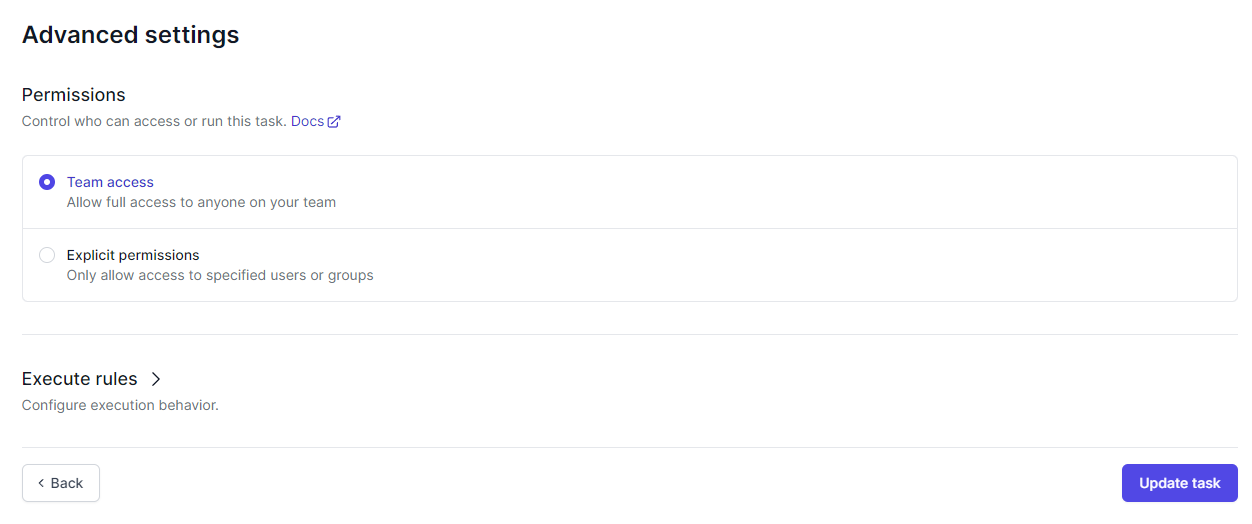
Once the query is set, click Continue. We can then set permissions for the task:
Once the permissions are confirmed, we'll automatically be taken to the page where we can run the "List Users" task:
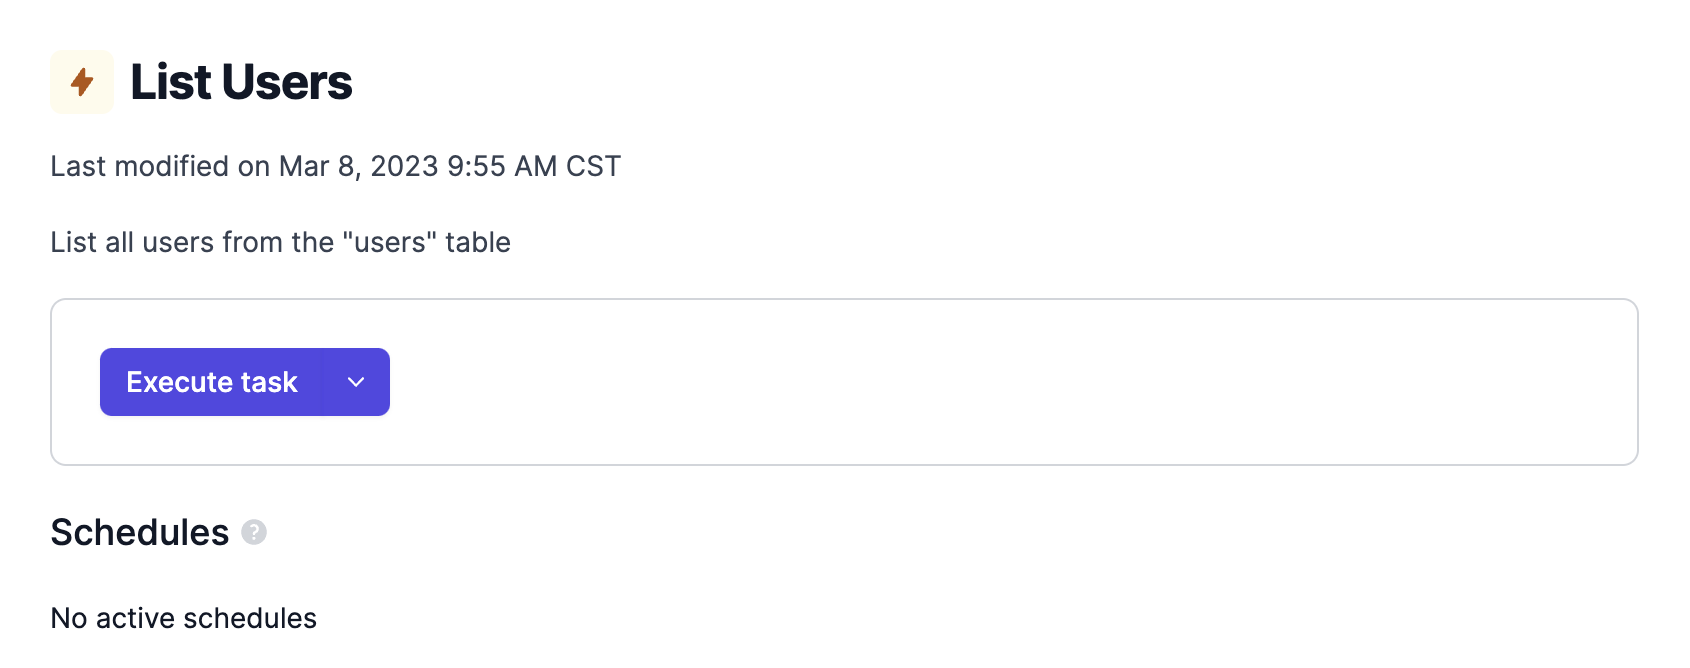
Let's now test the task by clicking Execute task. The table contents should be visible:

Creating an Airplane View
Next, let's create and develop the task locally on the development machine.
Start by running the init option from the Airplane CLI:
This command will ask us to name the View (users_view in this example). It will then proceed to set up the skeleton for it:
Edit the newly created users_view_airplane.tsx file and proceed to modify the file to reflect the users table in the database. Clear the contents of the file and replace them with the following:
Once this file has been saved, enter "development" mode by entering the following on the command line:
We need to add --env=prod as a parameter so that the local development environment can also use resources not locally available, like the database resource airplaneviewsdemo.
The command will return the following:
If we press Enter, a browser window will open in the local development mode. Otherwise, copy and paste that link into a new browser window.
The development mode will open up with the new View as the default:

While in development mode, we can leave the window where the airplane dev command was executed open and edit the necessary files in another window. Any time changes are saved to the files, the dev client will register that a change has been made, and it should "hot reload" the development window with the changes.
Let's now clean up the fields by modifying the <Table> section of the users_view_airplane.tsx file to look like this:
This will clean up the column names, hide the user_id field, and make the "Disabled" field editable. Once the changes have been loaded, click the checkbox in the "Disabled" field.
However, clicking won't do much at this point because we need to update the task for any changes made in the View to be written back to the table.
In the users_view directory, create a tasks directory and navigate to it:
We'll now edit and save two files in the tasks directory.
Save update_user.sql with the following code:
Save update_user.task.yaml with the following code:
The moment the YAML file is saved, the development client should register the change, and the task should become available in the local branch. If it doesn't, try refreshing the page:
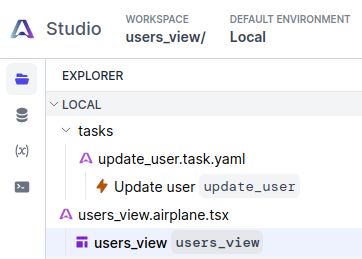
Next, let's instruct the View to use this task when it updates a user. We can enable this functionality using row actions, which use a named task for taking action on an updated row.
This is done by adding a button to the View that will affect the row action specified. Edit users_view_airplane.tsx again and modify the <Table> section to add a row action:
When the "Update" button is clicked, the row action will call the update_user task.
Once this file is saved, the View should look like this:

We can now edit the "Disabled" field. Try disabling a user, and then click Update. We should get a notification if the task ran successfully. The user selected and updated should now be disabled:

Deploying your Airplane View
For the final step, let's deploy the View to Airplane so that other team members can also use it.
Navigate to the window where the airplane dev command was running and cancel it by pressing Ctrl+C. Then, run the following:
This command will package up the locally developed app and deploy it to Airplane. If it was successful, the final part of the deployment should look like this:
We should also be able to see the new View and task in the Airplane Library. Clicking the new View gives users the ability to enable and disable any user in the database. Now, other team members can review, update, and edit the Airplane View directly, streamlining database management processes and removing technical bottlenecks.
And that's how you build a Postgres GUI using Airplane.
Conclusion
Postgres GUI tools make it easy for technical and non-technical team members to store, manage and view their data in one place. Airplane Views is a powerful and easy-to-use platform that streamlines the process of building Postgres GUIs. Engineers can create and customize a Postgres GUI in Airplane within minutes using code. They can also set granular permissions, opening up database management access to non-technical team members and empowering them to make changes on their own. To learn more about building internal UIs, check out our blog for content such as the top PostgreSQL GUIs tools, the best Microsoft SQL GUI tools, React JS tutorial, and more.
To try out Airplane and build your first Postgres GUI in minutes, sign up for a free account or book a demo 👋
Author: Thinus Swart
Thinus Swart is a technical writer based out of South Africa. He loves data, Splunk, and anything related to big data excites him.


