

Many companies depend on various software tools to manage their internal operations. As these companies scale, they tend to build custom internal tools to reduce manual processes and manage their databases in a secure manner. Building these internal tools in-house can become cumbersome, difficult to manage, and error-prone, making it challenging for engineers to run critical operations efficiently.
Airplane is the developer platform for building custom internal tools. Airplane users are able to write scripts in SQL, Python, and JavaScript that retrieve and manipulate data from databases or APIs. Scripts written in these languages are called tasks, and Airplane makes it easy for users to execute tasks and complex workflows through simple buttons rather than relying on manual script execution via the command line. In addition to tasks, Airplane offers Views, which allow users to quickly build custom UIs. Airplane also makes it easy for users to manage databases from one centralized view.
In this article, we'll walk through how to set up a dashboard for managing a MariaDB database using Airplane Tasks and Views.
Benefits of using Airplane
There are several benefits to using Airplane for managing a MariaDB database:
- Centralized overview - Airplane offers a high-level, centralized overview of an organization's internal tools. If a user requires an overview of all databases, they can build internal dashboards for each database, and monitor them together in Airplane. By doing so, users do not need to manage multiple GUI applications to understand the health of their various databases.
- Strong customization capabilities - Airplane allows users to customize their Airplane Views easily by using pre-built components or customizing components using code. Using Airplane, engineers have greater control over their Views features. This high level of customization allows users to tailor their Views to fit their organization's needs, making it easy to build complex UIs.
- Easy integration with other tools - Airplane makes it easy to integrate a View with other tools within a user's organization. With its robust API, Airplane can connect to other systems, allowing users to streamline their workflows and increase efficiency. This easy integration also allows users to monitor and manage all of their internal tools and systems from a single, unified interface in Airplane.
Let's now learn how to implement a MariaDB GUI using Airplane Views. We will load data into our desired tables, create Airplane Tasks that manipulate this data, and build an Airplane View that brings all of these tasks together.
Prerequisites
To complete the tutorial, ensure you have the following:
- An Airplane account
- The Airplane CLI, which automates the process of creating new scripts and Views
- Node.js version 18 and npm version 6. Download Node.js using Node Version Manager (nvm). npm should be automatically installed with Node.js
- A MariaDB database
You can use either a local MariaDB database or one hosted by a cloud provider. If you're deploying to a cloud provider, follow the instructions for Azure, AWS, or Google Cloud. If you're using a local database, simply set the local server details.
Using either method, start by creating a database called test_db.
Creating the database tables
We'll create three tables in the database to serve as demo data in our GUI. This data is a subset of the jaffle_shop data set created by dbt Labs. The first table, customers, contains customers' first and last names. The second is an orders table containing customer ID, order status, and date columns. The last table is a payments table with order ID, payment method, and amount columns.
Copy and paste the snippet below into the MySQL CLI and run it to create the three tables:
After creating these tables, we'll need to seed them with data. Use the command below to insert data into the tables:
Now that we have created our database tables, let's start using Airplane.
Creating an Airplane View
Let's now create an Airplane View. Ensure that an Airplane account has been created and that the CLI has been installed. The CLI will communicate with the Airplane backend, so we must authenticate it. Run the command below to start the authentication process:
The command above generates a link to obtain a token that we'll use for authentication. Open the link in the browser where we are logged in to Airplane to obtain the token. Paste the token in the provided field in the Airplane CLI to complete the authentication.
We can now proceed to create a directory where the Airplane View will live. Use the command below to create and navigate to the directory:
Next, use the following command to initialize a new View:
The Airplane CLI will prompt us to enter the name of the View. Enter a name like mariadb-gui. After entering the name, the Airplane CLI will create a simple React.js app with airplane and airplane/views dependencies.
Let's run the following command to see the output of the initialized view:
The command above starts a development server and makes the View available in a web environment called the Airplane Studio. We can access this environment by navigating to https://app.airplane.dev/studio?__airplane_host=http://localhost:4000&__env=prod. The output of the airplane dev command is shown below:
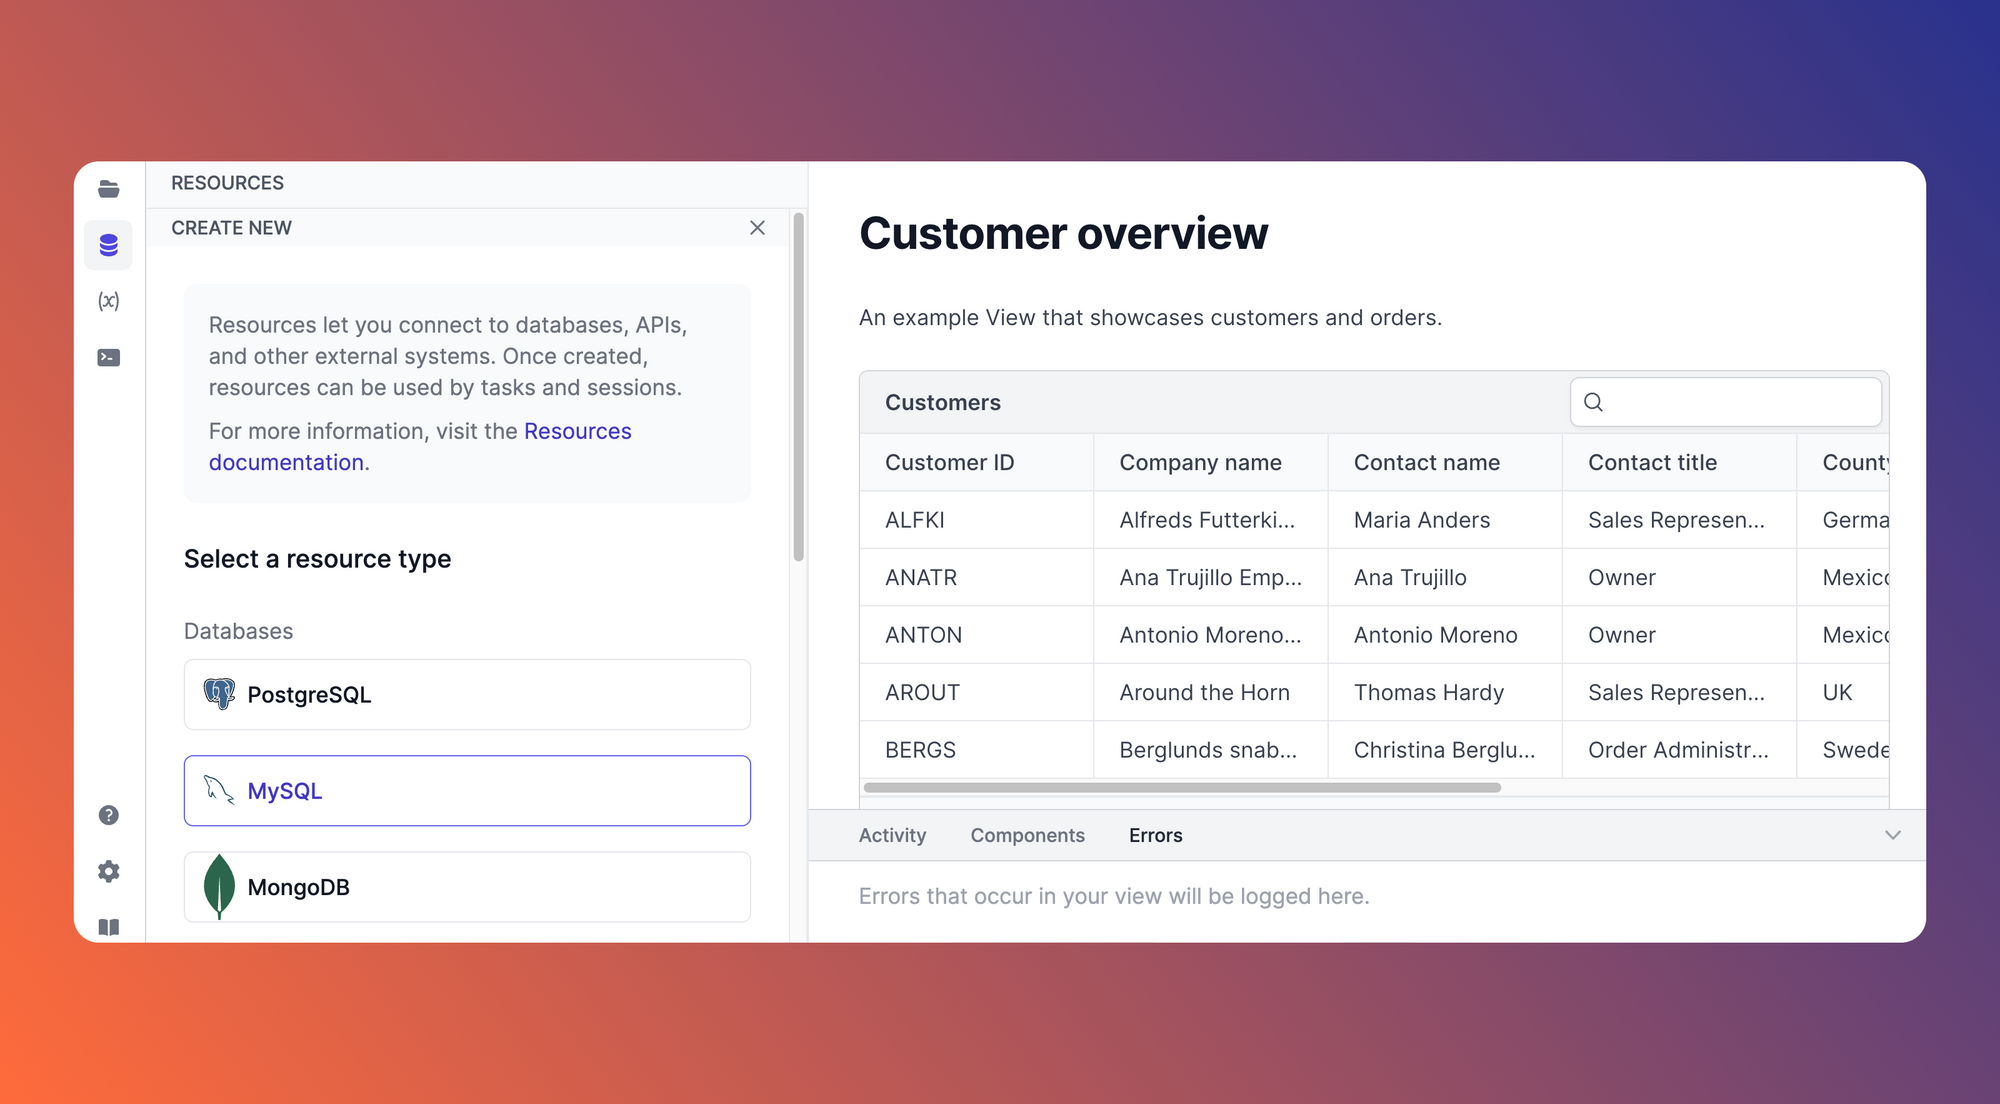
If we open Airplane Studio in the browser, we should see the following output:
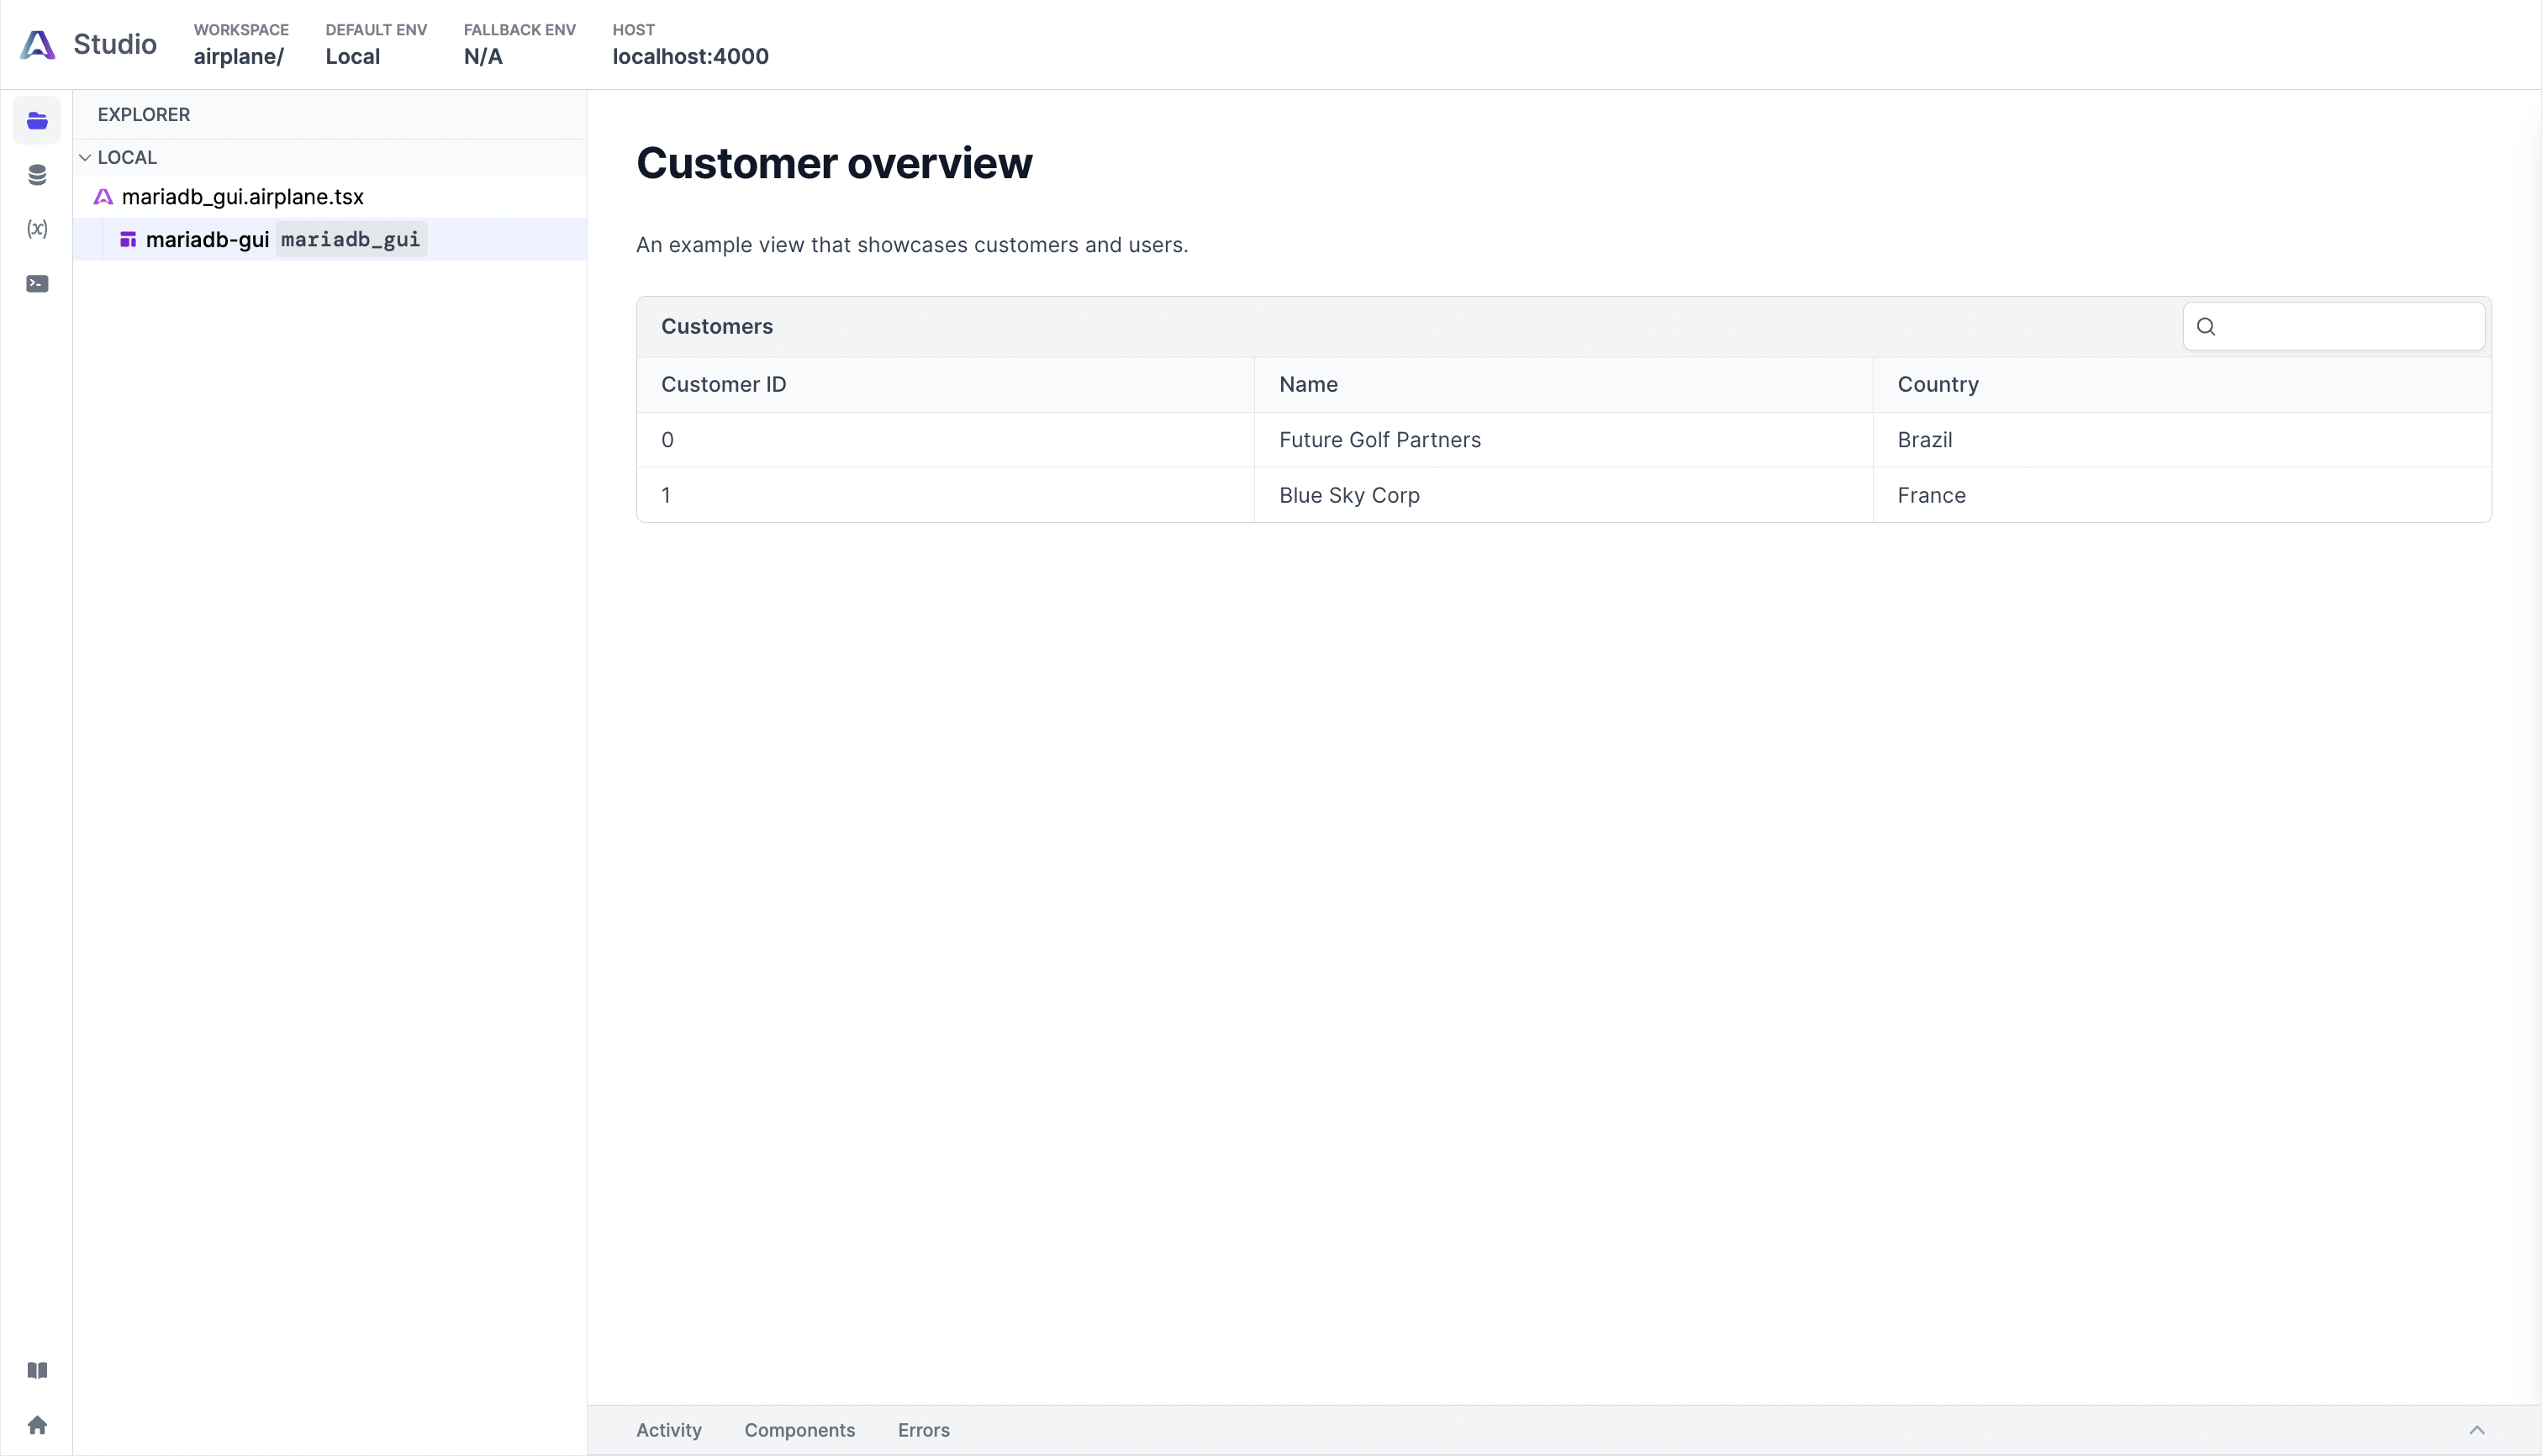
The customer overview table above is generated from the default contents of the mariadb_gui.view.tsx file. We'll need to modify this file to include tables, buttons, and forms for performing CRUD operations on the tables in the MariaDB database.
Let's now connect our database to Airplane.
Connecting the database to Airplane
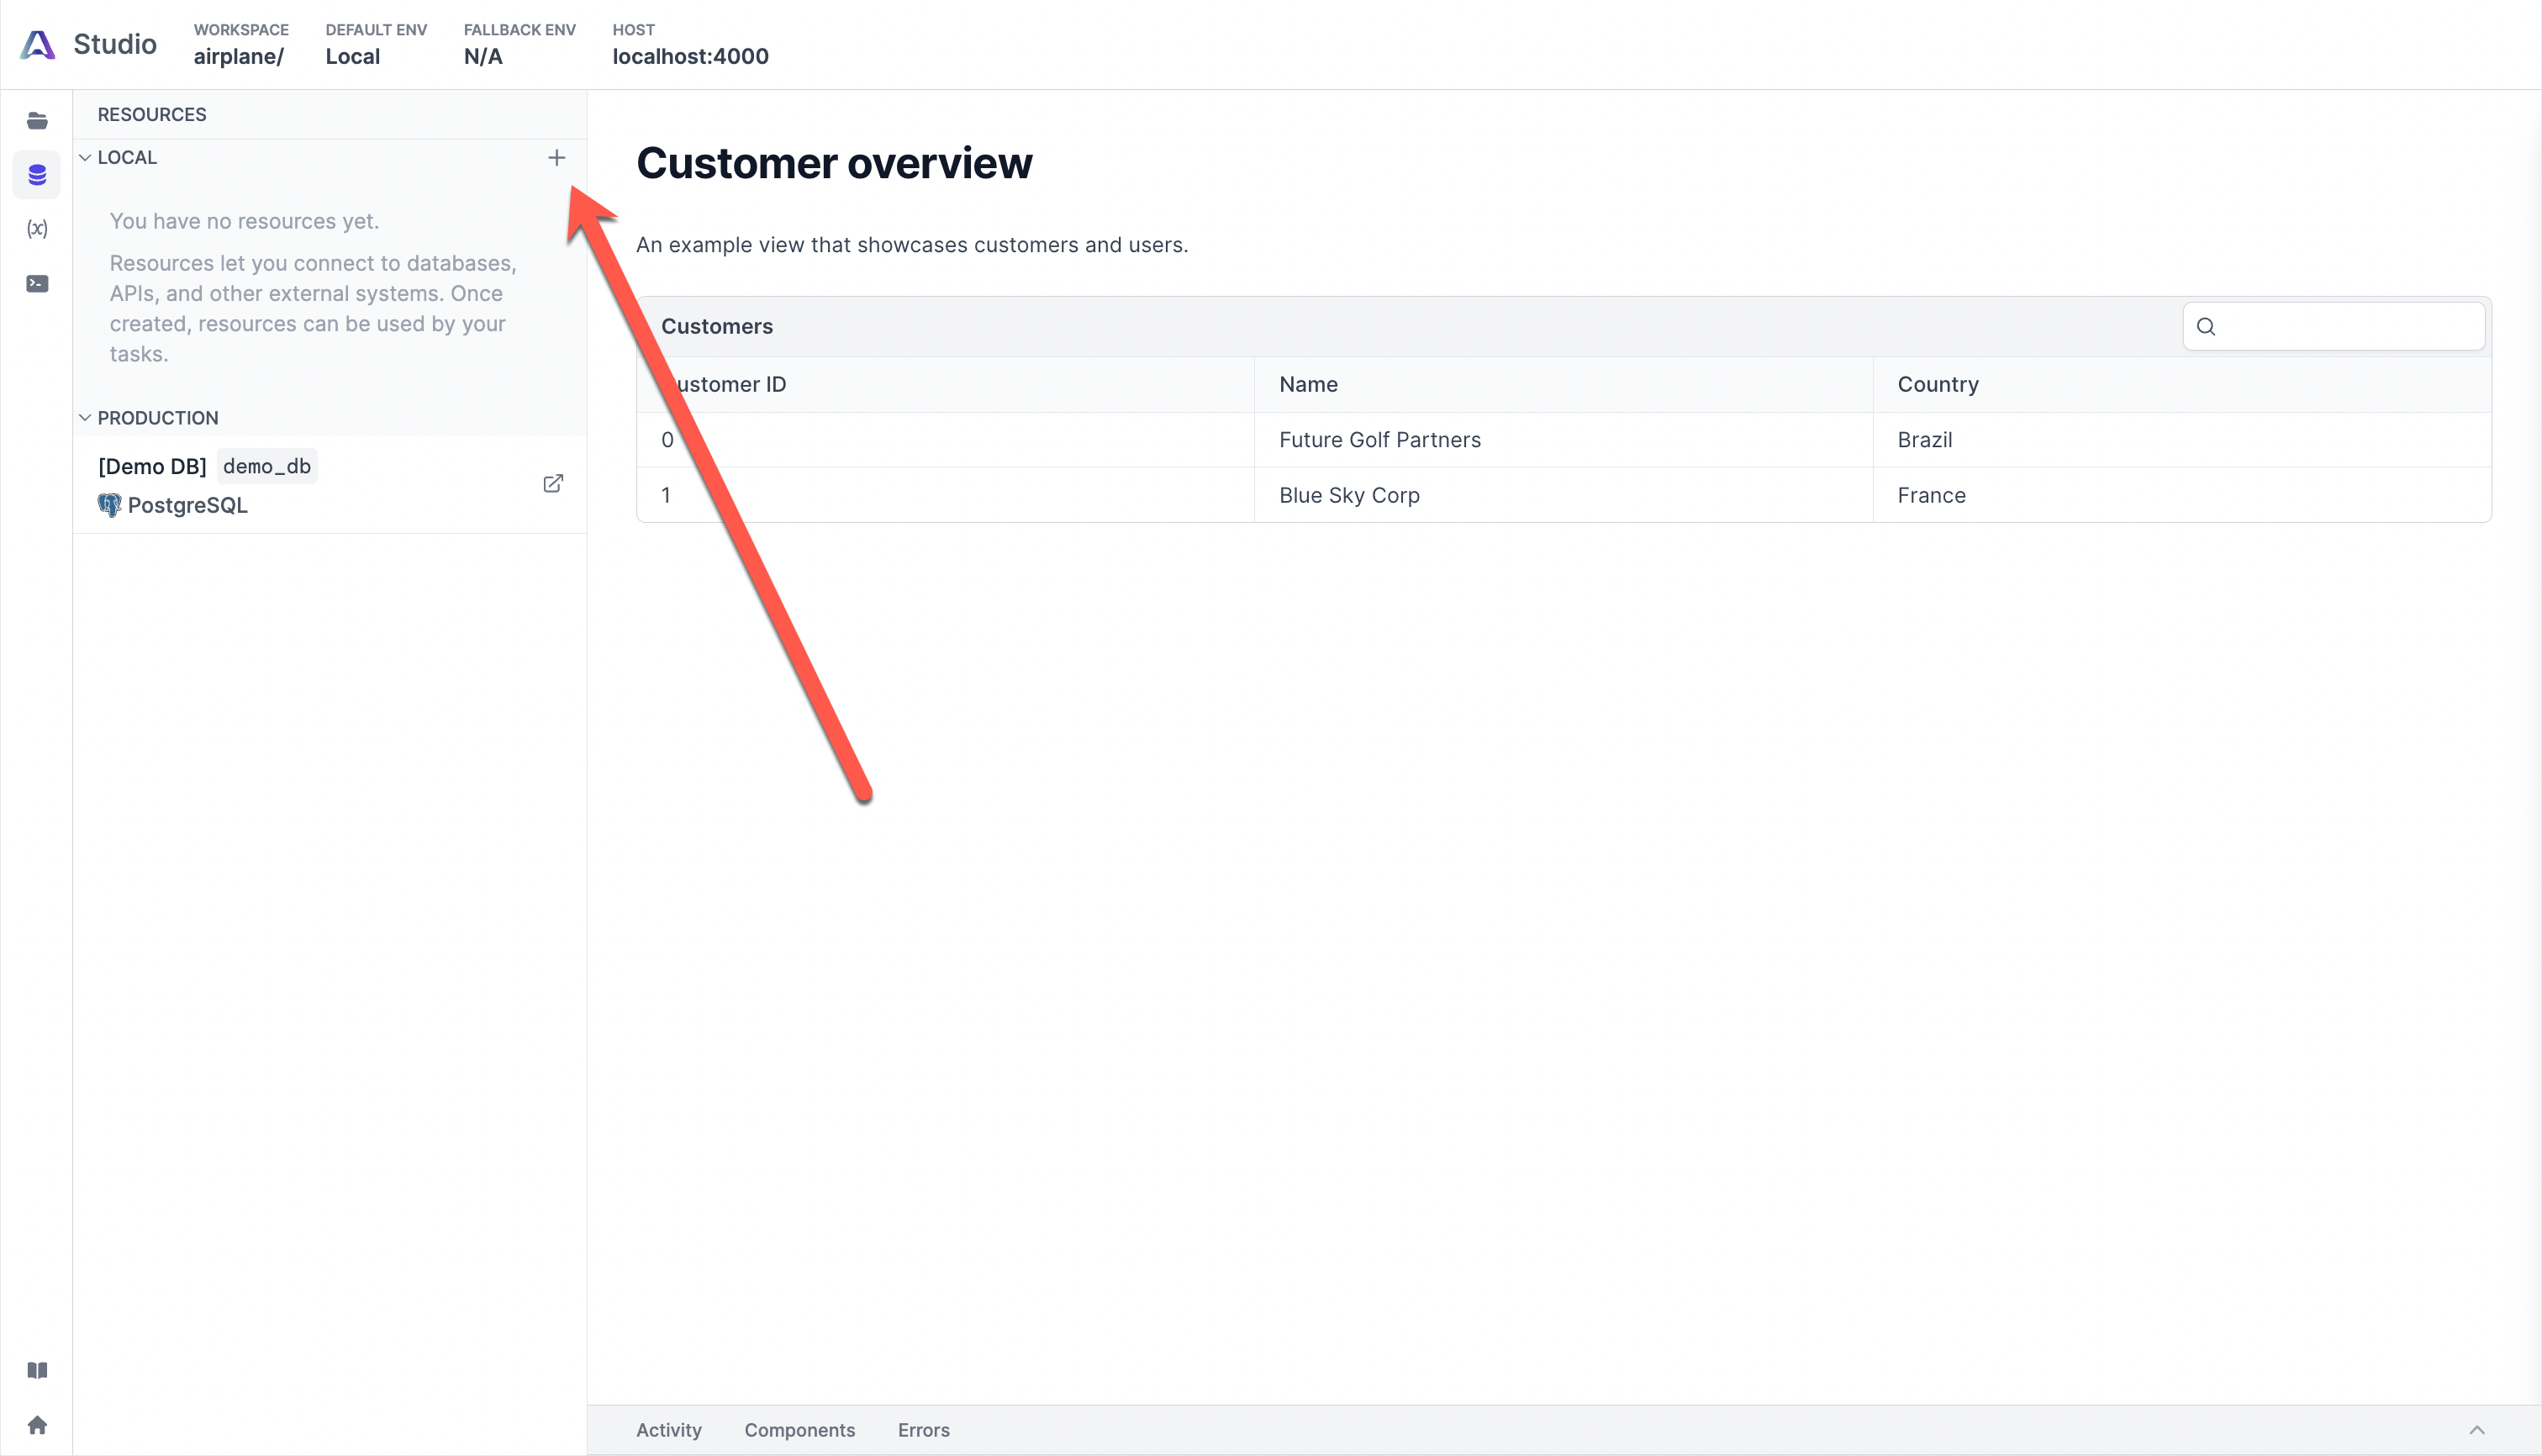
To make the database available to Airplane, let's navigate to the Resources page in Airplane Studio, represented by the database icon in the left navigation menu. After the page loads, click the plus button to add a new local resource:
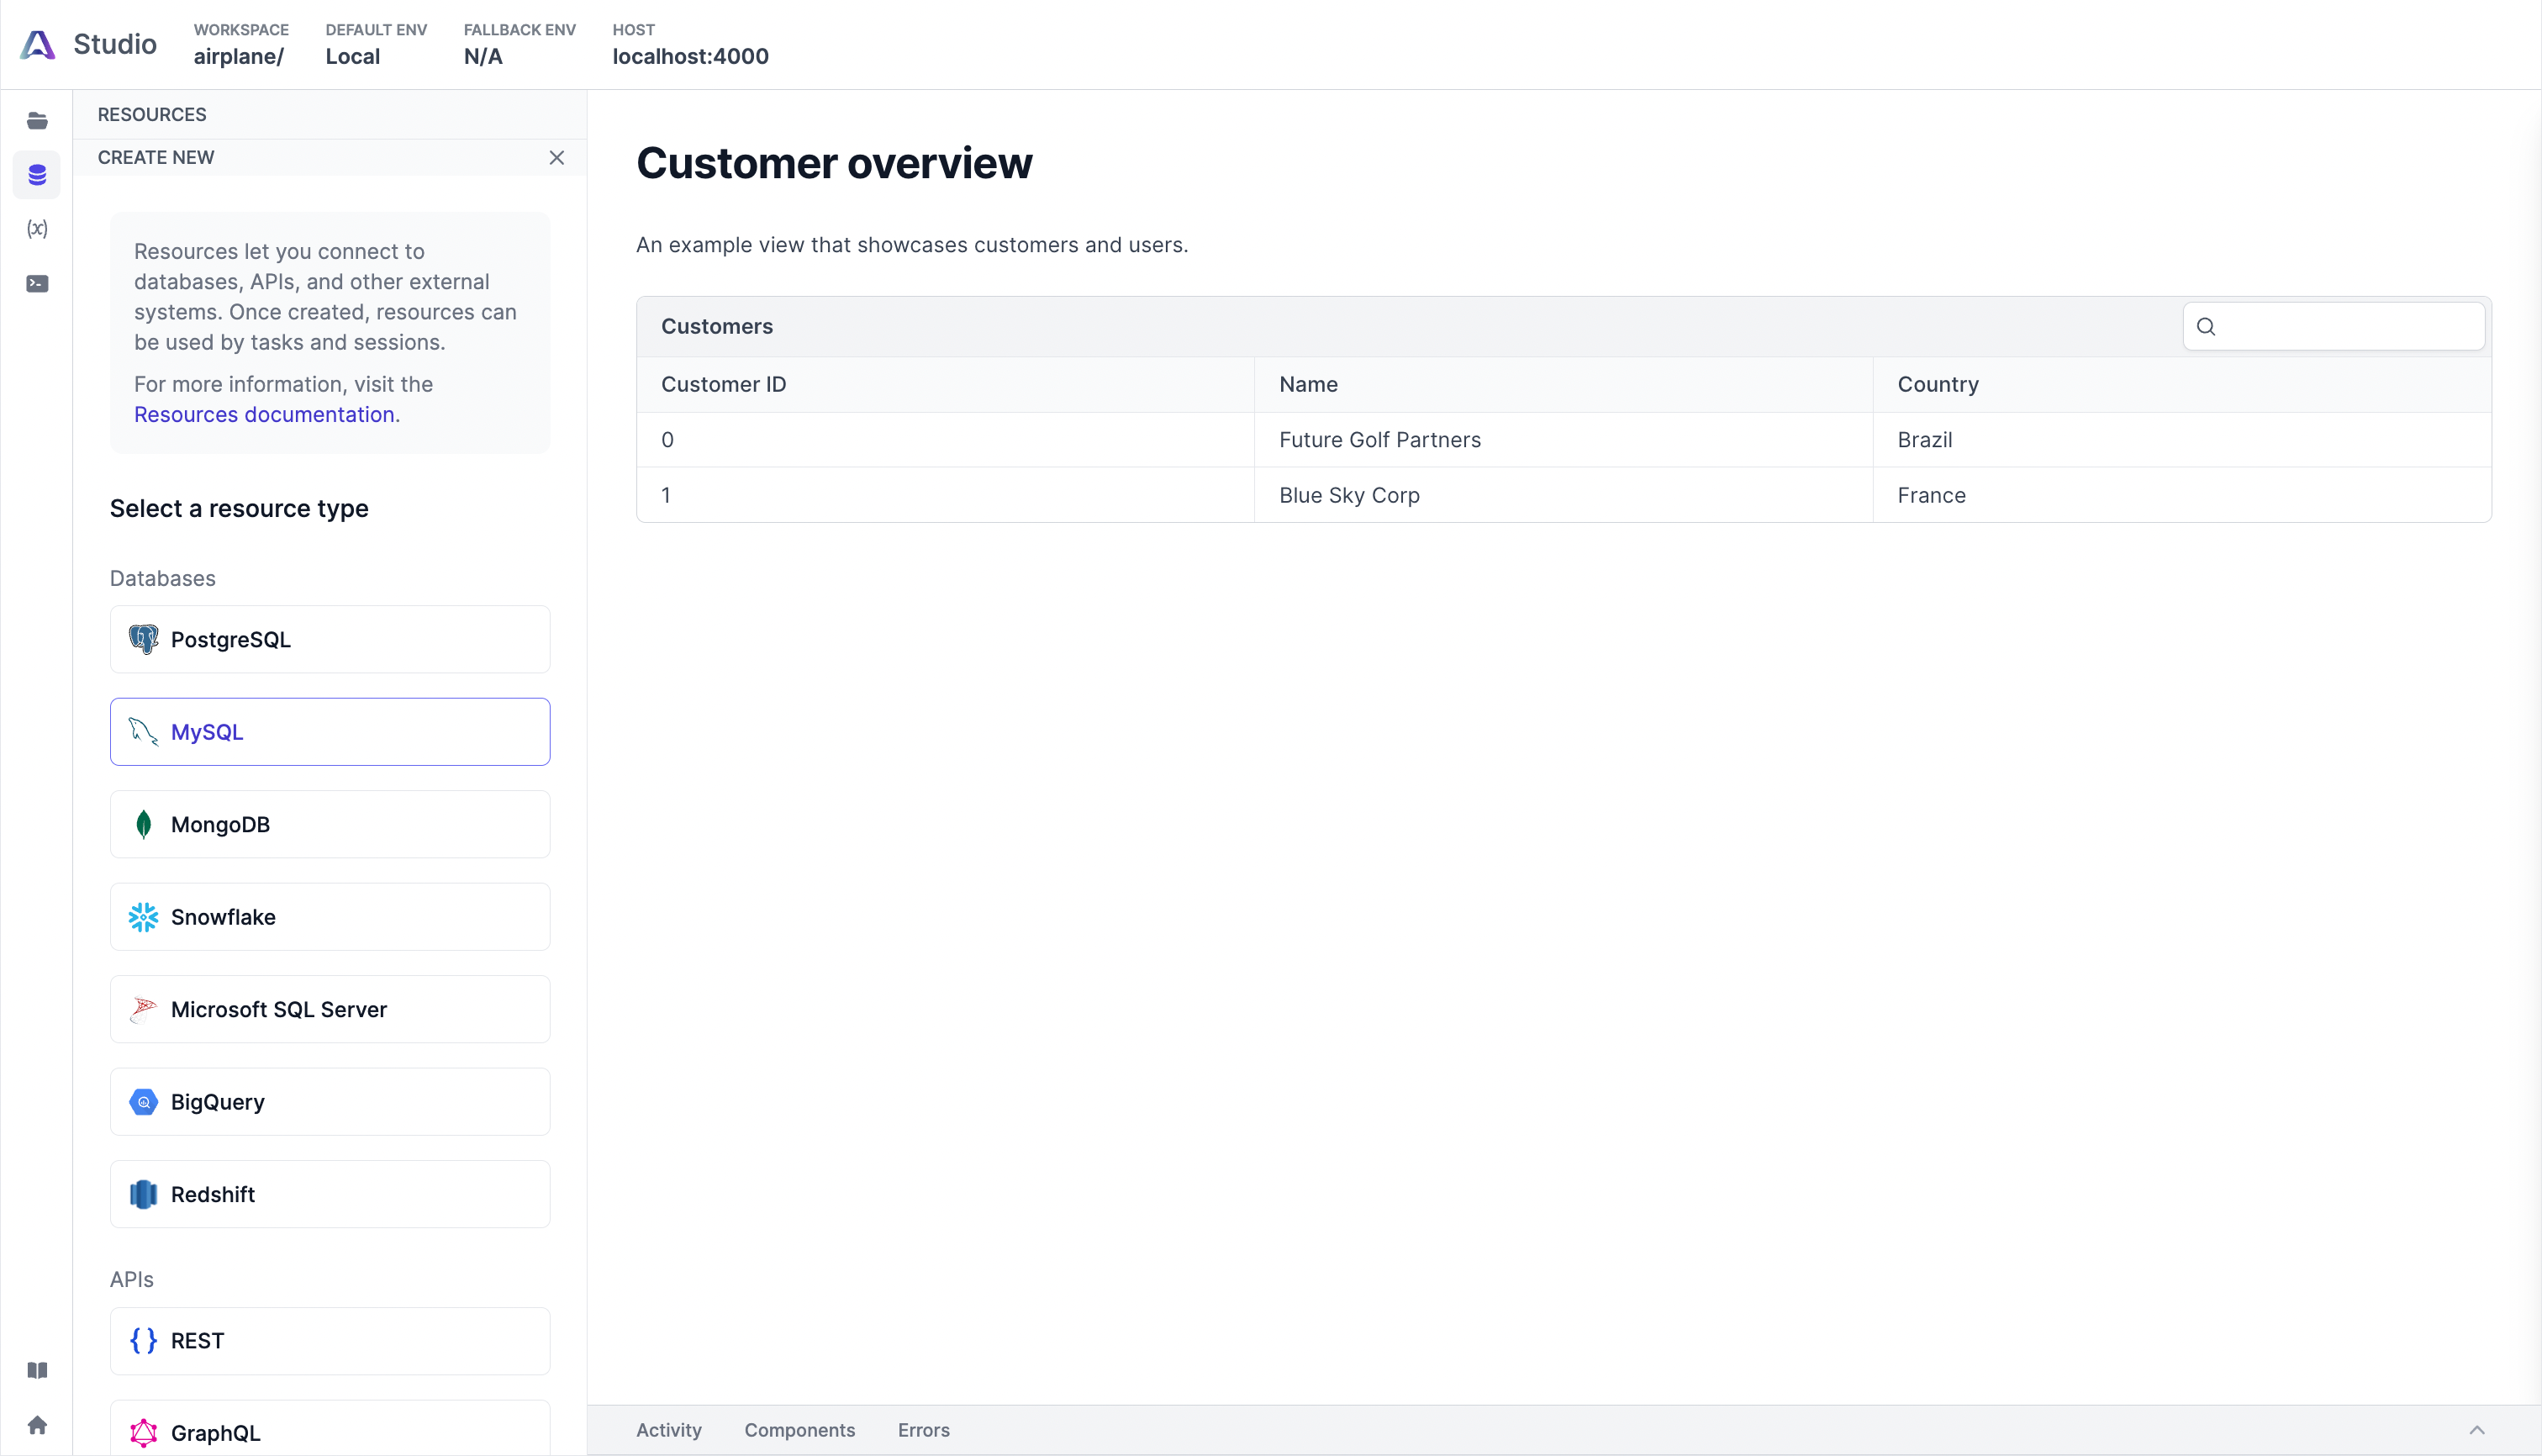
When prompted to select a Resource type, MariaDB is not an available option. But since MariaDB is an open-source database that is compatible with MySQL, a MariaDB server can work with a MySQL client.
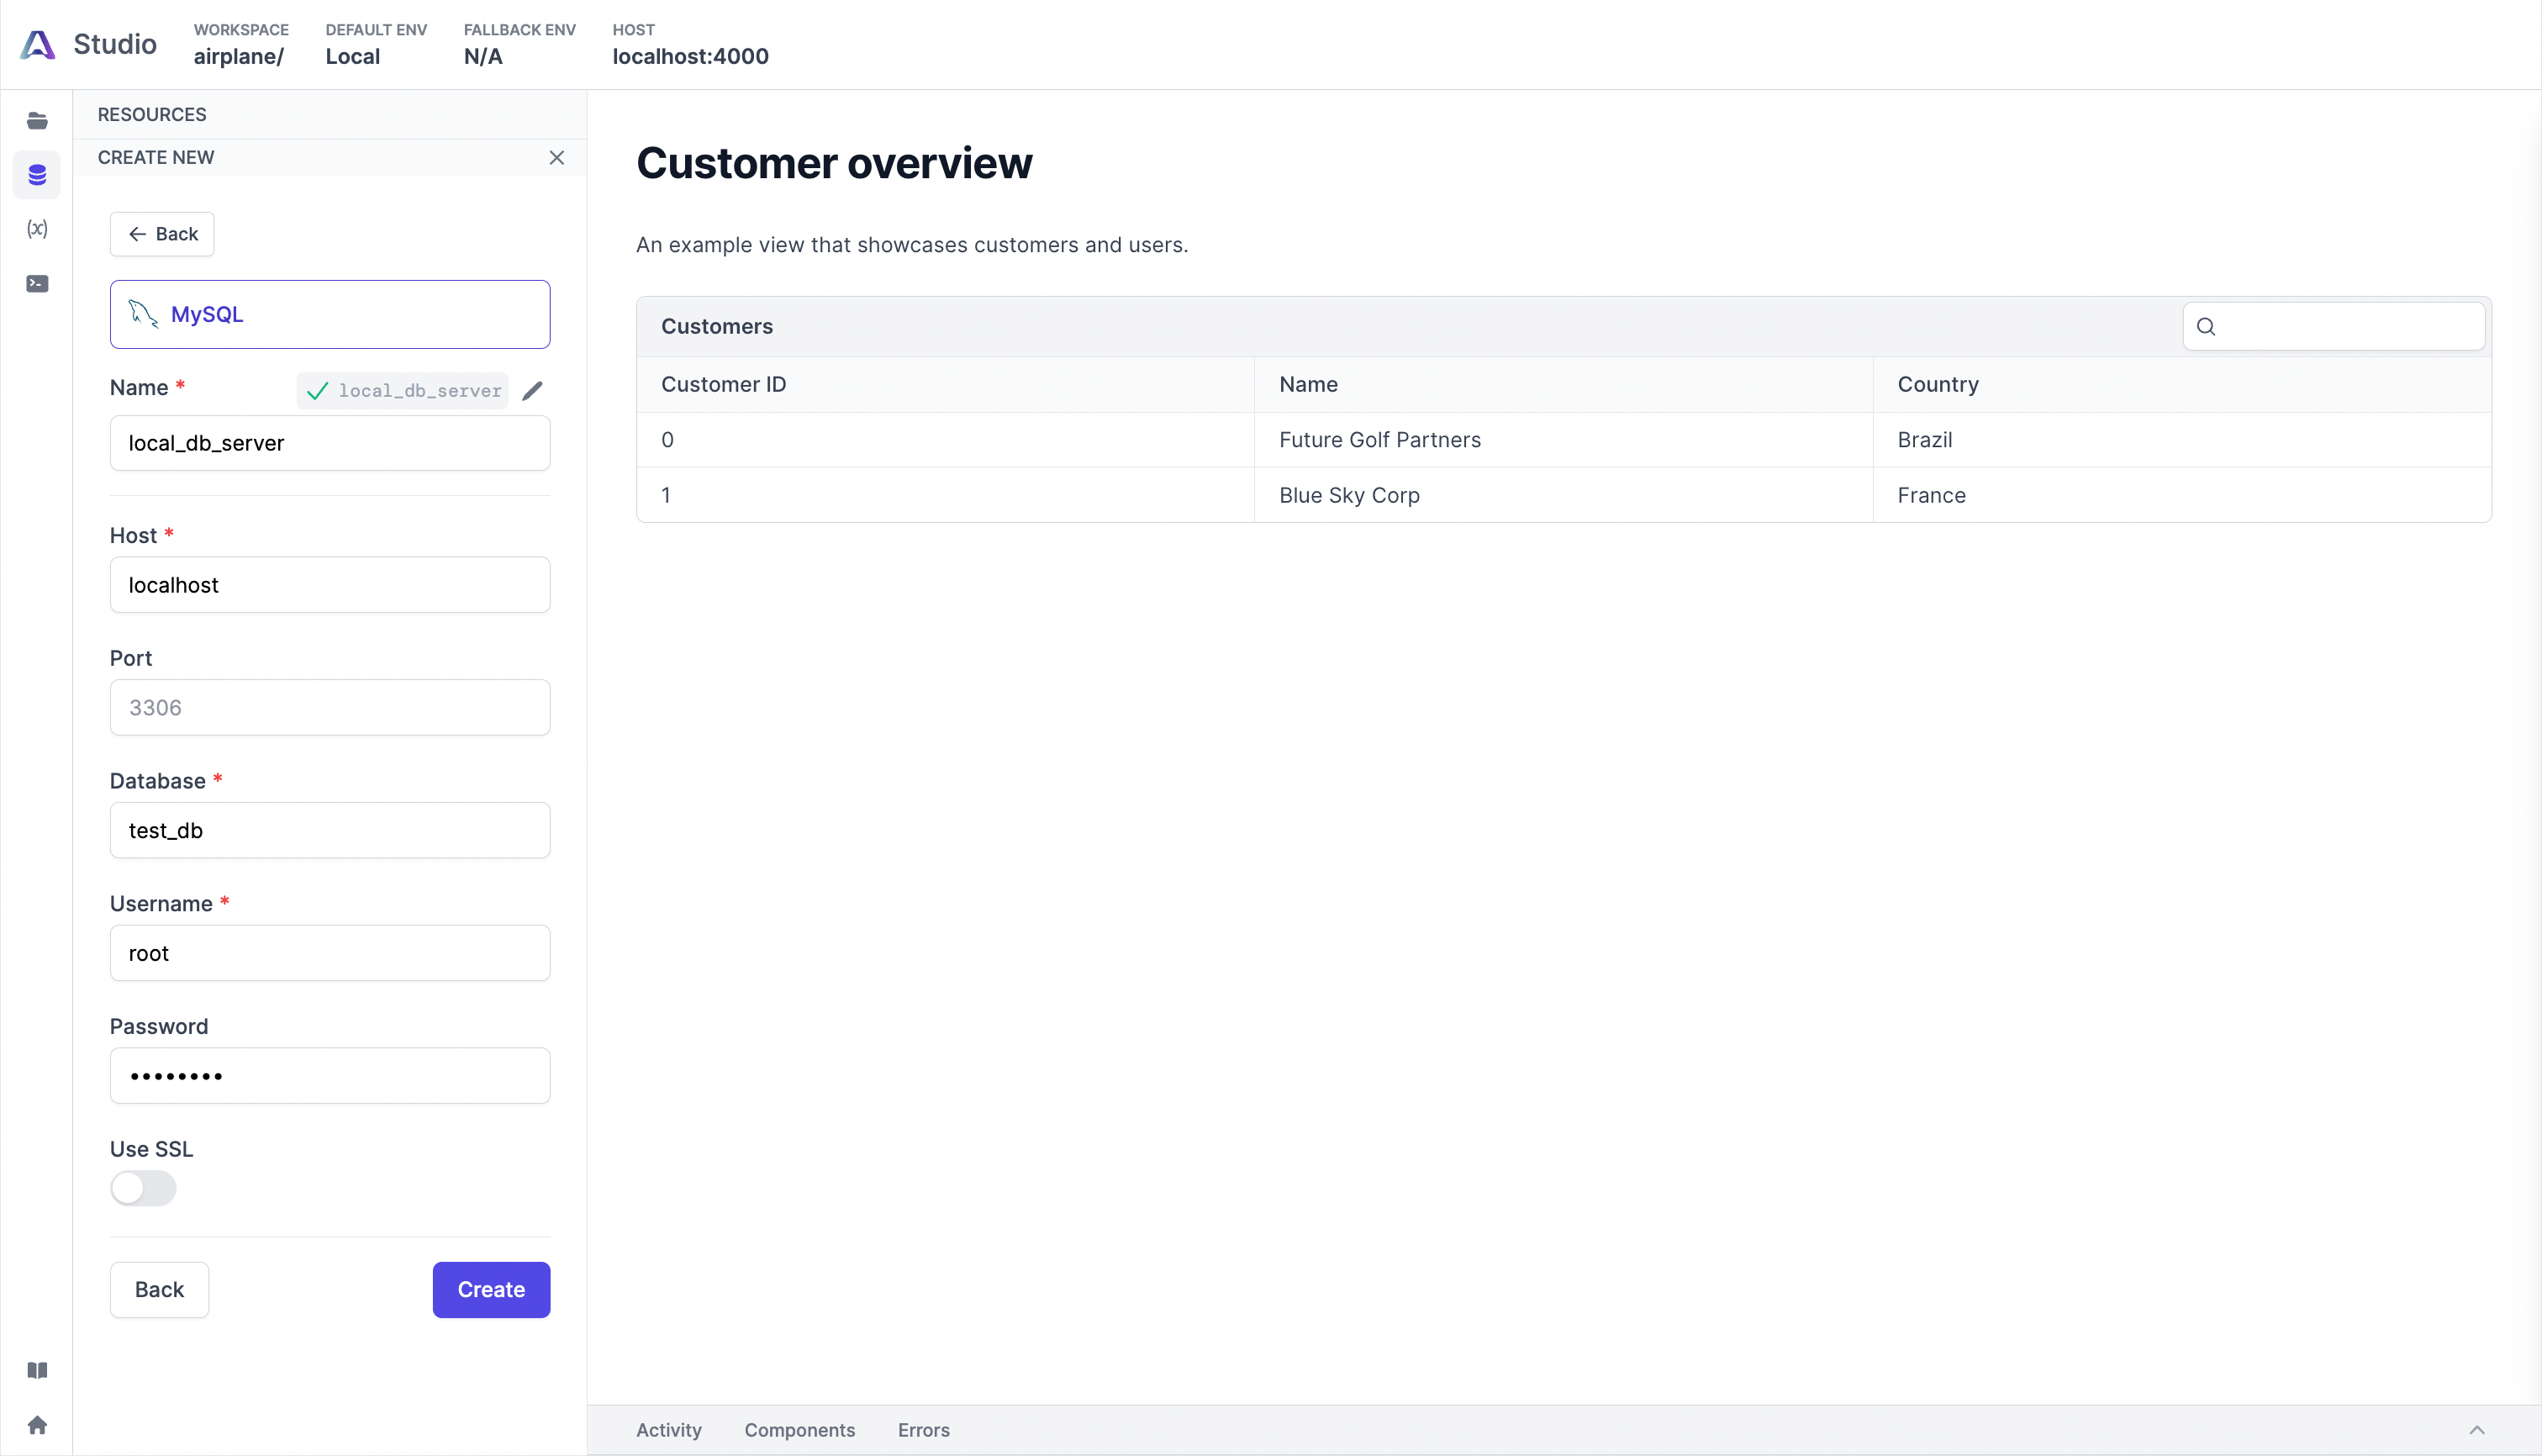
Click MySQL to choose it as the database:
After choosing the MySQL option, we'll be prompted to fill out a form that sets our database details. Use local_db_server as the name and test_db as the database. Set other options according to the environment, then click the Create button:
Once we have connected our database, let's create Airplane Tasks to populate our View.
Creating Airplane Tasks to populate the View
Airplane allows us to fetch data from Resources using tasks that can be consumed by Views. Tasks can be written in SQL, Python, or JavaScript. A SQL task fetches data from a database resource, while a Python or JavaScript task fetches data from an API or performs a computation. We'll only work with SQL tasks in this guide.
Run the following command to create the first task:
After, we'll be prompted to enter details about the task. Use the values of the following example as a guide:
Once the task is created, replace the contents of mariadb_gui/fetch-customers.sql with the following:
Then replace the contents of mariadb_gui/fetch-customers.task.yaml with the following:
If we navigate to the Airplane Studio, we should see the new task under fetch_customers.task.yaml:
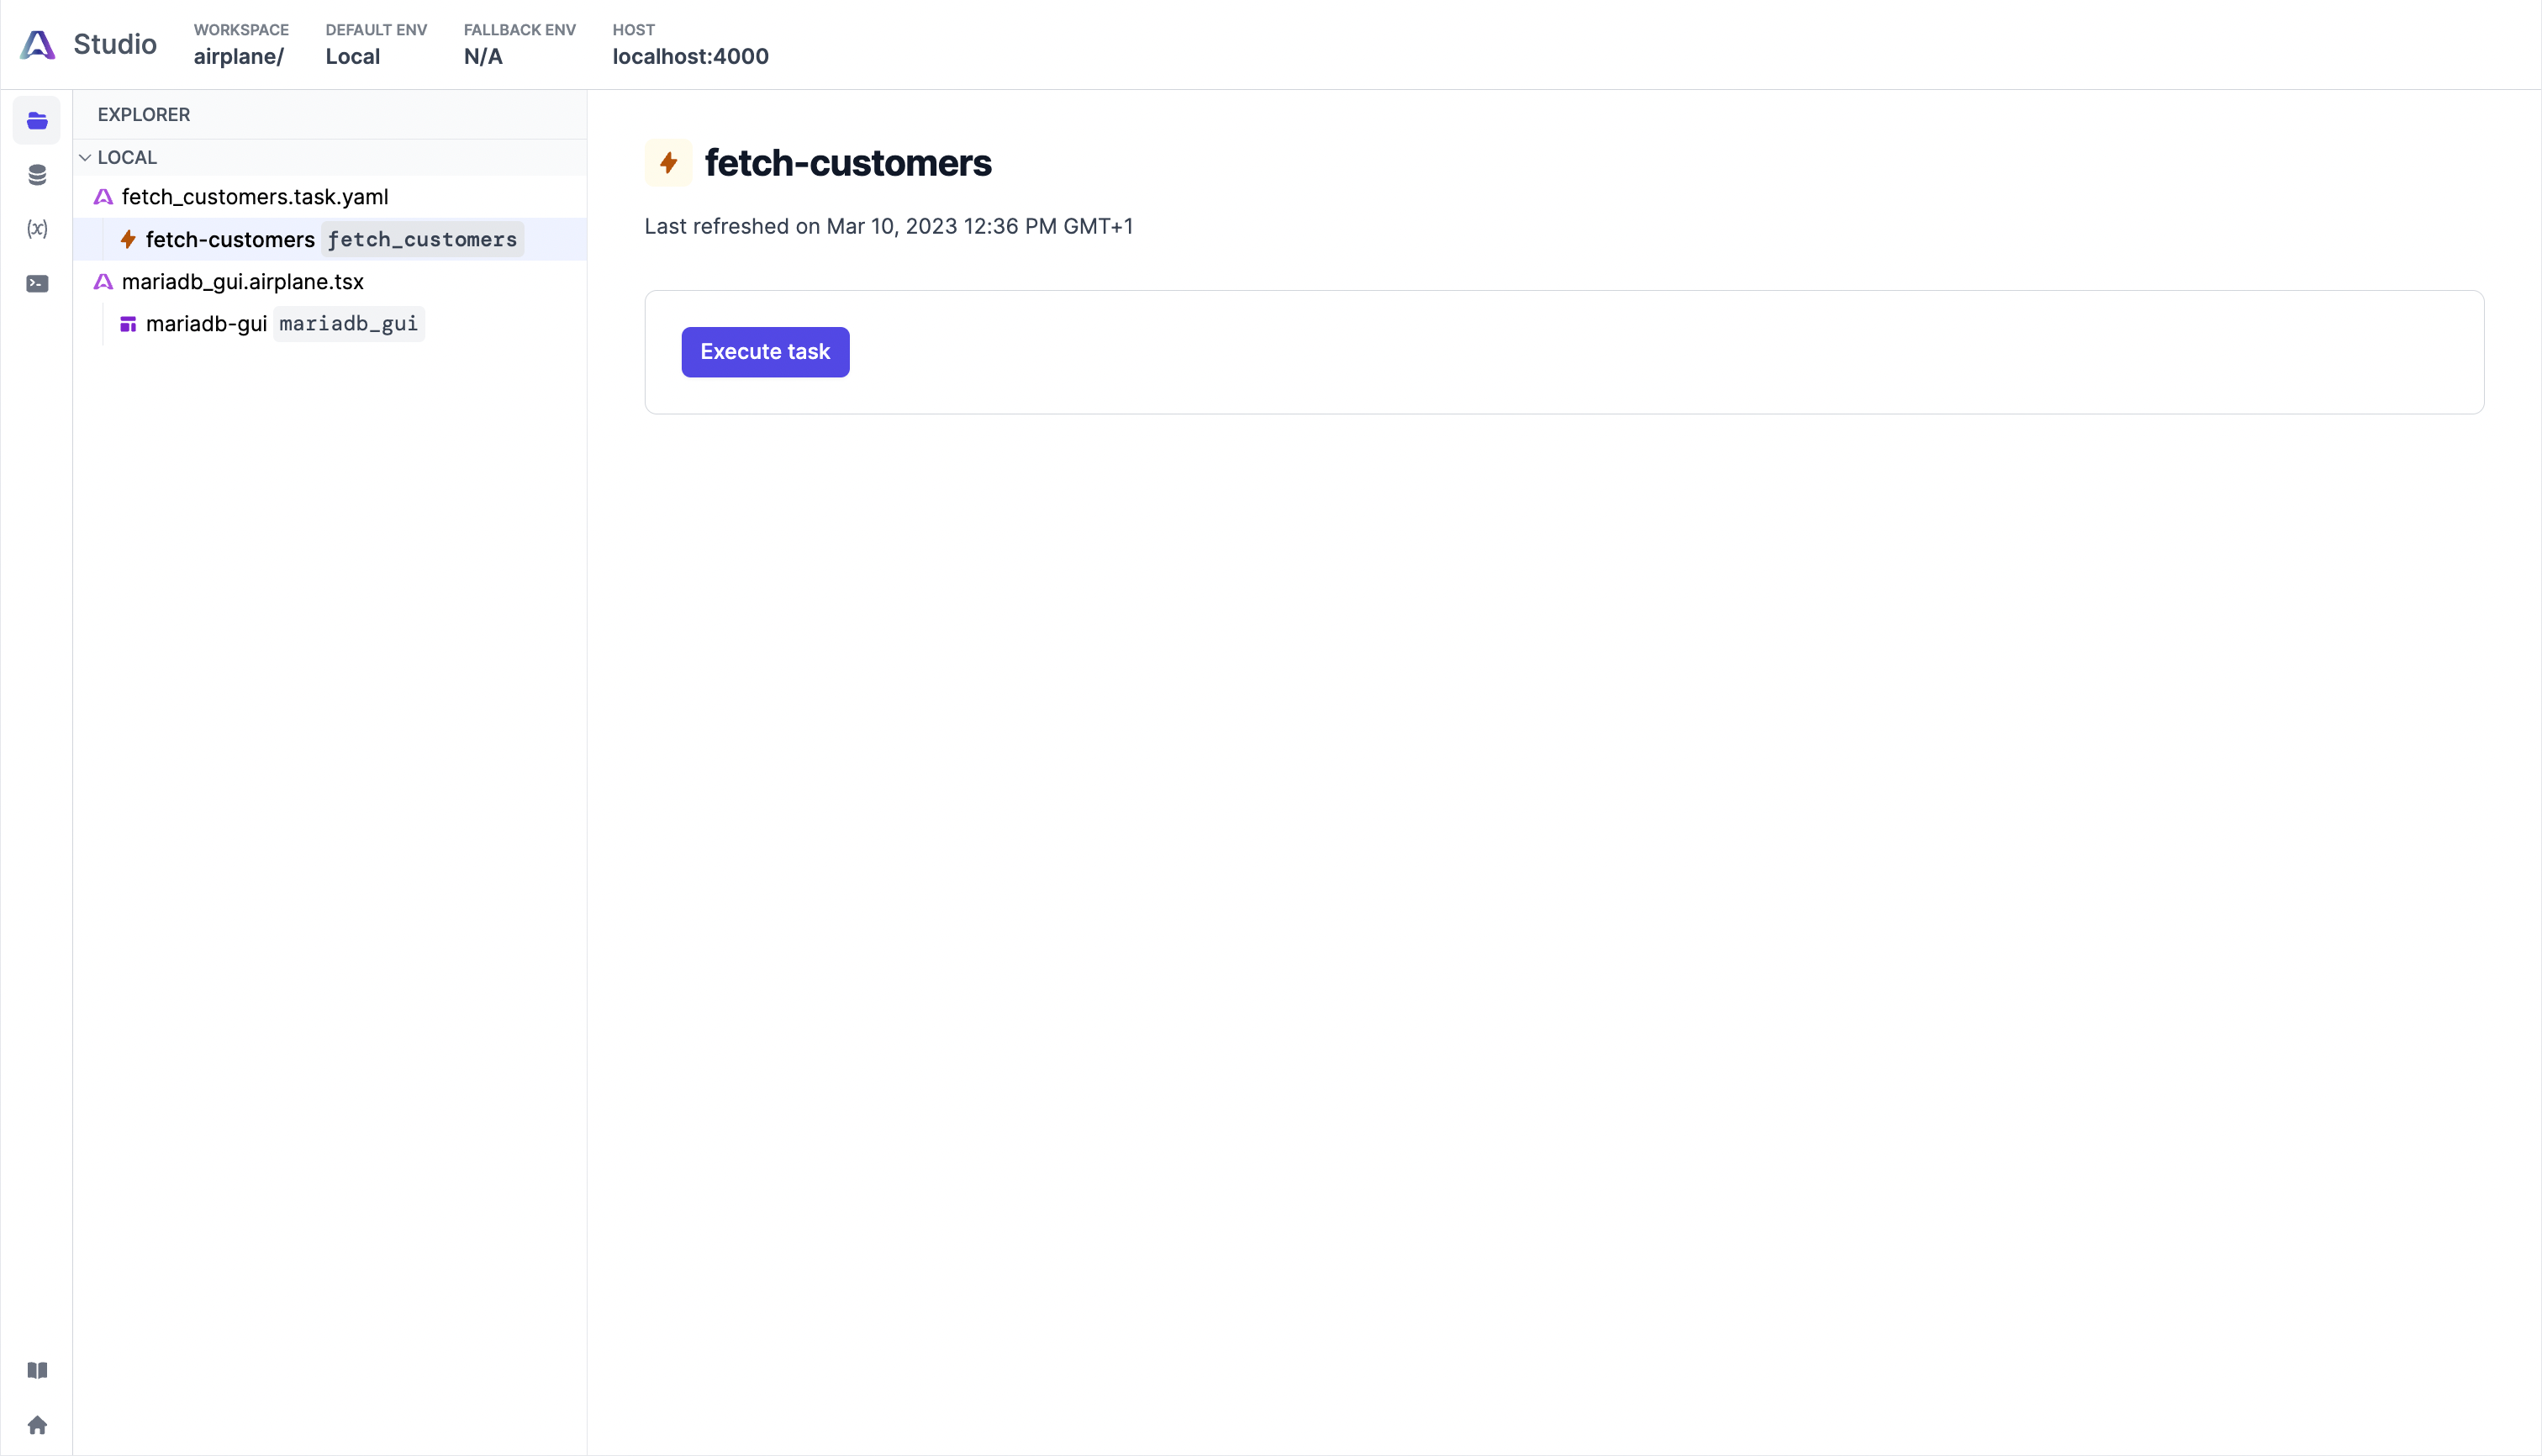
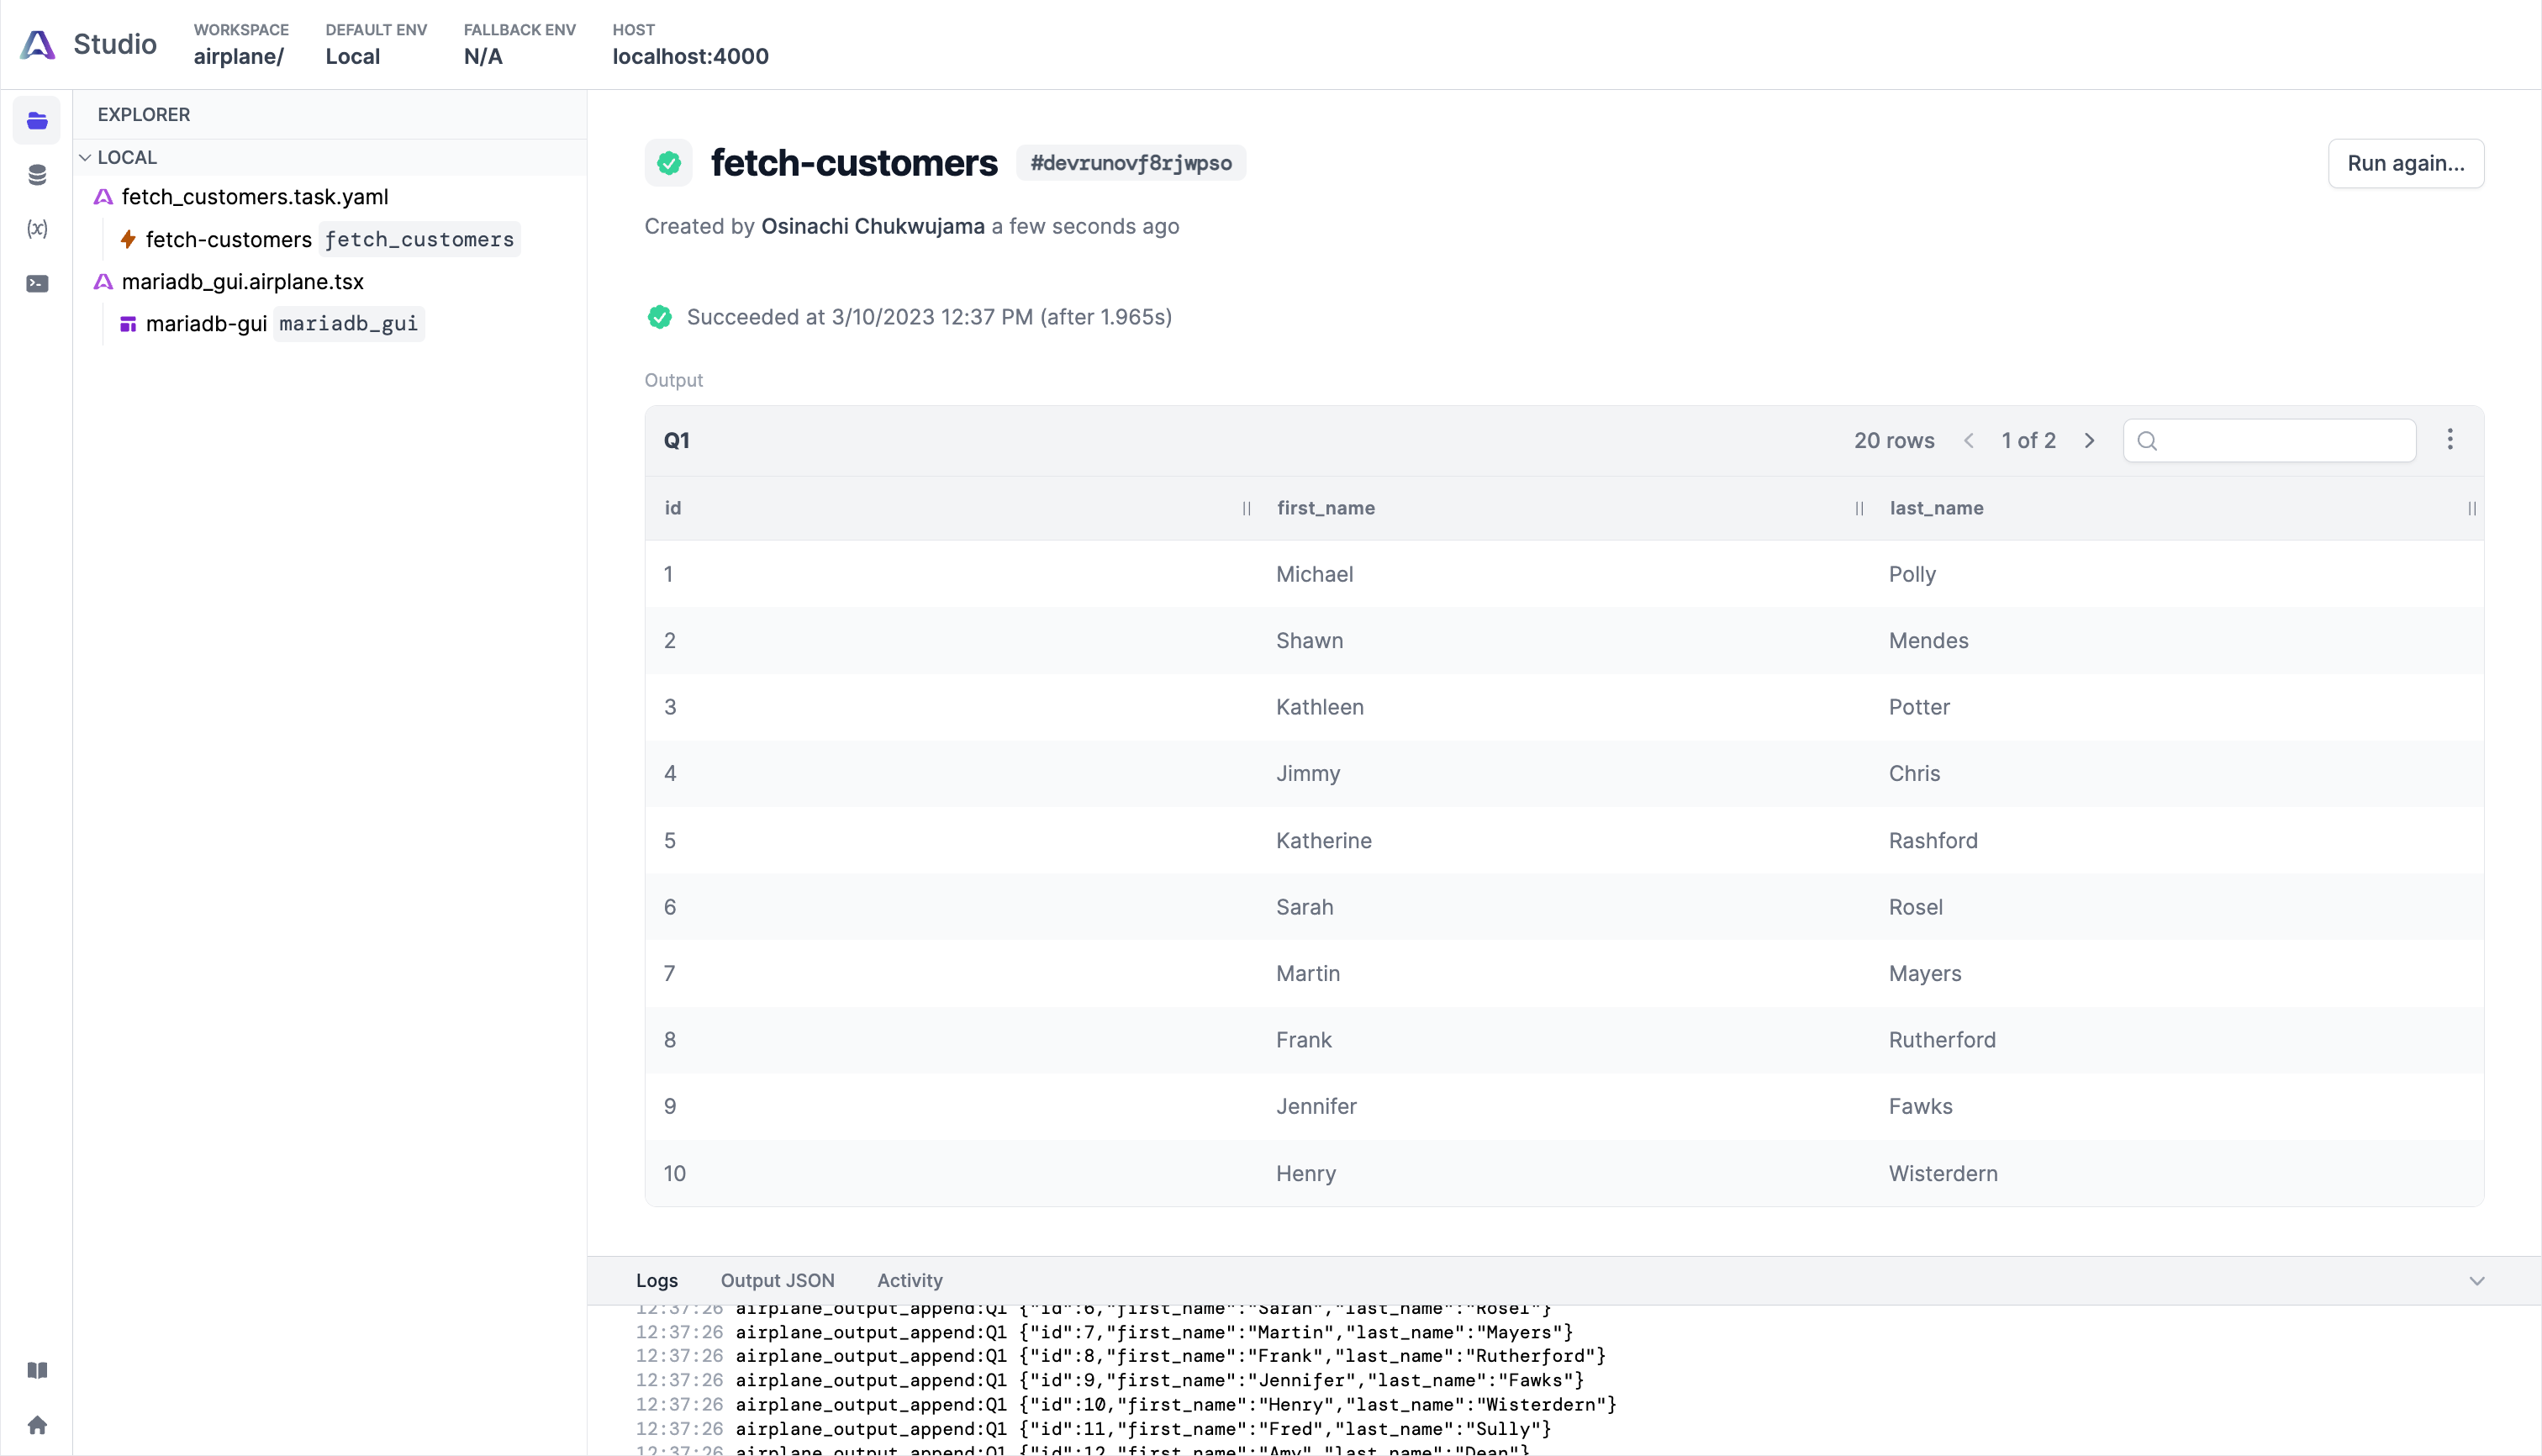
Next, click the Execute task button to see a tabular output of this task:
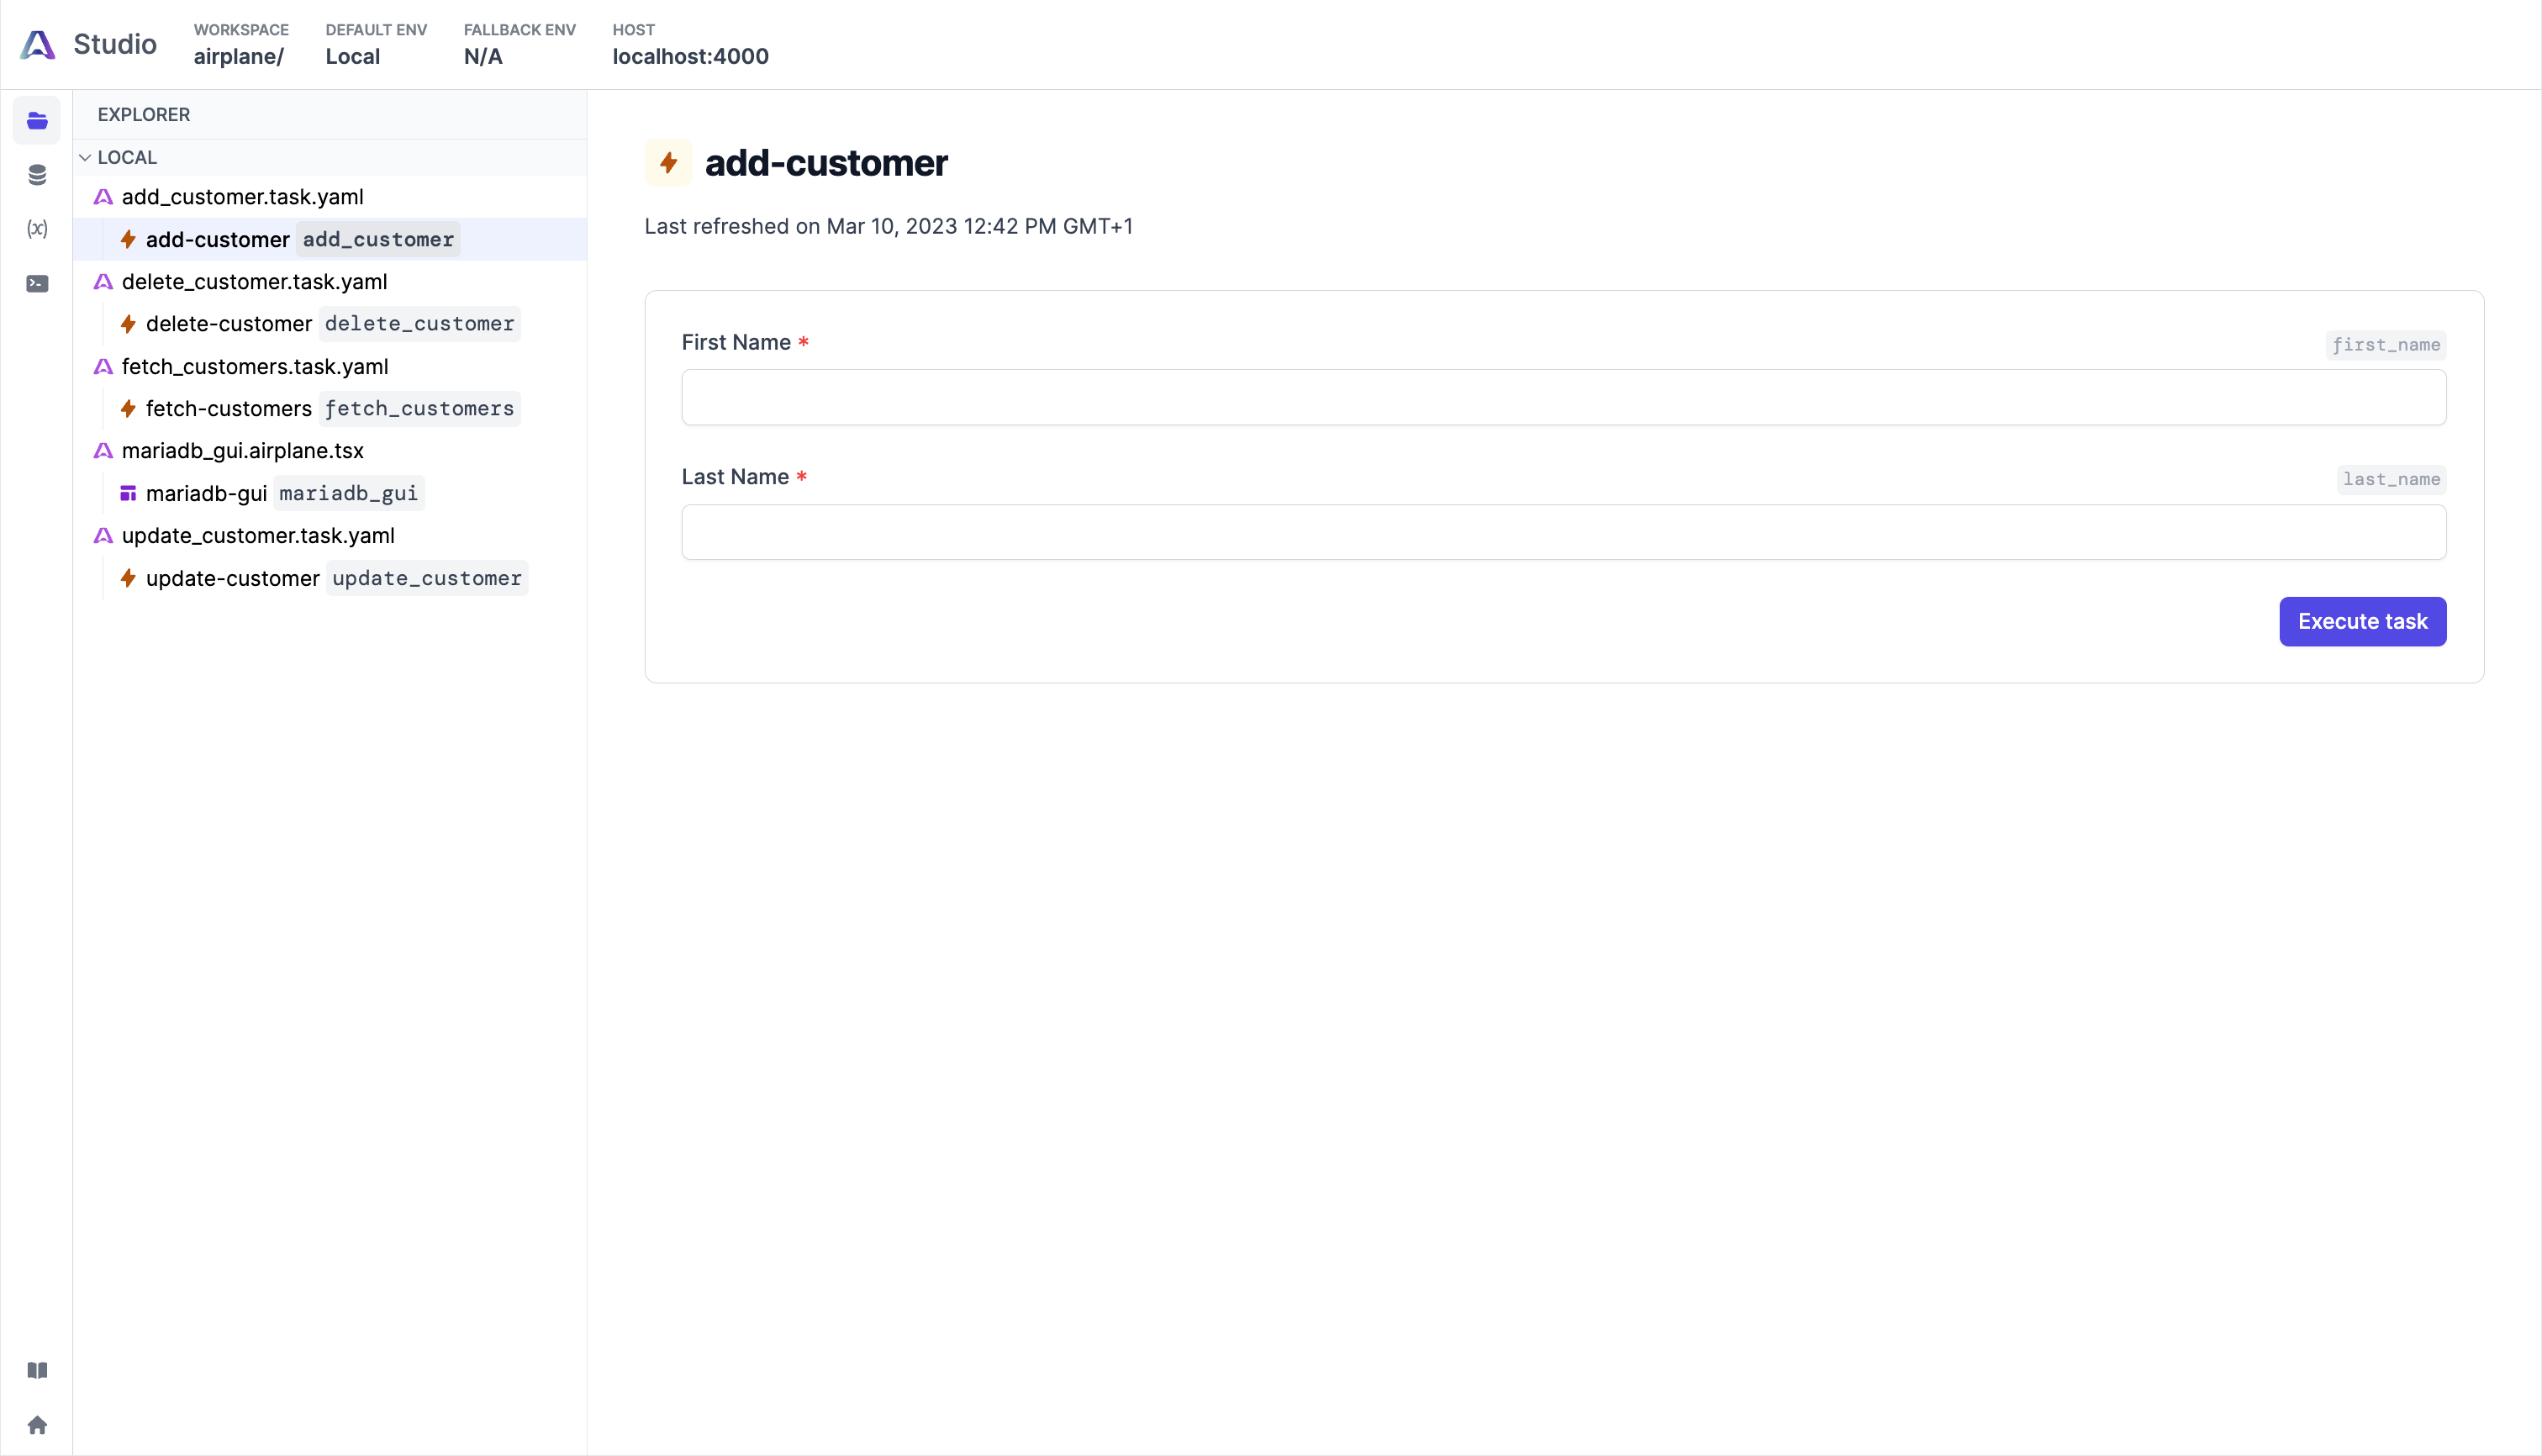
So far, we've handled the "read" part of CRUD for the customers table. To add the create, update, and delete functionalities, we need to add the associated .sql and .task.yaml files to the root directory (airplane/). The links to the necessary files for the other operations are the following:
After adding these tasks, we should see them on the Airplane dashboard. Test each task by creating a customer, updating the record, and then deleting that record:
We can use all the CRUD tasks individually, but this would be time-consuming due to the extra steps required to click and execute them. To simplify the process, let's bring everything together with the mariadb_gui View.
Bringing all the CRUD functionalities together
To add the CRUD functionalities to an Airplane View, we will need a table for displaying fetched records, a form for creating new records, and two buttons for updating and deleting records. To add these functions, replace the contents of mariadb_gui.airplane.tsx with the following:
The code in this View uses the fetch_customers task to display customer records and uses the update_customer task to update changes that were made. Note that we can set a column as editable using the canEdit property, allowing the update operation to work when we change the data in the editable columns.
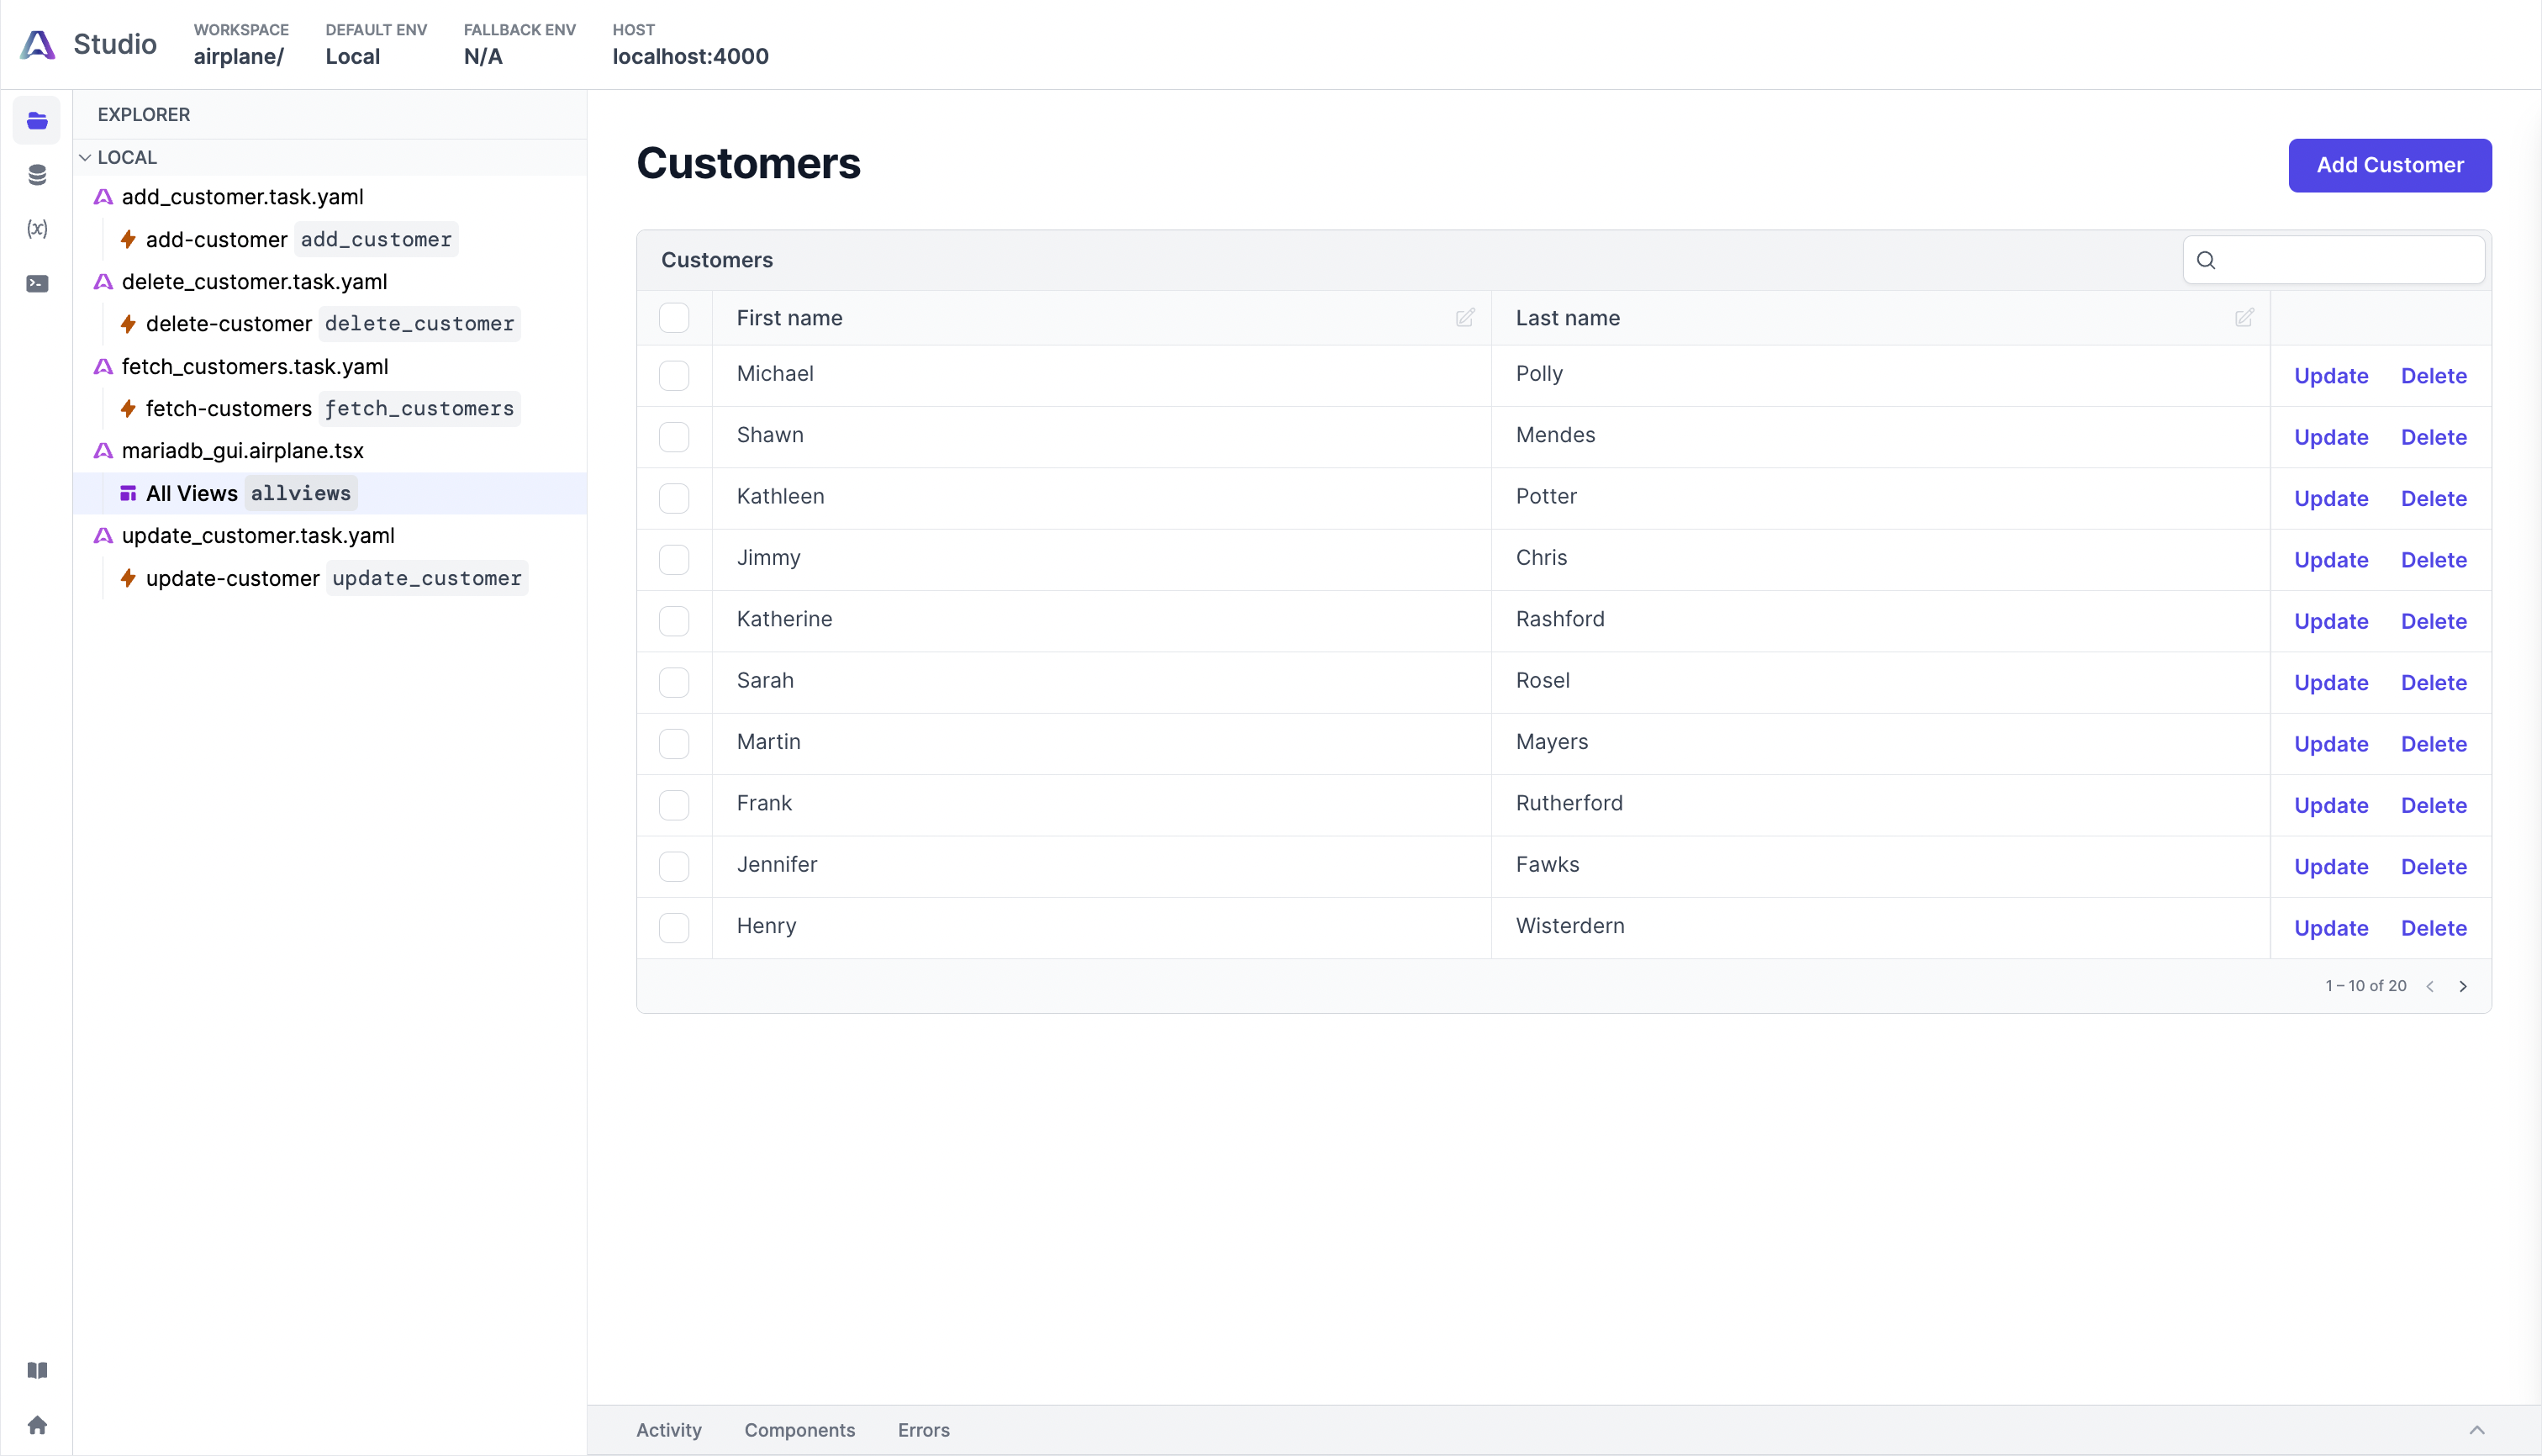
The Form component serves as a tool for adding new customer records. In the UI, we should see the customers table with CRUD functions as part of the All Views View under the mariadb_gui.airplane.tsx file:
Adding other tasks and tables
Let's now add tasks and Views for the orders and payments tables created earlier. The corresponding .sql and .task.yaml files for the CRUD operation tasks are listed below:
- Create order: SQL, YAML
- Create payment: SQL, YAML
- Fetch orders: SQL, YAML
- Fetch payments: SQL, YAML
- Delete order: SQL, YAML
- Delete payment: SQL, YAML
This tutorial uses a single View for all CRUD tables. While we can separate the CRUD tables for customers, orders, and payments, combining them in one View makes it easier to view and manage each table.
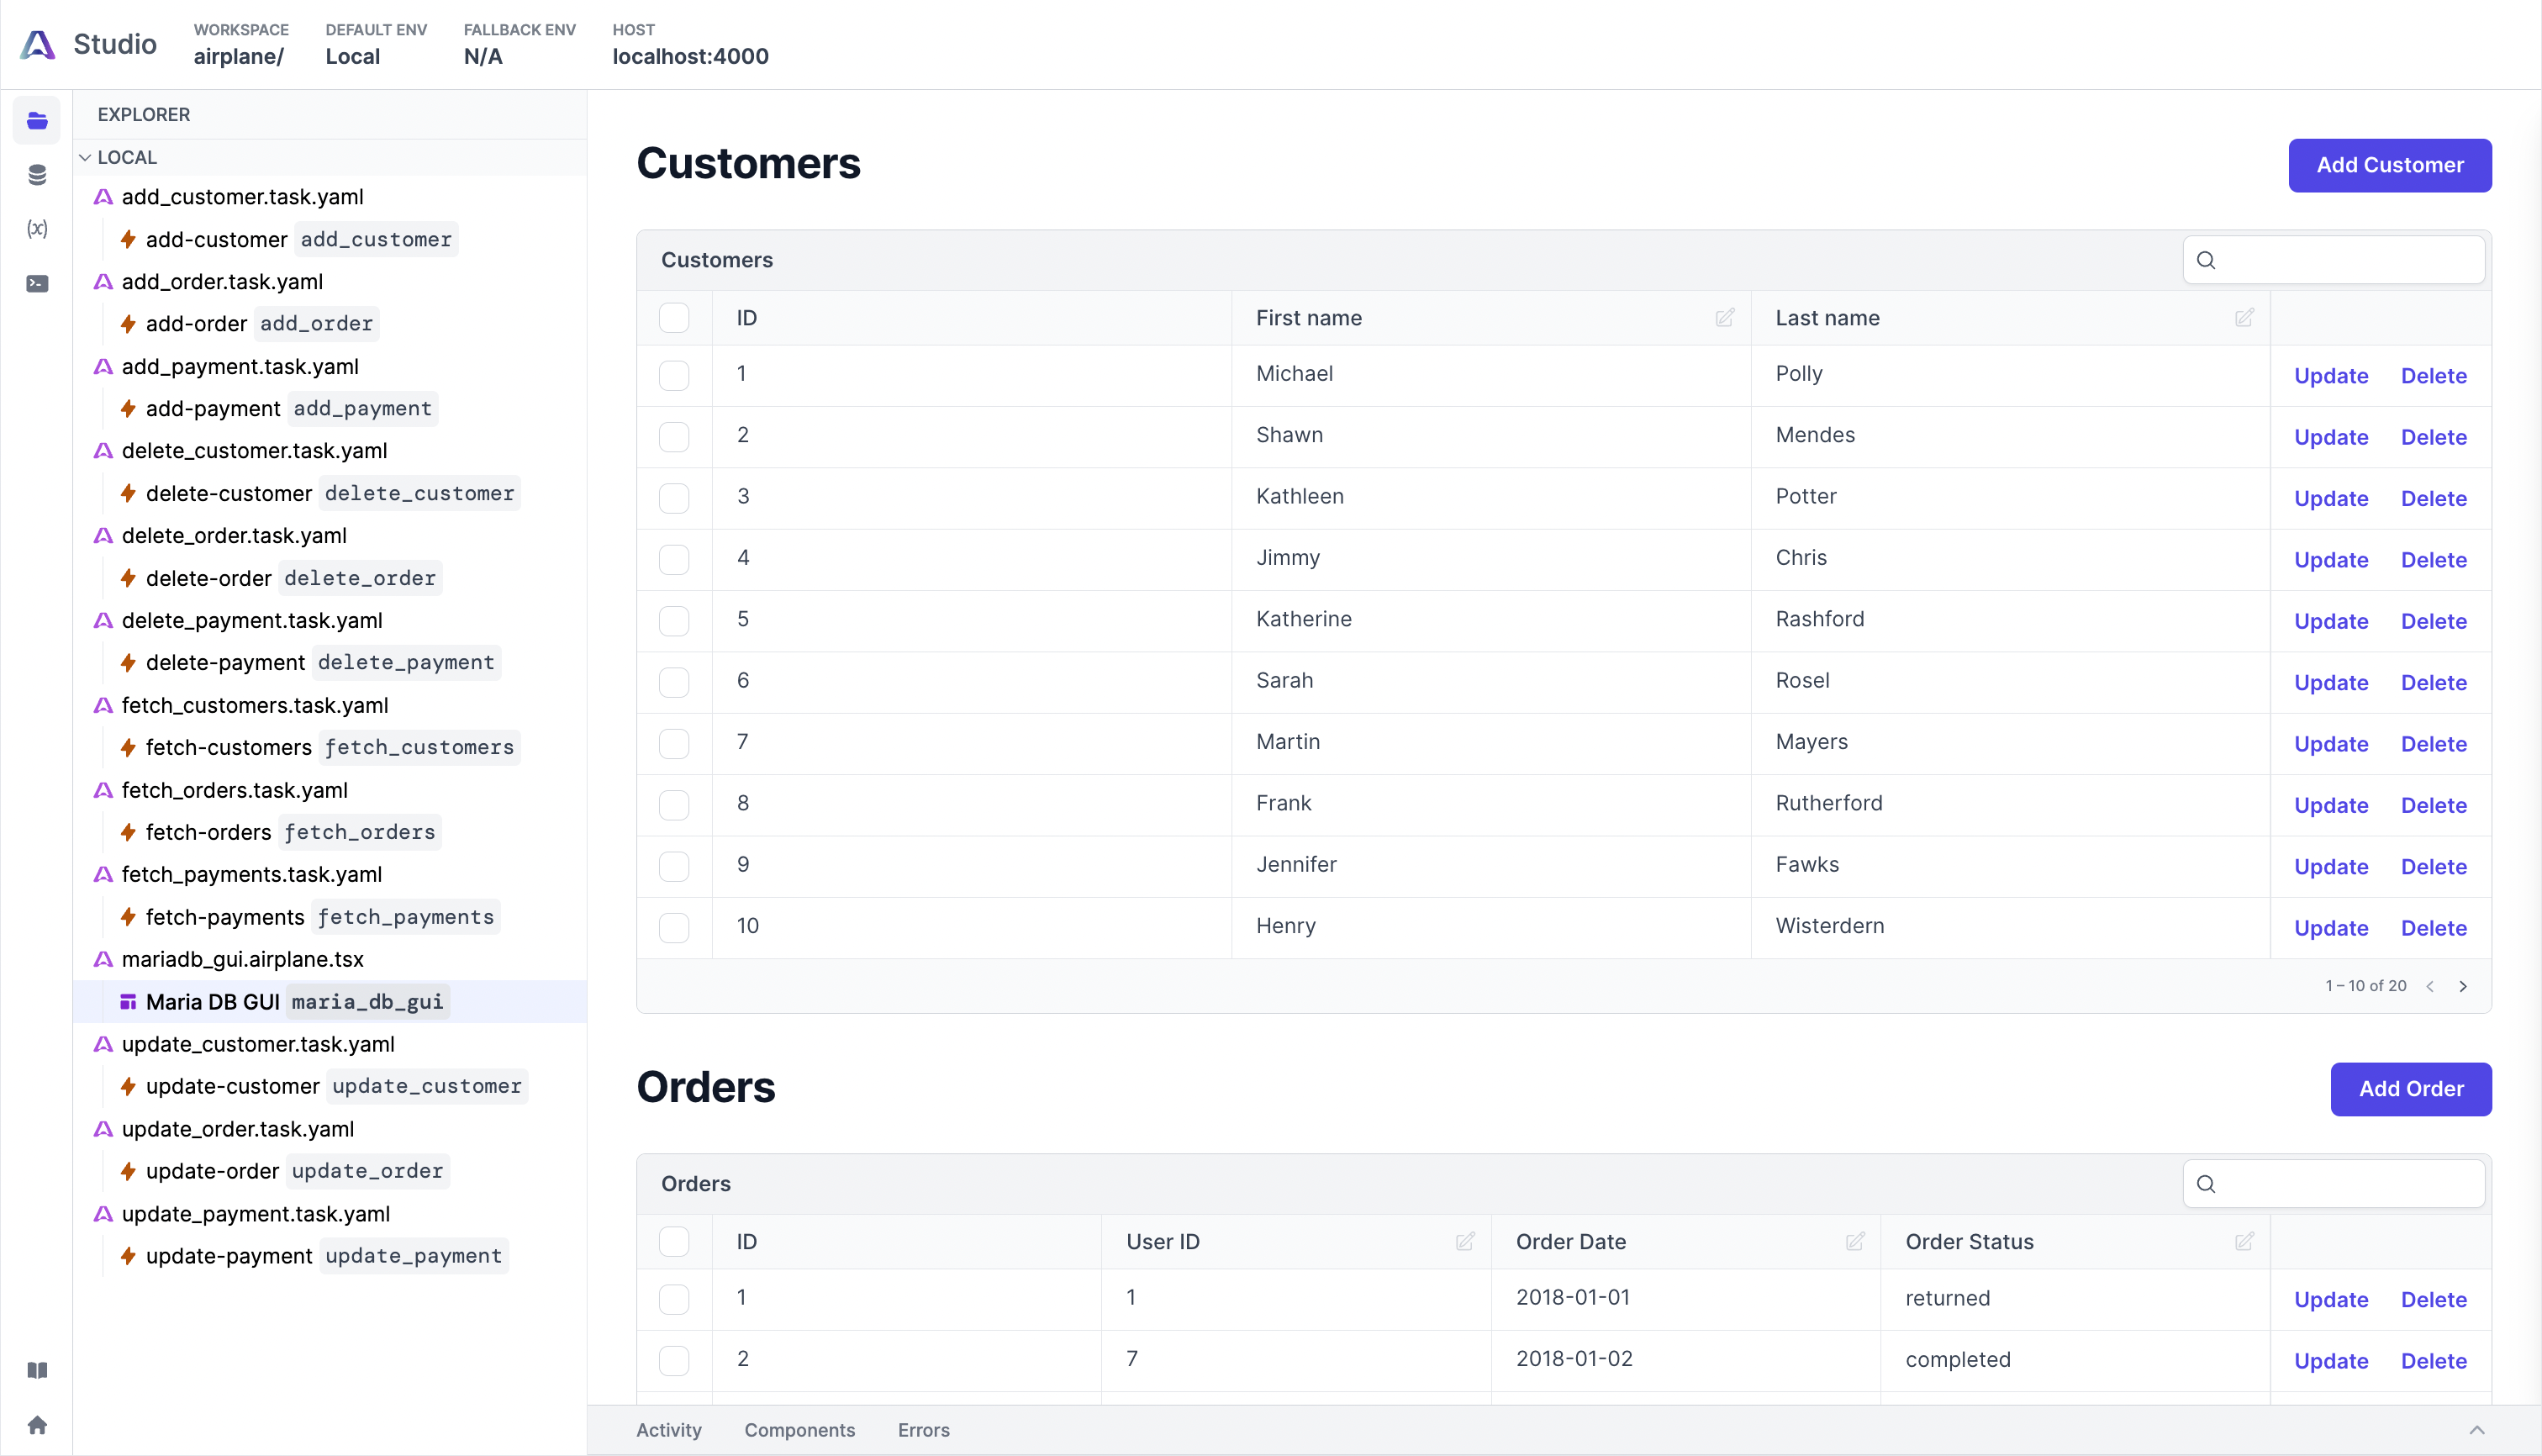
Now let's add the two CRUD tables to our View. Replace the contents of mariadb_gui.airplane.tsx with the contents of this file.
When completed, the Airplane Studio should look like this:
And that's how to build an Airplane View to manage a MariaDB database efficiently. Check out GitHub to find the complete project.
Conclusion
Organizations of all sizes use databases to organize and manage their data. A centralized view of all databases can offer a seamless way to access and manage data.
Airplane Views makes it easy for users to create centralized UIs of their databases. These users can connect directly to their various data sources and build complex UIs and tasks from JavaScript, SQL, and Python files. Airplane also offers pre-built templates and components, making it easy for engineers to build complex UIs within minutes. In addition to UIs and tasks, Airplane offers strong built-ins, such as permissions settings, audit logs, and job scheduling.
To learn more about building UIs, check out our blog for content such as ReactJS tutorial, building an admin panel using Plotly Dash, how to build a Postgres GUI using Airplane, and more.
To try Airplane out and build your first UI in just minutes, sign up for a free account or book a demo. If you are at a startup that is series A or earlier with under 100 employees, check out our Airplane Startup Program for $10,000 in Airplane credits for a year.
Author: Osinachi Chukwujama
Osinachi Chukwujama is a software engineer and technical writer. He is skilled in selecting the right data structures for technical problems and choosing the right algorithms. He enjoys building backend applications and utilizing cloud computing. He plays the organ and creates casual animations when he isn't coding.


