


React components undergo a series of stages in their lifecycle, and within each of these stages, React provides hooks known as lifecycle hooks that enable various actions to be performed on each component. These actions include updating the component's state and cleaning up after the component has completed its lifecycle.
This article provides a comprehensive look at React lifecycle hooks, covering each hook in detail as well as offering guidance on when to use them and best practices to keep in mind.
Why you need lifecycle hooks
There are several advantages to using lifecycle hooks, including being able to reuse your components, increased performance optimization, and better scalability. In addition, by utilizing hooks such as componentDidMount, shouldComponentUpdate, componentDidUpdate, and componentWillUmount, users can effectively control a component's behavior and logic during its entire lifecycle, helping them write more maintainable and scalable components.
The following are some scenarios where React lifecycle hooks can provide several benefits.
Component initialization
Lifecycle hooks can be used to set up initial state values for the component. They can also be used to fetch data from an API and set up any necessary event listeners. For instance, when checking out online, an e-commerce page typically displays a list of the products you've added to your cart, along with their description, price, and other essential details. In React, the componentDidMount method can be used to set up the necessary state values for the component and fetch the necessary data from the API, which is eventually rendered on the page. This hook ensures that the component is fully loaded before any data is rendered, making it a reliable and effective way to handle complex rendering scenarios.
Component updates
To ensure that the component reflects the latest data, it needs to be updated as its state values and props change. This is where the lifecycle hooks shouldComponentUpdate and componentDidUpdate can help. For instance, in the previous e-commerce example, if an item is out of stock or removed from the cart, the component must be updated to reflect this change. With the shouldComponentUpdate and componentDidUpdate lifecycle hooks, users can re-fetch data from the API and ensure that the component can be efficiently updated and re-rendered to reflect the most recent state of the application.
Cleaning up components
To prevent memory leaks or update a parent component's state, it's essential to clean up resources like event listeners and timeouts with the componentWillUnmount lifecycle hook when a component is no longer in use. For instance, when a user checks out and completes the payment process online, the cart page needs to be reset, the item count in the parent component must be updated to zero, and async processes (like pending API calls) have to be aborted. The componentWillUnmount lifecycle hook can complete these tasks, ensuring that any resources used by the component are properly cleaned to avoid unwanted behavior.
React lifecycle hooks
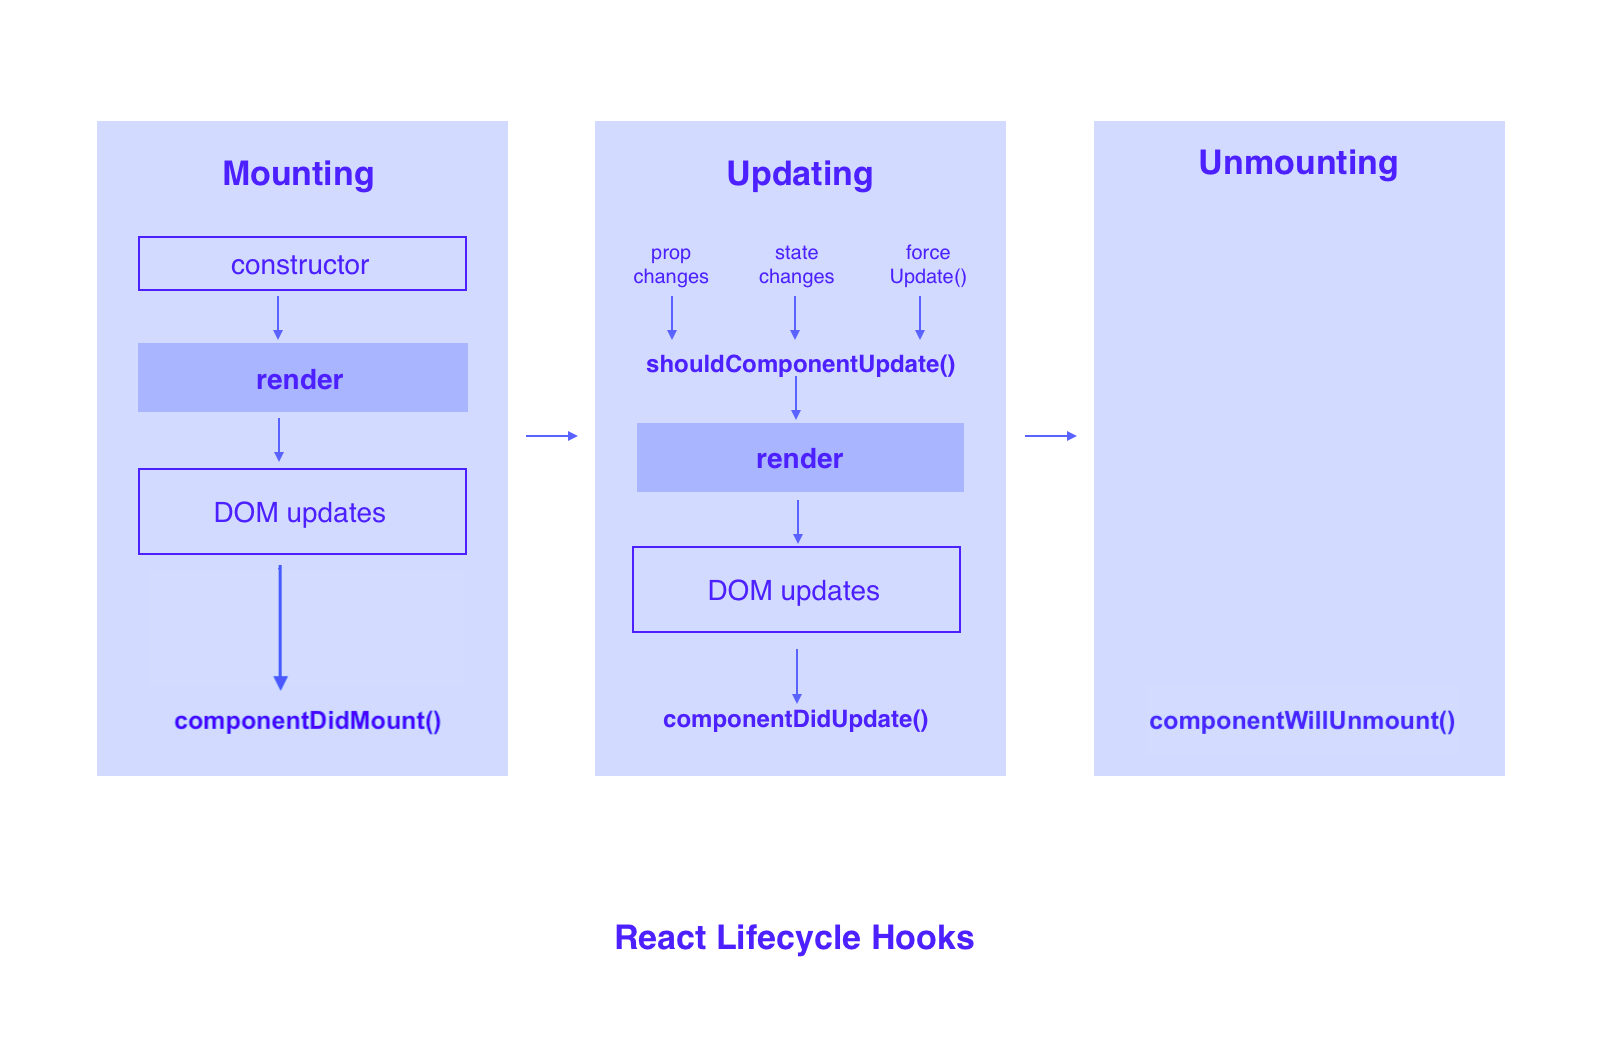
React lifecycle hooks are categorized based on three component lifecycle stages: mounting, updating, and unmounting.
Mounting
Mounting is the first stage of a component's lifecycle, where it's created and inserted into the DOM. At this stage, we can initialize states and methods needed by the component.
Before the component is mounted, the states and methods are initialized using the constructor method, after which the component is rendered to the DOM. The constructor method accepts props as its argument and usually accesses the component's parent's data using the super(props) method.
The constructor method should be a pure function. It's not recommended to perform side effects in the constructor method because it can lead to unexpected behaviors, such as errors or memory leaks from async processes. Instead, the componentDidMount hook or the componentDidUpdate hook can be used.
After the component has been rendered, the componentDidMount method is used to perform additional setups, such as fetching data from the API.
Here's a code snippet that fetches data from the API and initializes the number of items a user has in their cart:
When using the componentDidMount method, we should avoid mutating state, as this could lead to endless re-renders. In this scenario, it would be better to use the componentDidUpdate hook.
In addition, this hook only executes once (when the component is mounted), and it's not recommended to write logic that would execute periodically. Moreover, since this hook runs after the component is mounted, it's common to make initial API calls in it. For subsequent API calls, componentDidUpdate should be used.
Updating
Updating is the second stage of the lifecycle and takes place after the component has been created. In this stage, the component updates as the state or props of the component changes. There are two lifecycle hooks in this stage:
shouldComponentUpdateis run before the component re-renders and is meant for performance optimization. It can be used to determine whether or not a component should re-render. It takes in two arguments:nextPropsandnextState. These arguments are usually compared against the current props or state and eventually return a Boolean value. This value is used to decide whether or not the component should re-render. Iftrue, the component re-renders.componentDidUpdateis run after the component has been updated and takes in three optional arguments:prevProps,prevState, and the snapshot. Usually, the previous props or previous state arguments are compared to the current state, and the logic is executed based on the result of this comparison.
Below is a code snippet to demonstrate the use of the componentDidUpdate lifecycle hook. This hook accepts the previous state (total number of items in the cart) as an argument and checks if the current number of items in the cart is less than before the update. Based on this condition, it then indicates whether or not an item has been removed:
As advised by the React team, we shouldn't rely on the shouldComponentUpdate hook to prevent re-rendering because it can lead to unexpected bugs. This is because the hook makes a shallow comparison between the current props/state and the next, which can be a problem for deeply nested objects. In addition, if a child component's state changes, the hook cannot prevent it from re-rendering.
Moreover, when using componentDidUpdate, we need to set state (using the setState method) only inside a comparison block. This comparison is usually between the prevState/prevProps and the current one.
It's important to note that for a component, if the shouldComponentUpdate hook returns false, then the logic inside the componentDidUpdate hook will not be executed.
Unmounting
Unmounting is the final stage of a component's lifecycle. This is where the component is removed from the DOM and cleanups (ie, removing event listeners and clearing timers) typically occur. At this stage, the componentWillUnmount hook is used and is invoked immediately before the component is removed from the DOM.
Below is a code snippet to illustrate the use of componentWillUnmount. The hook cleans up the component by removing the scroll event, as it will no longer be useful after the component is removed from the DOM:
When using componentWillUnmount, we shouldn't set state or modify props inside the hook because the hook ends the lifecycle of the component and no logic will be processed after that. In addition, we should cancel subscriptions such as asynchronous tasks and connections to a database, as this helps improve performance and prevent memory leaks.
Here's a typical flow for a component's lifecycle:
To learn more about React components, check out our blog for content such as understanding the React component lifecycle, how to build a React component library, and more.
Introducing Airplane: build custom UIs
Airplane is the developer platform for building custom internal tools. With Airplane, you can transform SQL queries, Python scripts, APIs, and more into workflows and UIs.
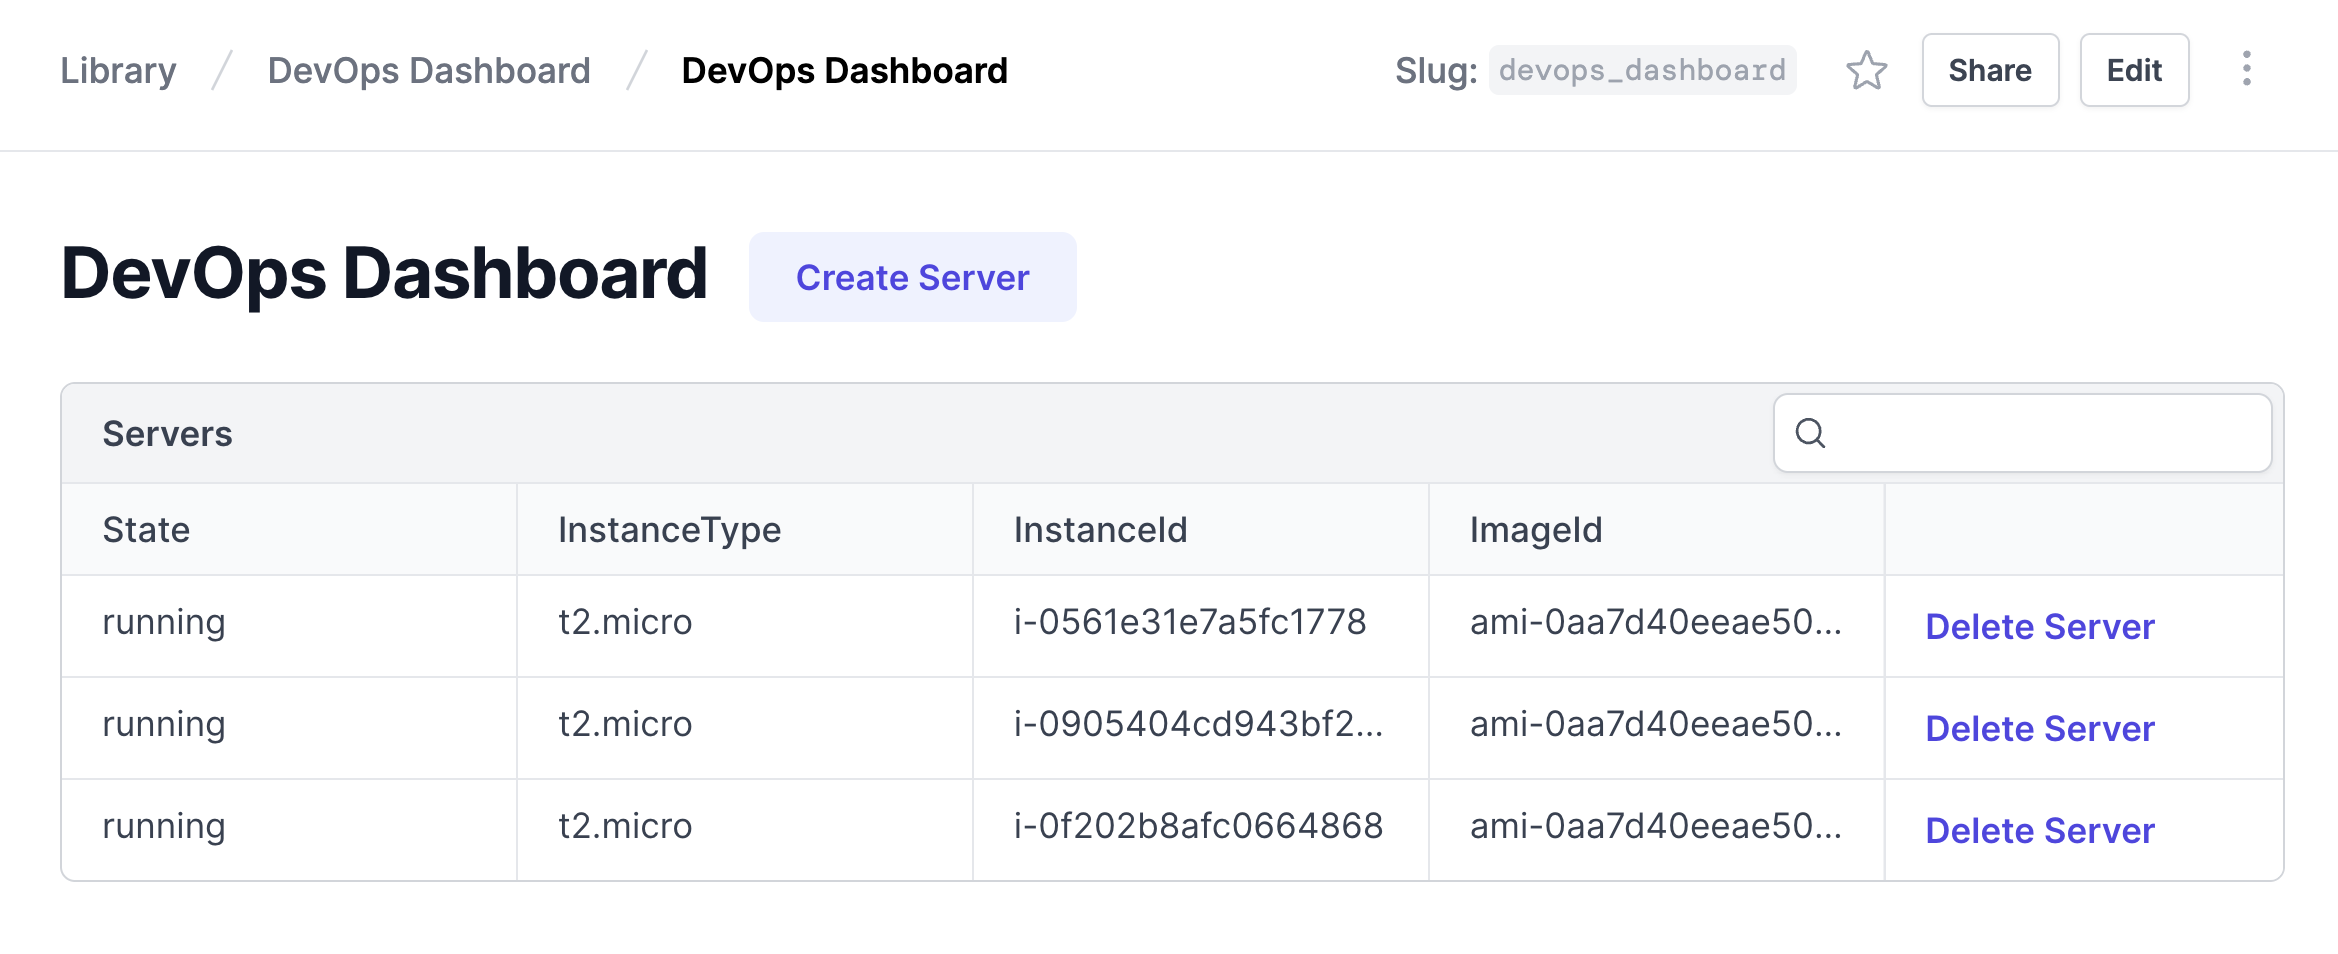
Airplane Views is a React-based platform that makes it easy to build custom UIs quickly. Airplane's pre-built component and template libraries allow users to build UIs within minutes. Since Airplane is a code-first platform, everything you build can be integrated with the rest of your codebase, version controlled, and integrated with third parties.
To try it out and build your first React-based View in minutes, sign up for a free account or book a demo.
Author: Paul Ibeabuchi
Paul Ibeabuchi is a Frontend Engineer skilled with knowledge on UI designs. He's curious and enjoys finding out the "why" of things. He is able able to build functional web applications and easily convert UI designs into pixel perfect responsive web pages.


