Airplane is the developer platform that allows users to transform scripts, queries, APIs, and more into powerful tasks and UIs within minutes using code. In this tutorial, we'll walk through how to create a dashboard that shows website traffic data sourced from Google Analytics, but in a more more simple interface than GA provides.
If you’re just looking for the code behind this example, check out the Airplane Blog Examples GitHub repo.
Over the course of this tutorial, we will:
- Set up Airplane (free) - We will sign up for an Airplane account and configure your environment to build the necessary pieces of this dashboard, as well as any other internal tool you’d like to build in the future!
- Connect Google Analytics to Airplane - We will use Airplane Tasks to read our analytics data from GA.
- Create the visual components of the dashboard - We’ll take advantage of Views in Airplane to build out the charts and graphs that will help us visualize our analytics data.
- Populate Views with dynamic data - And finally, we’ll use the data we read from GA to make our visual components actually reflect real analytics data.
Prerequisites
Before we get started building our dashboard, we need to sign up for an Airplane account, configure our machine for developing our Tasks and Views locally, and make sure we have API access to our Google Analytics data.
Sign up for Airplane
First, take a minute to sign up for an Airplane account using this link. After signing up for a new account, finish the setup process by creating a team. Once you have set up your team and see your new Airplane Library, you have successfully set up your account.
Install node.js, npm, and the Airplane CLI
Now that you have your Airplane account set up, we need to make sure your local machine is configured for working with Airplane.
For this tutorial, we'll need the Node.js runtime environment and npm, the Node package manager, installed on the local system.
On many newer Linux distributions, Node.js and npm are already installed, but they may be dated. Airplane requires Node.js version 18 to work properly, and it's recommended to use Node Version Manager (nvm) to install the required version.
Navigate to the nvm website and follow the installation instructions to install the latest version.
Once nvm has been installed, download and activate version 18 of Node.js with the following command:
Next, test that the installation worked by running the following commands:
If there aren't any version numbers or if there is an error message, you'll need to troubleshoot the Node.js installation.
Once you have Node.js and npm set up, you’re ready to install the Airplane CLI. Once you have the CLI installed and you’ve logged into the CLI with your newly-created Airplane account, we’re ready to get started developing with Airplane.
Configure Google Analytics API access
To set up our Google Analytics account for API access, we can follow along with the API Quickstart documentation. Before we get started, make sure you are logged into the Google account with access to the analytics property you want to pull data from. After enabling the API and adding a service account to the Google Analytics 4 property, you will be able to download the private key to your newly created API service account. This is important to save, as we’ll be using this to authenticate with the API when we create our first Task.
Create our first Airplane View and Task
To set up the tools we’ll need to query and display our data, we need to create a View and a Task. Views in Airplane are comprised of visual components that make up the interface we want anyone using our tool to be able to interact with. Tasks are the underlying tools and methods that can populate Views with actual data.
Create a new View
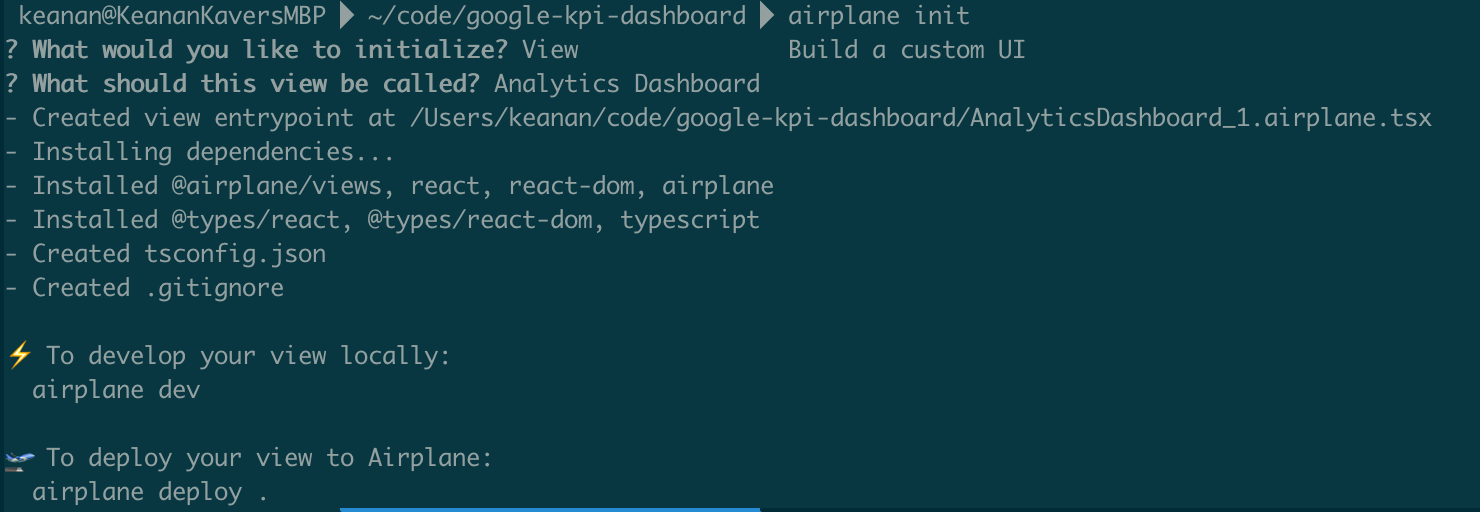
For this project, we’ll want to create a new View to eventually display our analytics data. From your local environment, run the following command:
This will ask you a couple of questions that will determine how your view is configured, but once you’ve answered these and given the Airplane CLI a minute to get everything installed, you should see something like the following:
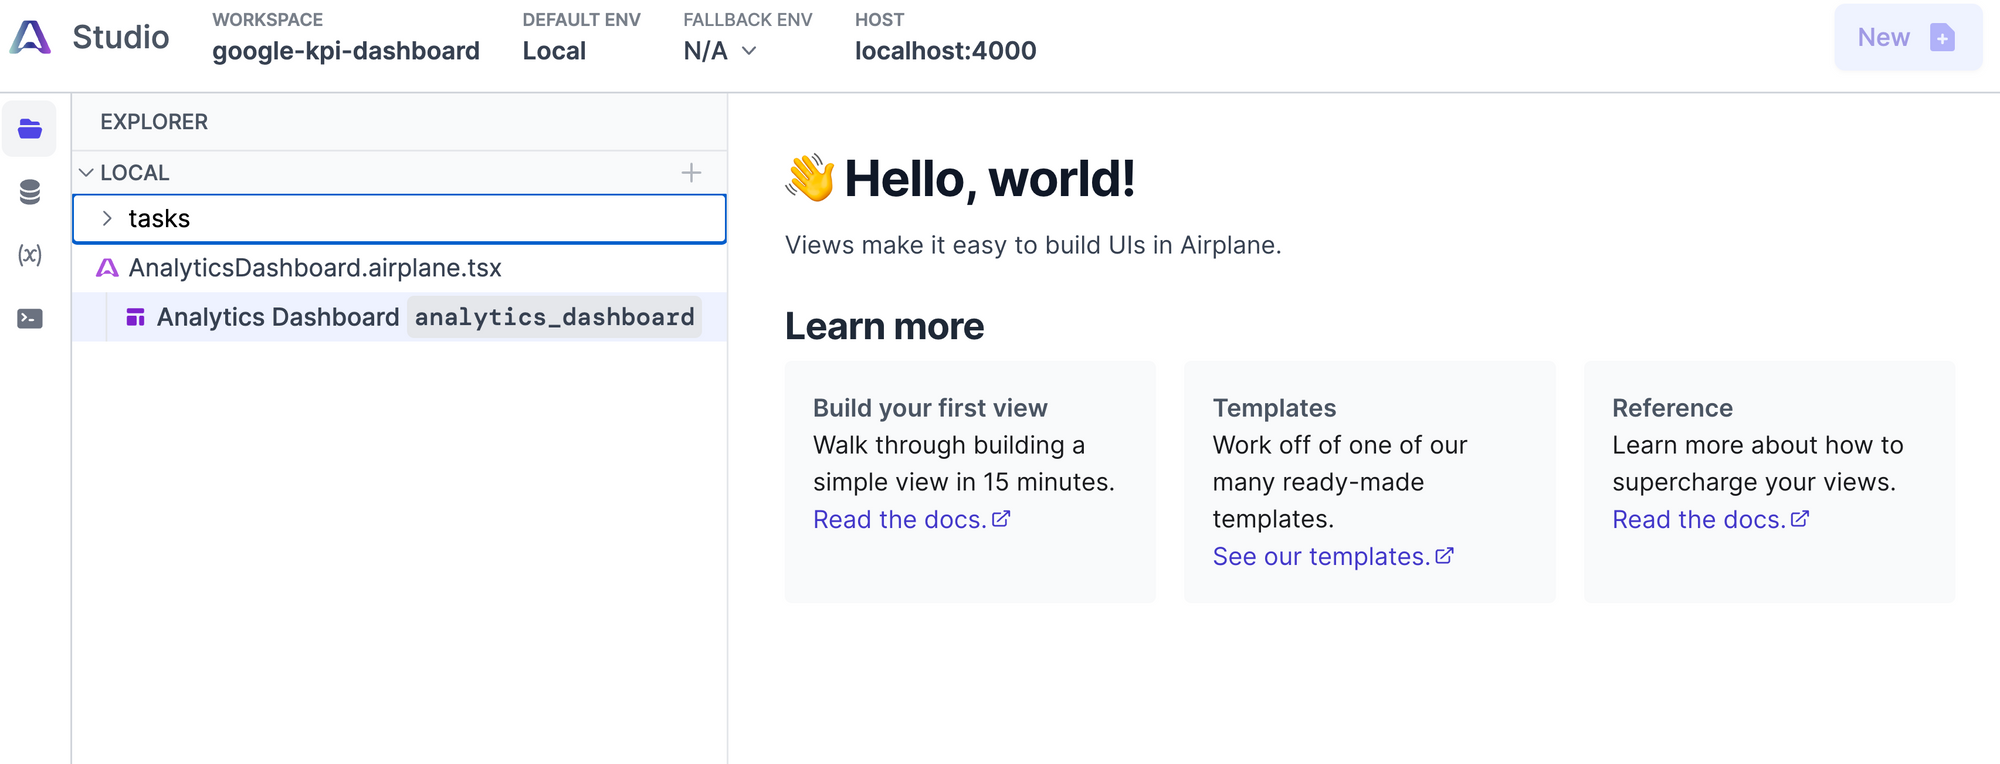
At this point, the Airplane CLI has created all the files necessary for you to test your first view. Run airplane dev and press the ENTER key when prompted to open your new View in your browser.
This is where we’ll be able to see changes as we write the code to add to our View as well as any Tasks we create.
Set up environment variables in Airplane
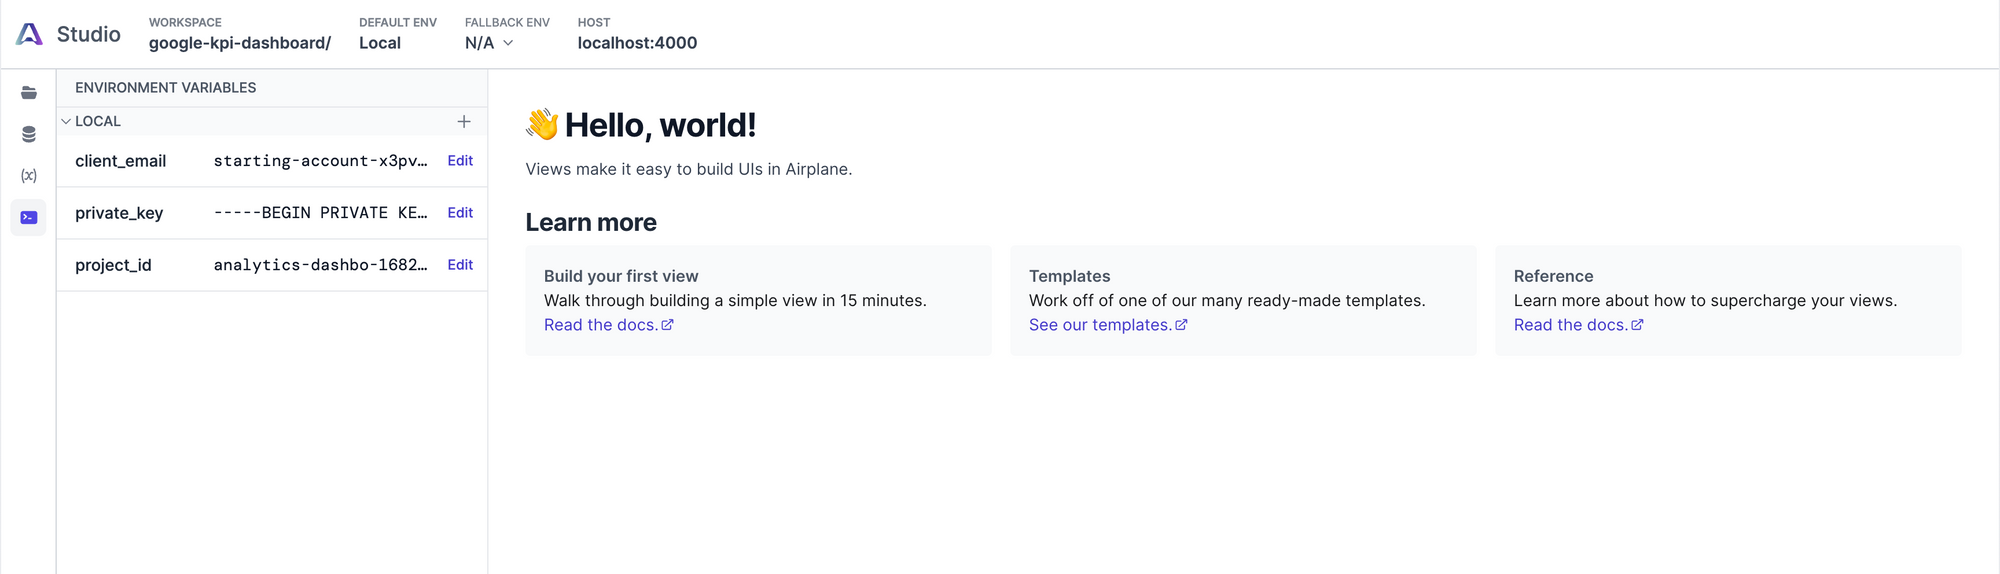
Since we have our Google Analytics credentials, we need to store them in Airplane so that our Tasks will be able to access them later. From the JSON file that you downloaded, set up the project_id, private_key and client_email as environment variables in Airplane so that we can access them later. In addition, create a property_id environment variable that holds your Property ID from Google Analytics.
Create a new Task
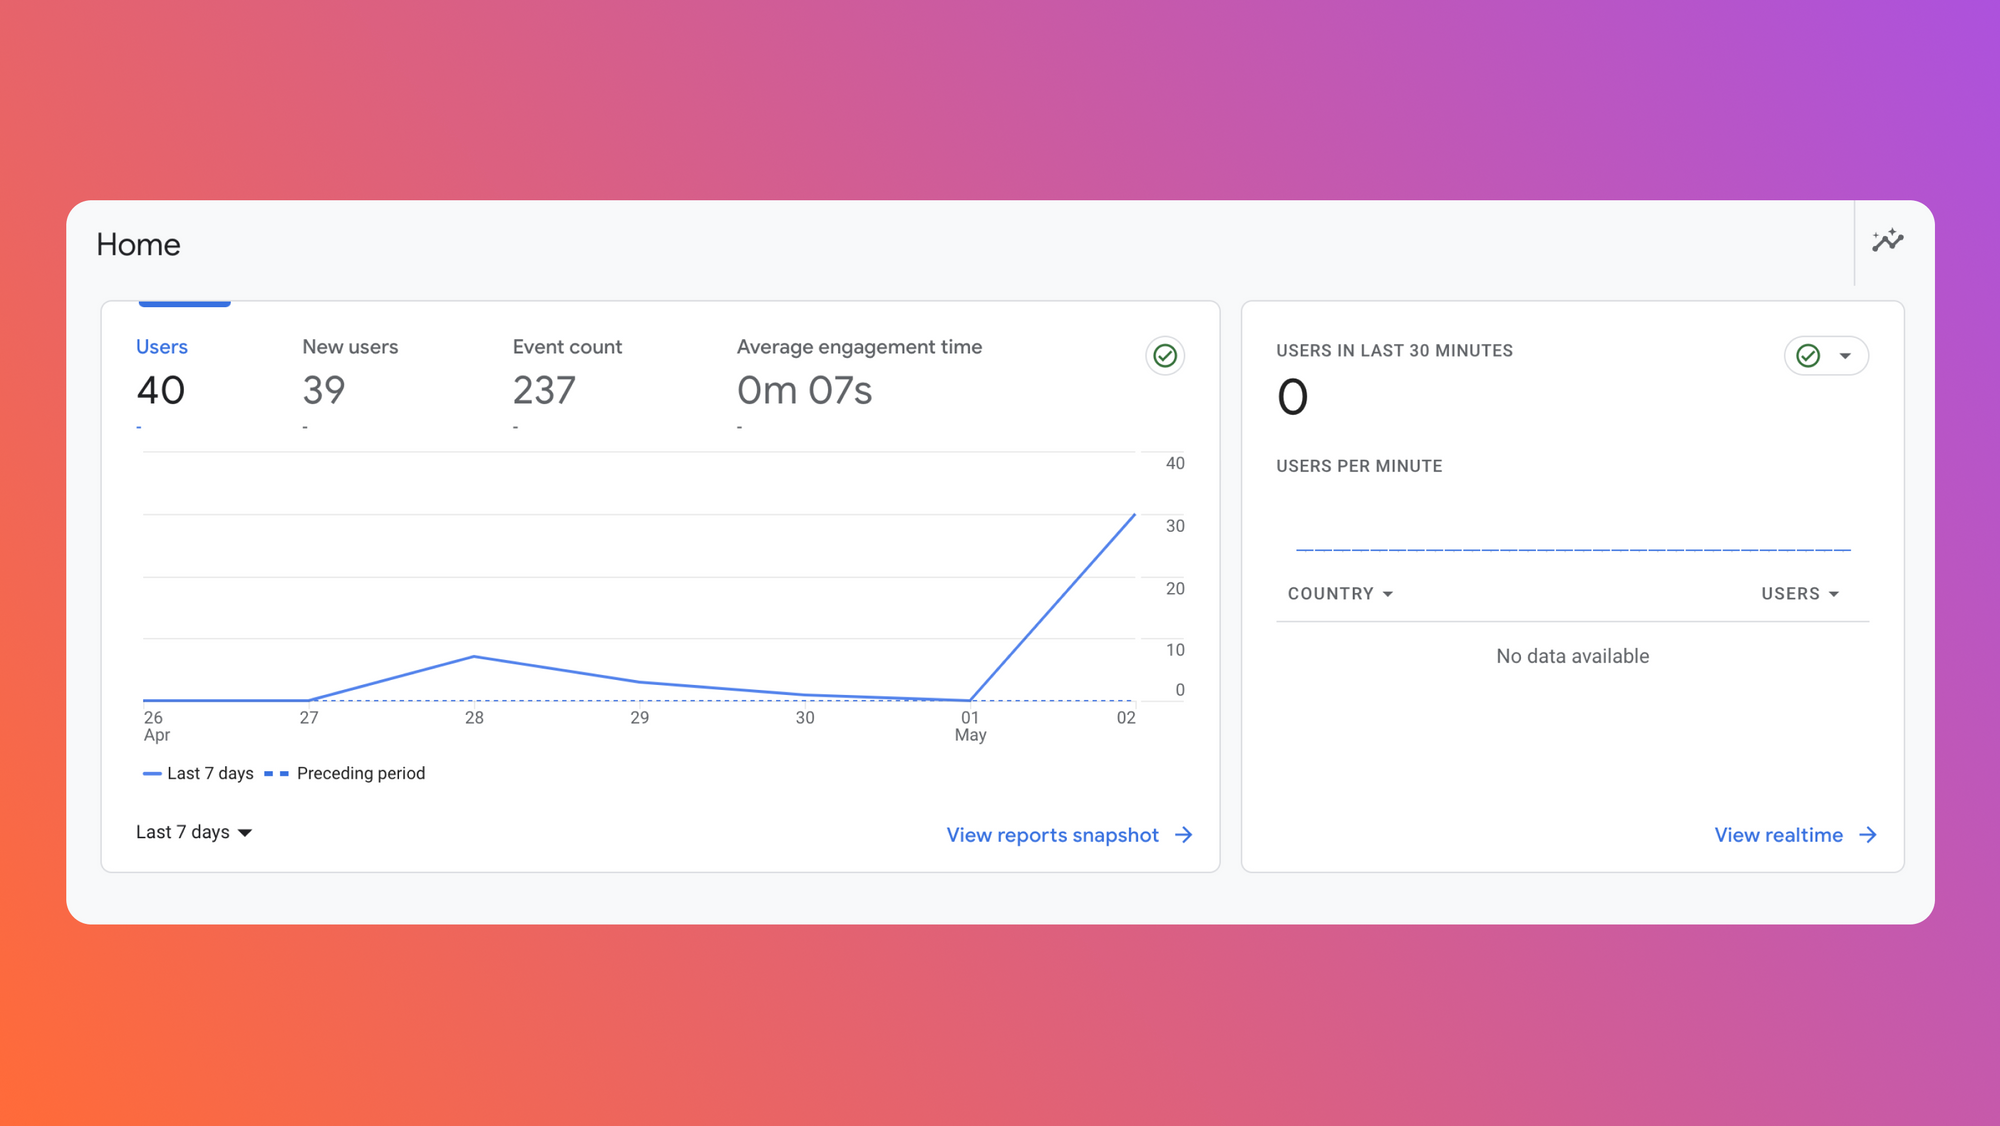
Next, we need to create a Task to actually read data from Google Analytics. In this first task, we’ll be gathering data on how many users visited your website over the last 7 days.
We’ll be using Node.js tasks in our example, but Tasks can be SQL queries, REST API calls, Python scripts, or Shell scripts. In the command line, run airplane init, but this time, select a Task instead of a View and fill out the remainder of the options.
To keep your file structure a bit more clear, it would be helpful to create a tasks directory inside your main Airplane project and move this file in there once it’s generated.
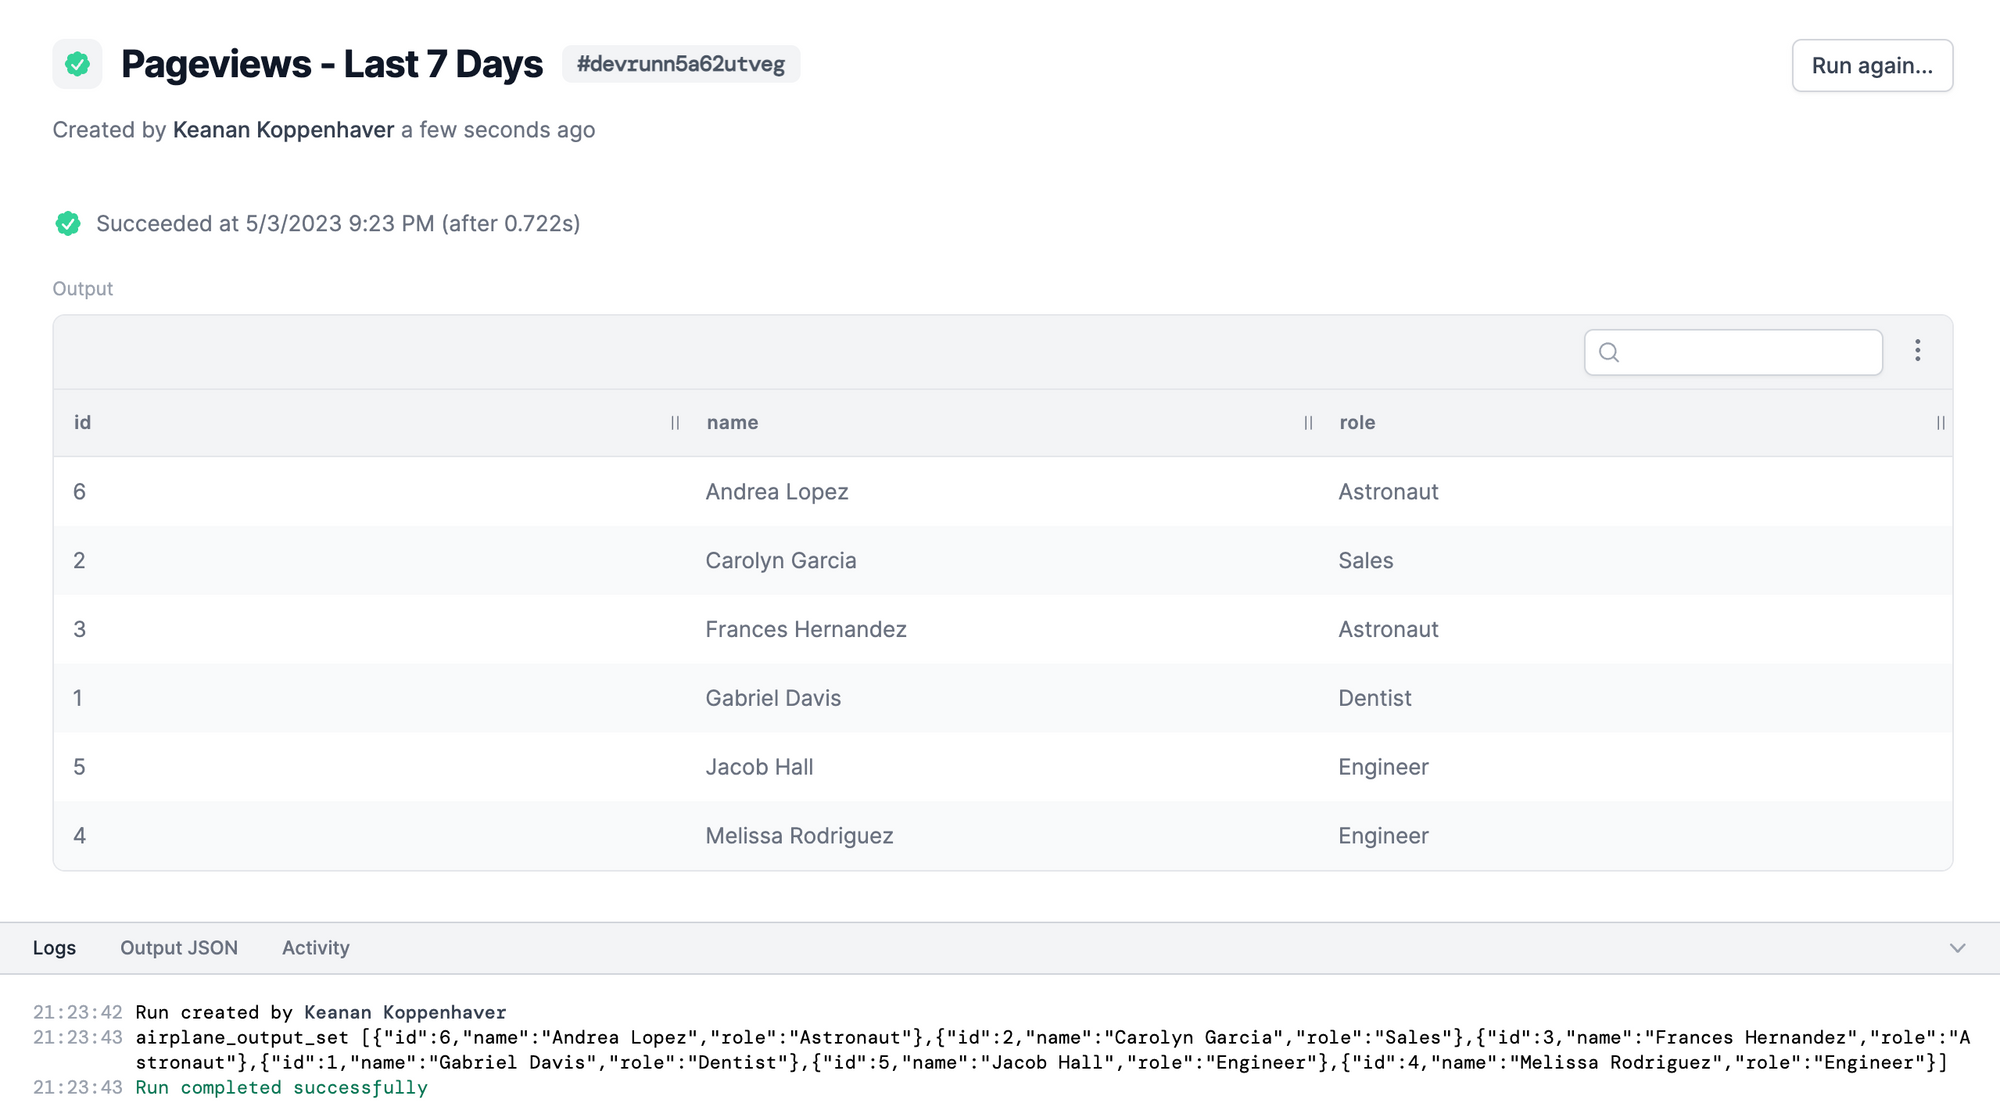
Now that we’ve created our Task, we should see it available in Airplane Studio, where we can execute it to confirm that it returns the default output.
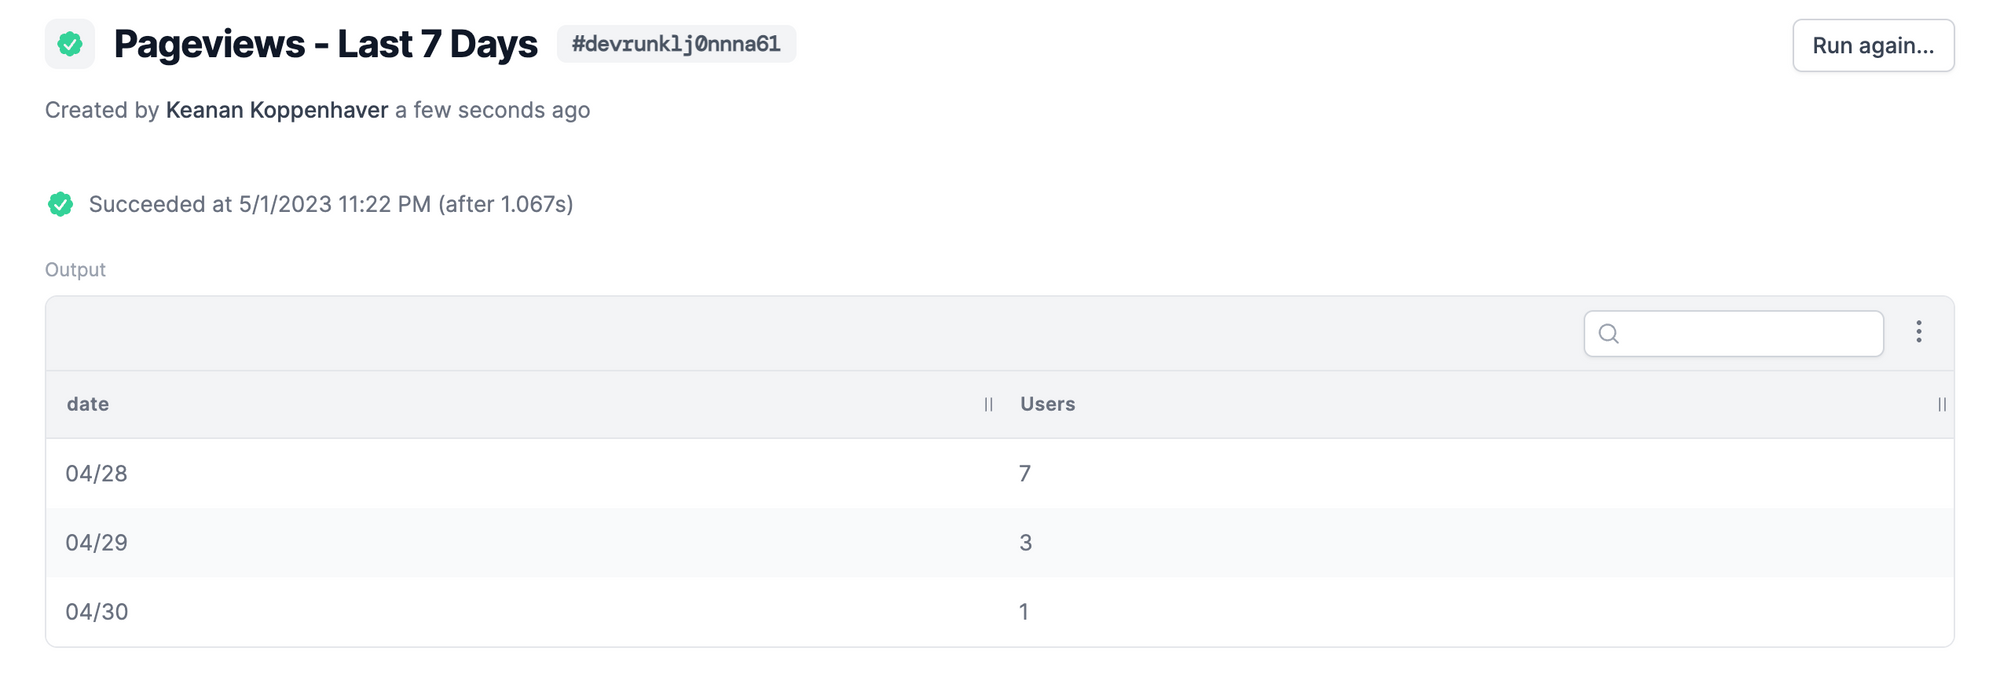
After we see our Task run successfully, it’s time to customize our Task to pull data from GA. If you haven’t already, make sure the Google Analytics library is installed by running npm install @google-analytics/data --save. Once we have that installed, we can add the actual Javascript for our Task.
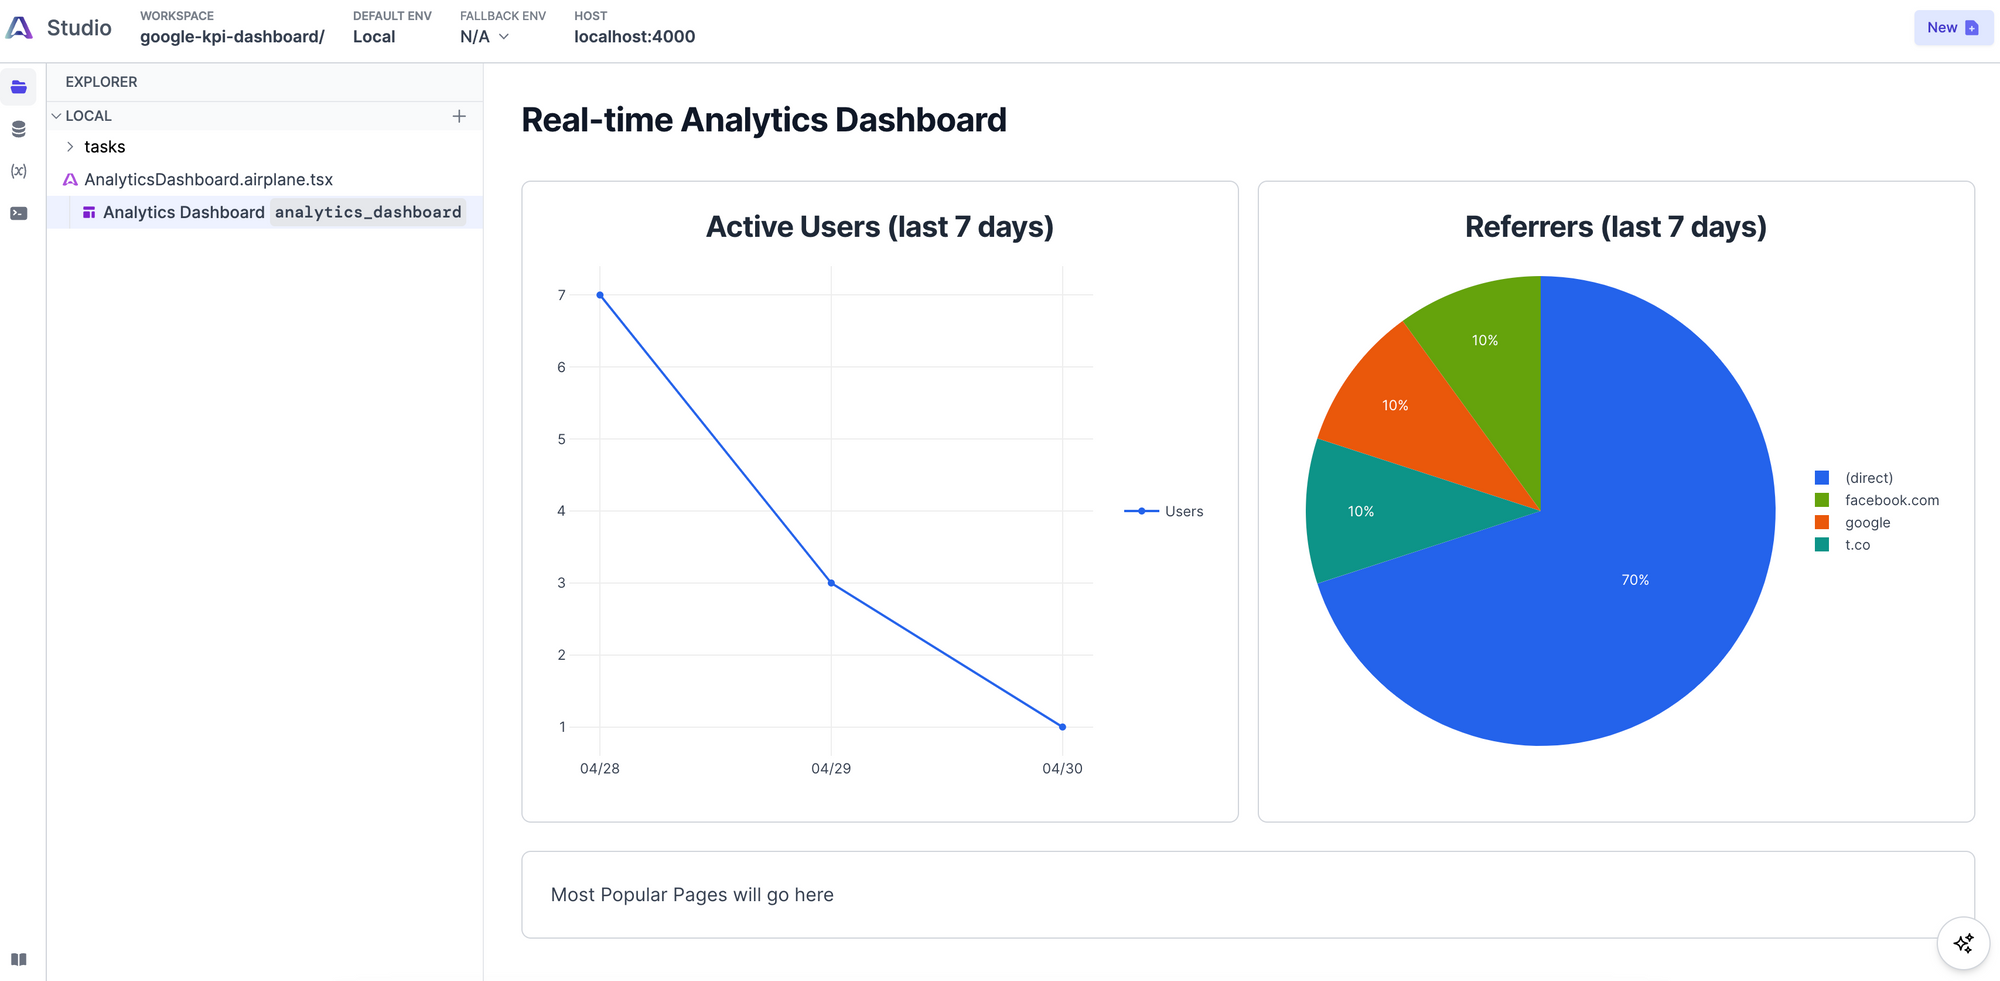
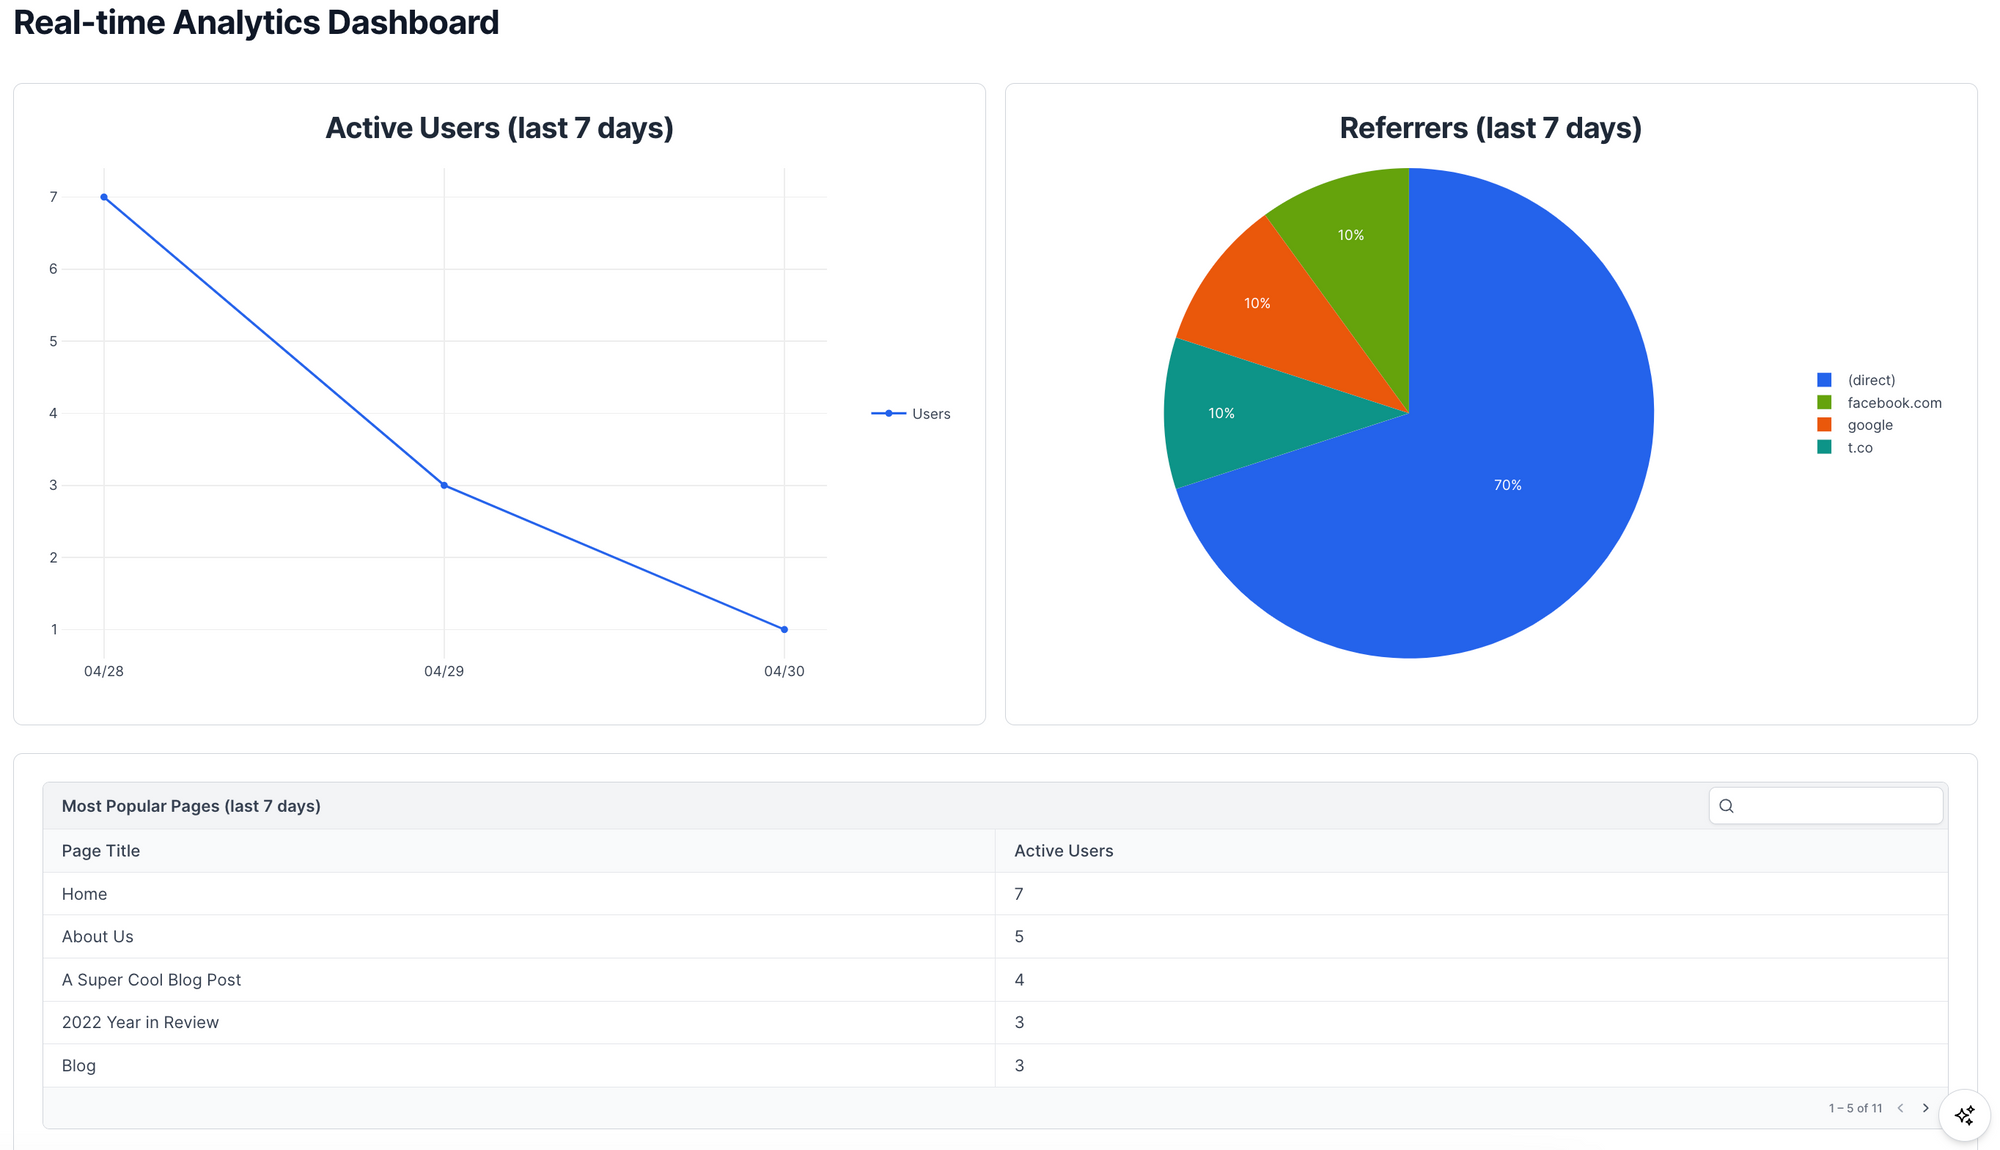
When we run this task in Airplane Studio, we should see an output of the total number of users who visited our site each day for the last 7 days.
Now that we are pulling in this data, we can use it to populate our View.
Fill in the View with dynamic data
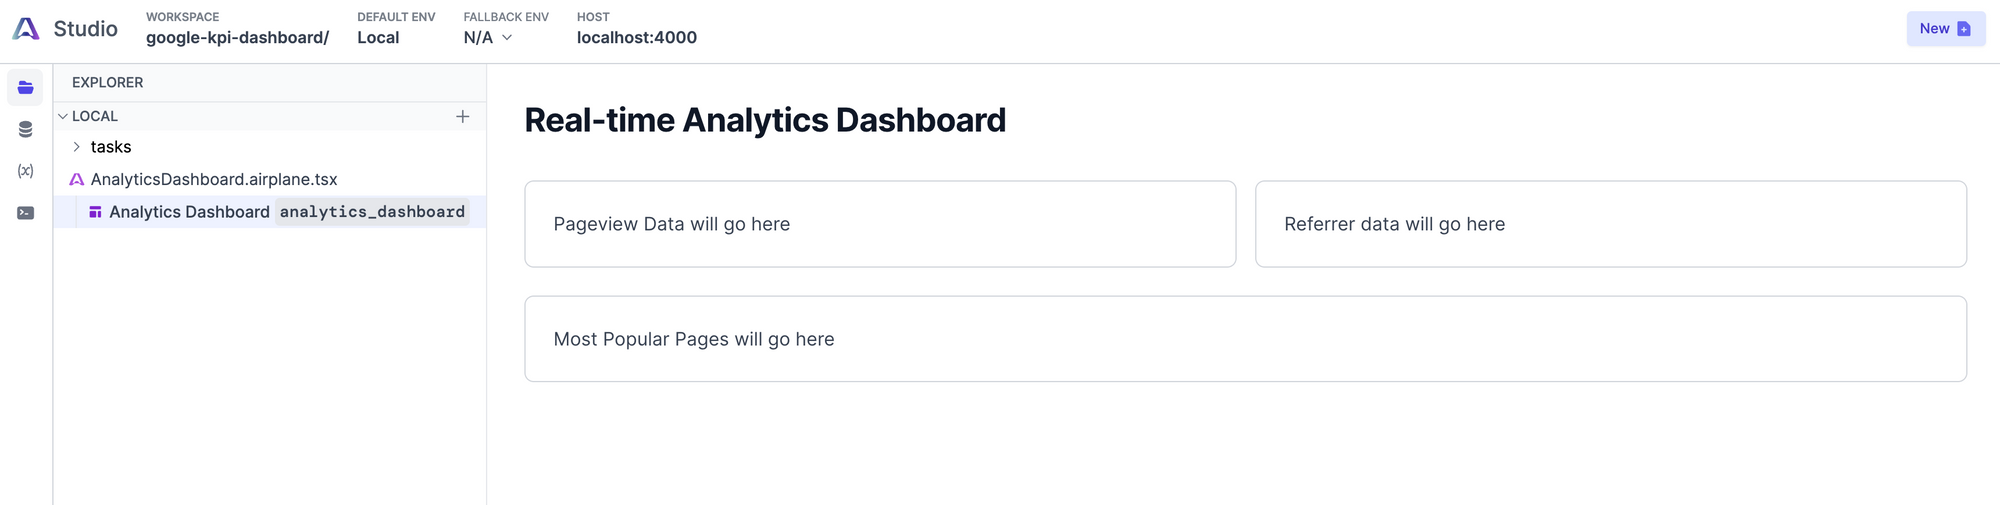
To set up the general layout of our View, we’ll take advantage of Airplane’s Components, which are prebuilt React components designed to help you build out the visual side of your tools quickly and easily.
To get the basic layout of our View set up, we can add some placeholder components.
This gives us a basic view, although still without dynamic data.
To change that, we can create a Task-backed component that utilizes the Task we created in the previous step.
Now that the Chart component is associated with our pageviews_last_7_days task, re-rendering the view will show us the data from Google Analytics inside that Chart component of the View.
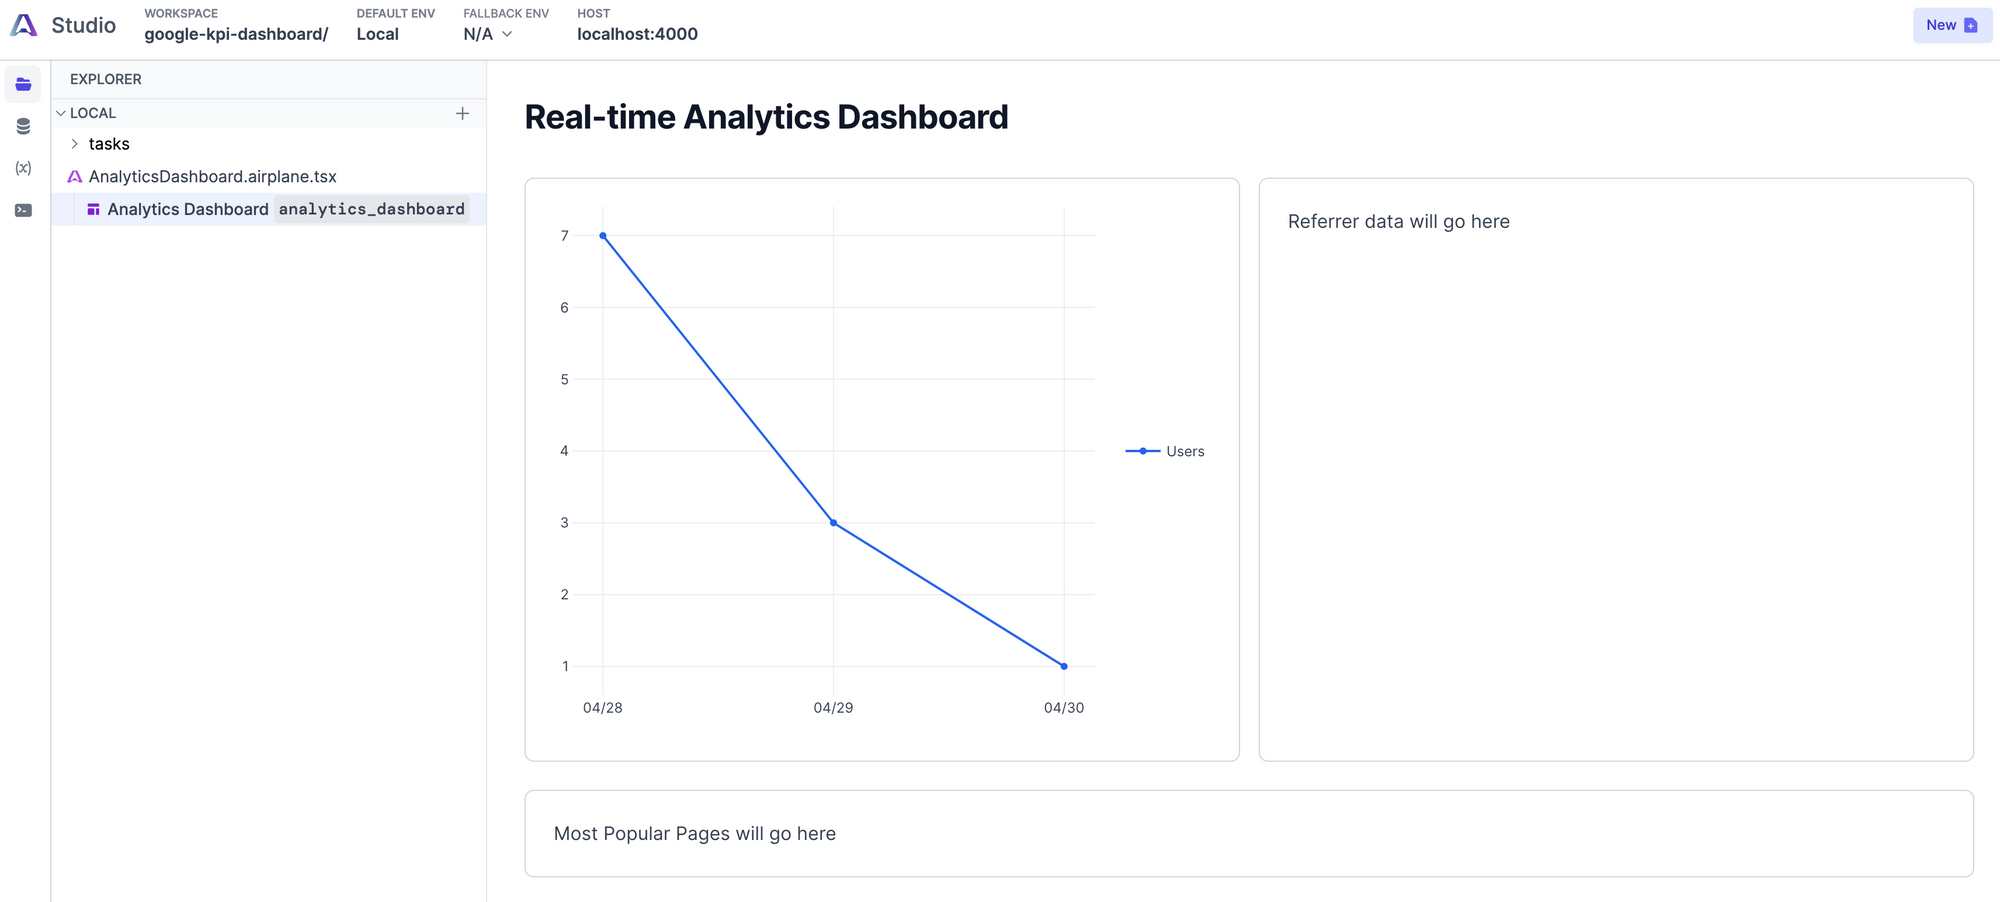
Anytime we refresh this View, our Task will be called and new, up-to-date data will be fetched from Google Analytics automatically.
Add another Task to query for new users
To add another Task that queries for how new users discovered your website (which website they were referred from), we can go through the same process as above, running airplane init (from within the tasks directory we created) and filling out the necessary information will create our new Task. For this task, we’ll pull data on which website drove traffic to ours.
Updating our View to reference our Task looks like this:
And with that, we can see both our charts rendering properly.
Add another Task for most popular pages
Finally, let’s create a Task that shows our most popular pages. Once again, run airplane init and create your new Task. After the Task has been created, fill it out as follows:
Once we have confirmed that this Task runs successfully, we can create a Table in our View that puts this data on our dashboard.
And just like that, you have a fully functioning Google Analytics dashboard!
Deploying to Airplane
Now that our View and Tasks are set up and running successfully in our local environment, we need to deploy them to Airplane so others in our organization can access them. Running airplane deploy from the root of your project will prompt you with a couple of questions and then take a couple minutes to deploy. Once the deployment process is complete, you’ll be able to see your new View inside your Airplane Library.
Expanding your internal tools library with Airplane
You can expand your analytics dashboard with Airplane’s pre-built library of Components and build other Tasks to pull from other data sources and create an even more robust business intelligence dashboard.
We can't wait to see what you build with Airplane. If you have any questions or want to chat with us, you can email us at [email protected]!