

Uploading large files can be a tedious and unpredictable task. Flaky networks and faulty file servers can cause uploads to fail unexpectedly, forcing users to reupload the files and costing both time and money. Conventional approaches to file uploads (such as utilizing regular HTTP requests that transmit files via multipart/form-data) are not efficient because they rely on single requests to upload the entire file. If such a request fails, the entire file has to be uploaded again, which is time-consuming.
To avoid this, users need a resumable file upload mechanism that can break down large files into small chunks and support pausing and resuming uploads. Smaller chunks mean that each failed attempt will result in the loss of only a small amount of data and time. In addition, the resumable mechanism ensures that users don't need to upload the whole file again if the upload of a single part fails. UpChunk is a JavaScript module that allows users to upload files in a resumable, chunked fashion. A system like UpChunk can help users break down their large files for easier uploads. Users can utilize UpChunk alongside Airplane to create an internal tool that supports uploading large files in a resumable fashion.
In this article, we'll walk through how to easily upload large files (such as videos) to remote servers using UpChunk and Airplane.
What is UpChunk?
UpChunk is a JavaScript module that supports resumable file uploads. It was created by Mux to be used with Mux direct uploads but can be configured to be used with any server that supports resumable uploads.
The module splits the file into chunks of a defined length and then makes a PUT request to the server for each chunk with the correct Content-Length and Content-Range headers. If a chunked upload fails, it retries automatically. And, if needed, users can pause and resume an upload.
Resumable file uploads help upload large files efficiently in cases like cloud backups of app databases or when sharing large files with colleagues or clients. In this tutorial, we'll use the Mux Video API as the data store to upload video files. As mentioned previously, we can use any file server as long as it supports resumable file uploads, but Mux has been chosen here because it integrates seamlessly with UpChunk.
Uploading large files with UpChunk using Airplane
Airplane is the developer platform for building internal tools. With Airplane, users can transform scripts, queries, and more into powerful internal UIs and workflows. Airplane Tasks are single or multi-step functions that anyone on your team can use. Airplane also offers Views, its React-based platform to build UIs without having to deal with the boilerplate that a native React project comes with.
In the following section, we'll walk through how to set up a View in Airplane that allows users to upload large video files to the Mux Video API (the example data store for this tutorial) using UpChunk with the help of an Airplane Task.
To build the project, you'll need the following:
- Node.js set up on your system to develop and test the project (please use one of these versions: ^14, ^15, ^16, ^17, or ^18)
- npm, the official package manager for Node.js
- An Airplane account to deploy the project when it's ready
- The Airplane CLI set up on your system to develop the project
- A Mux account to use as a video data store
Once you're done setting up the prerequisites, it's time to get started with the initial configuration of the project. You can always refer to this GitHub project to view the complete source code for the tutorial.
Configuring Airplane
To begin, we need to create a new Airplane project using the Airplane CLI. This project will hold the source code, the View, and the Task. Start by logging in to the CLI with the following command:
This command will generate the following output:
Once we press Enter, we'll be redirected to the login page in the web browser. After we log in, we should see the following screen:
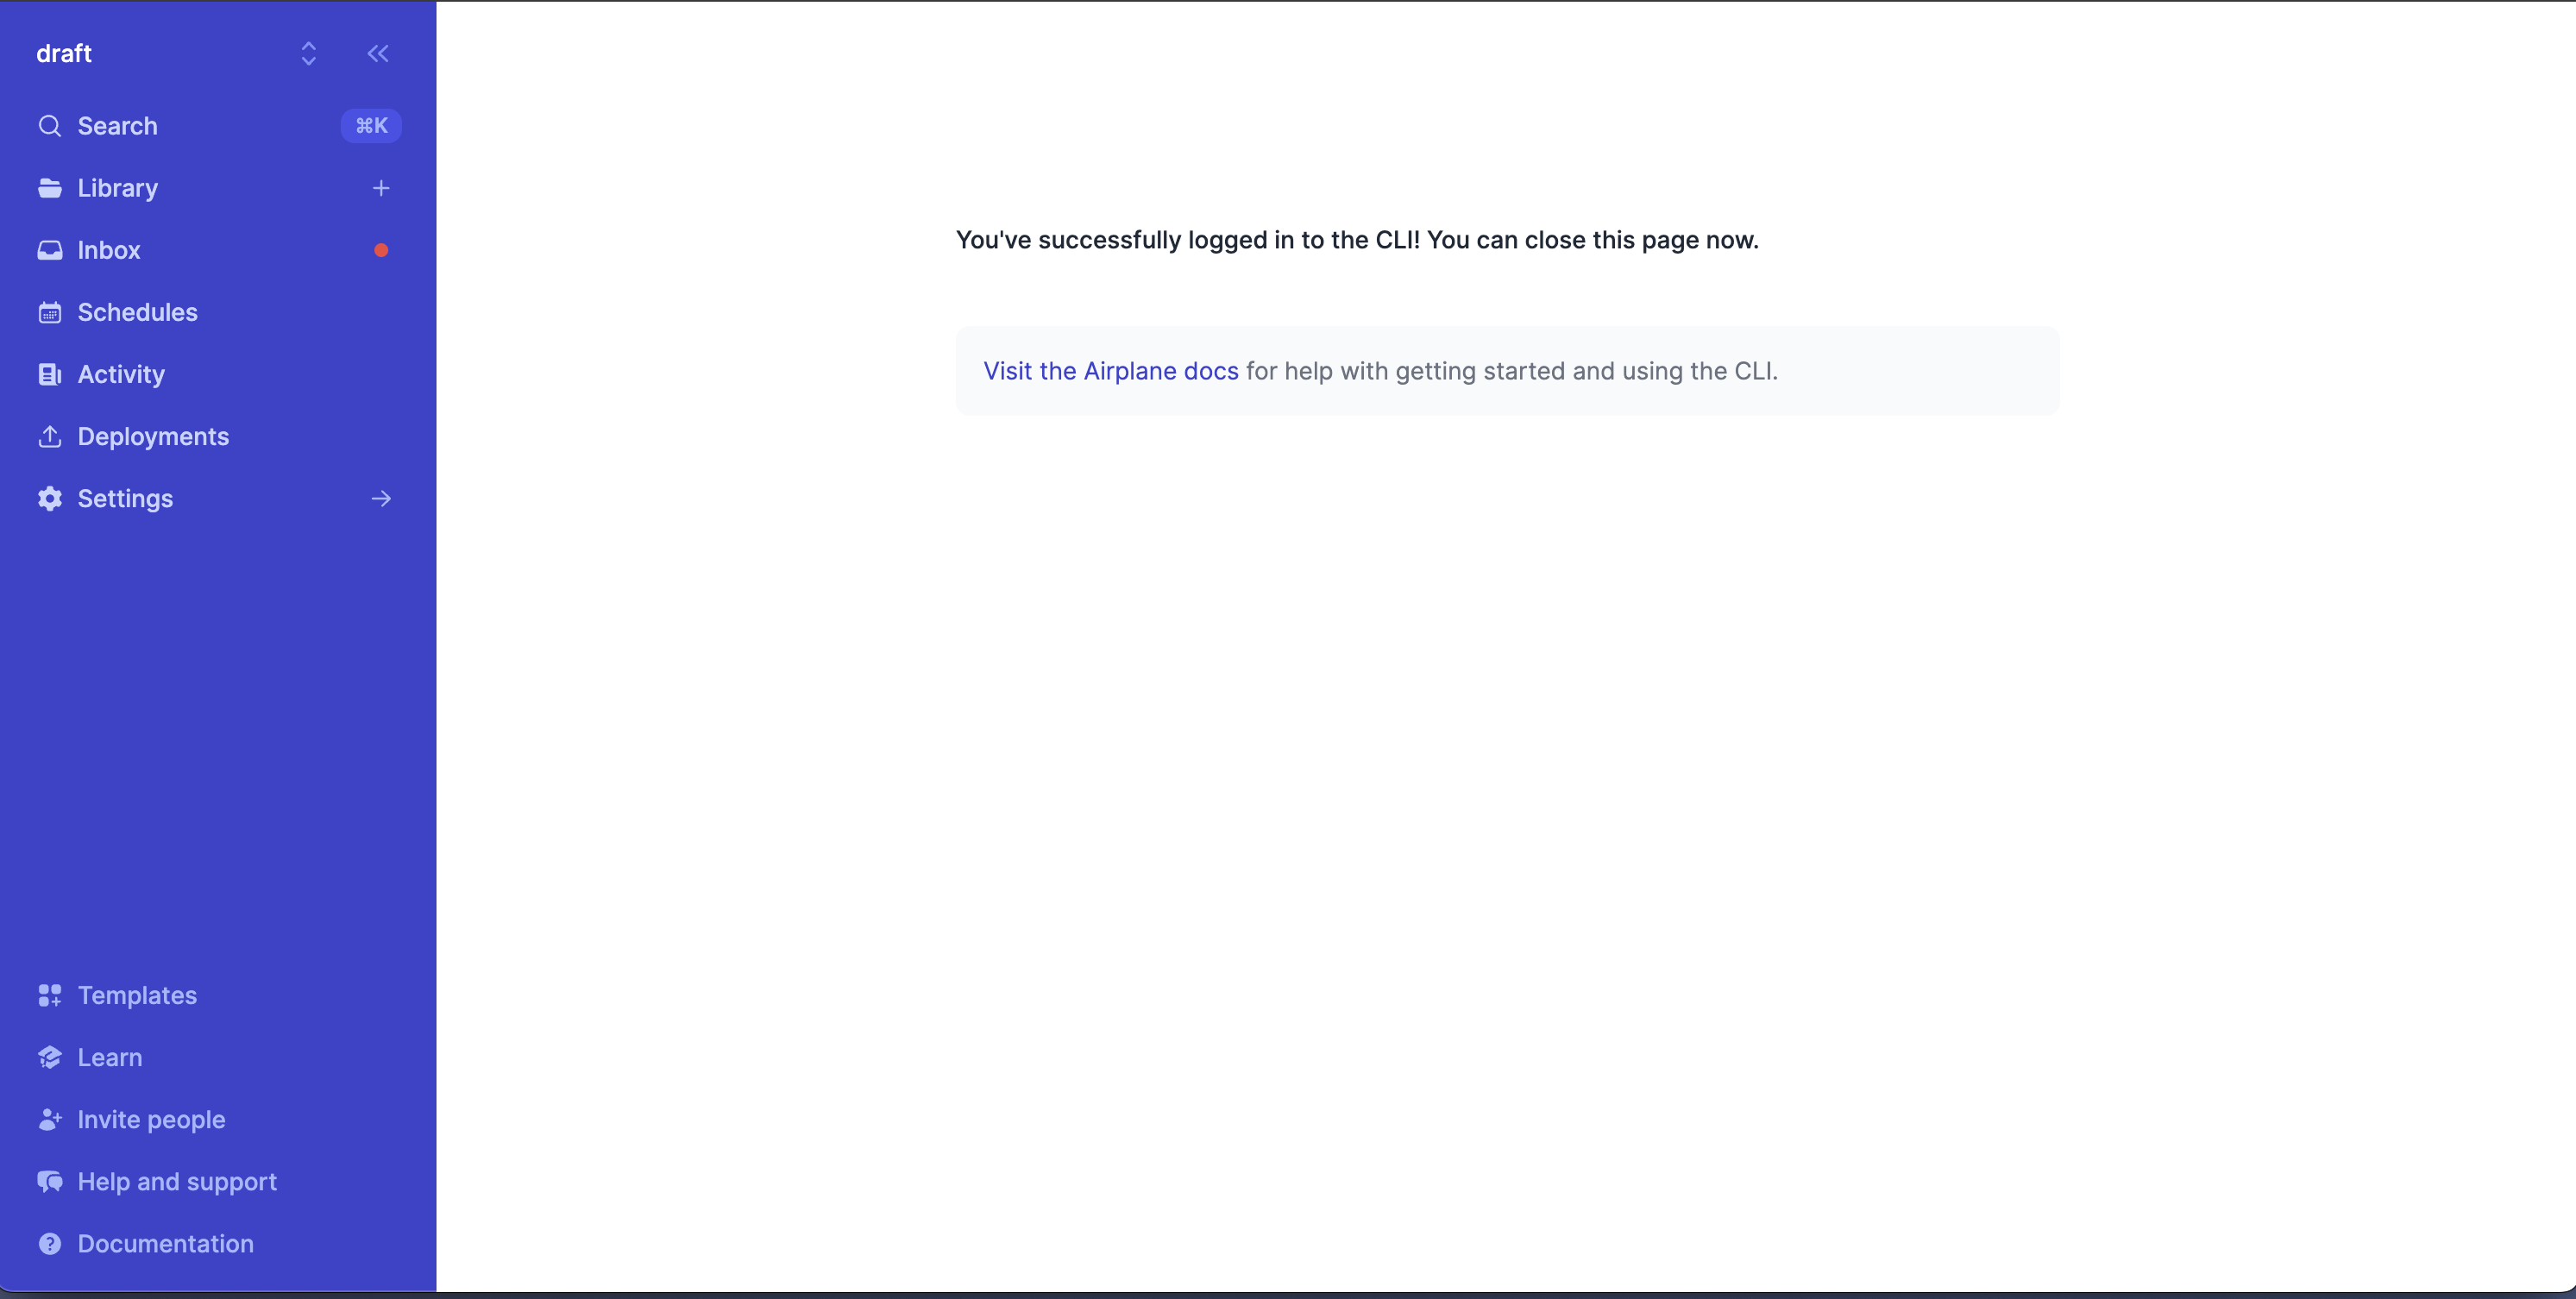
The CLI will be able to automatically access the Airplane credentials from the browser login, and we'll see the following output in the terminal:
Next, create a new directory for this Airplane project, change the terminal's working directory to it, and create a new Airplane project:
The Airplane CLI will ask us a series of questions related to the new project. Enter the following answers:
This completes the setup of a new Airplane project with a View in our system. Try running the project locally using the following command:
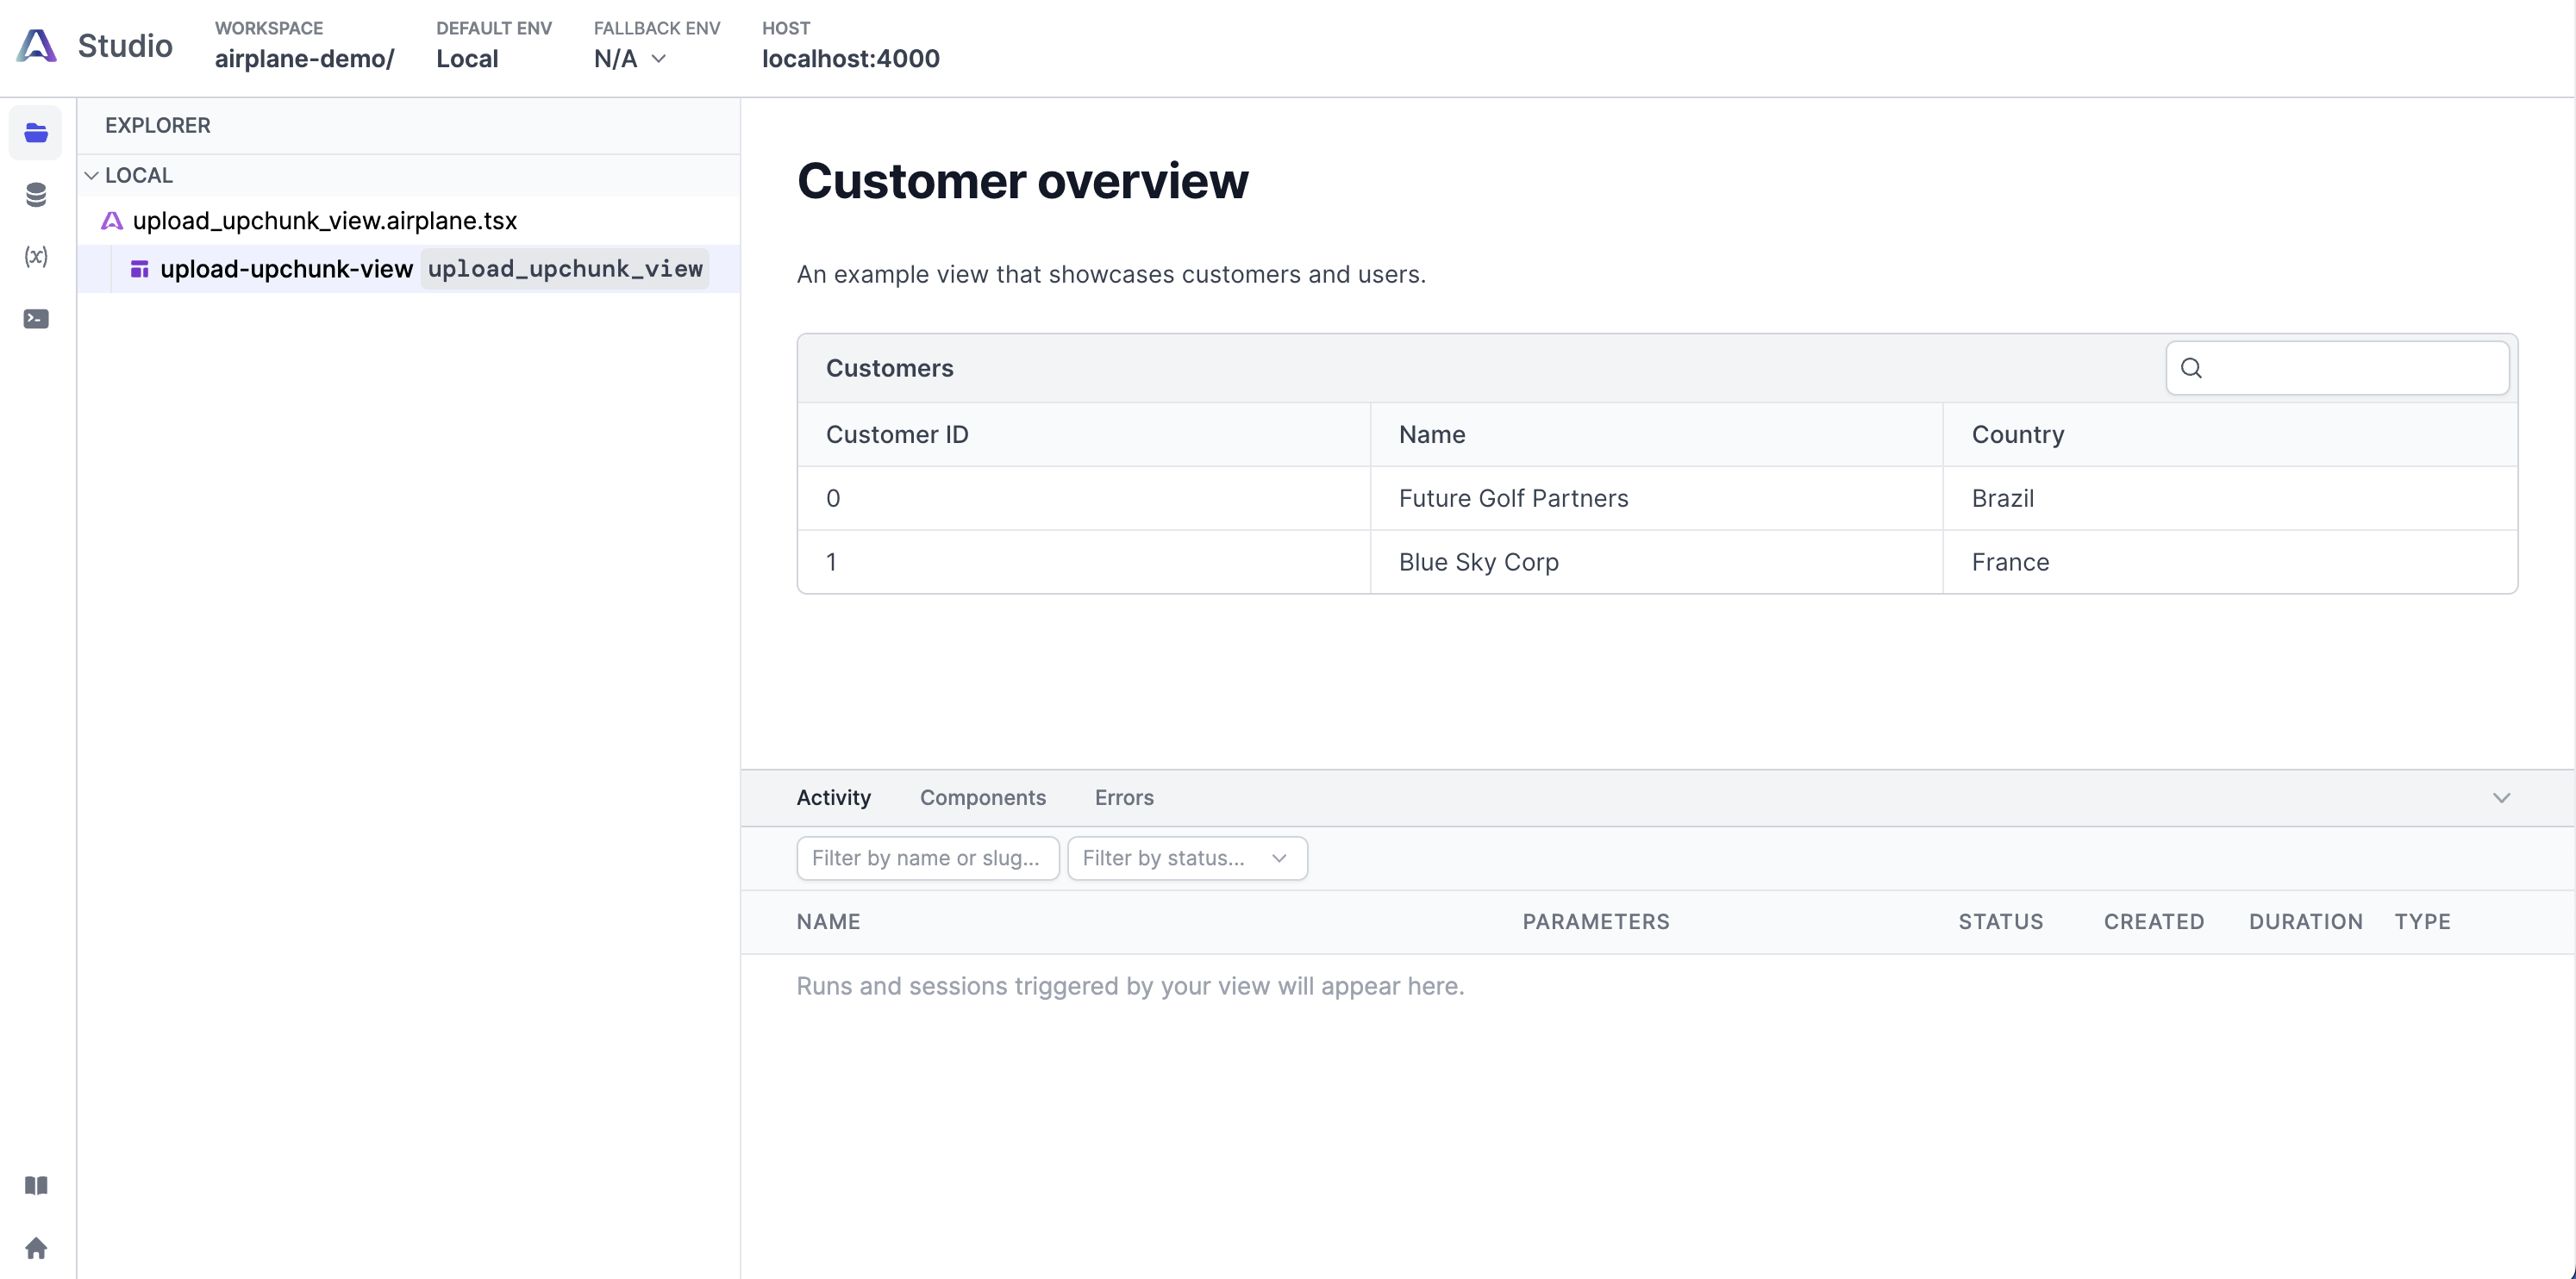
We should see something like this in the browser:
Next, we need to set up the UpChunk package in the project.
Setting up UpChunk
Using UpChunk to upload large files to Mux requires us to set up a Node.js-based job that generates an authenticated URL for the UpChunk JavaScript module to upload the file to. To install the Mux Node SDK, run the following command:
Then, install the Mux JavaScript module with the following command:
Setting up Mux
We are going to use Mux as the data store for the uploads because of its seamless integration with UpChunk. Mux is a video platform that enables developers to build video streaming and video-on-demand features into their applications. We'll use Mux's upload API as an example file upload server to use with UpChunk.
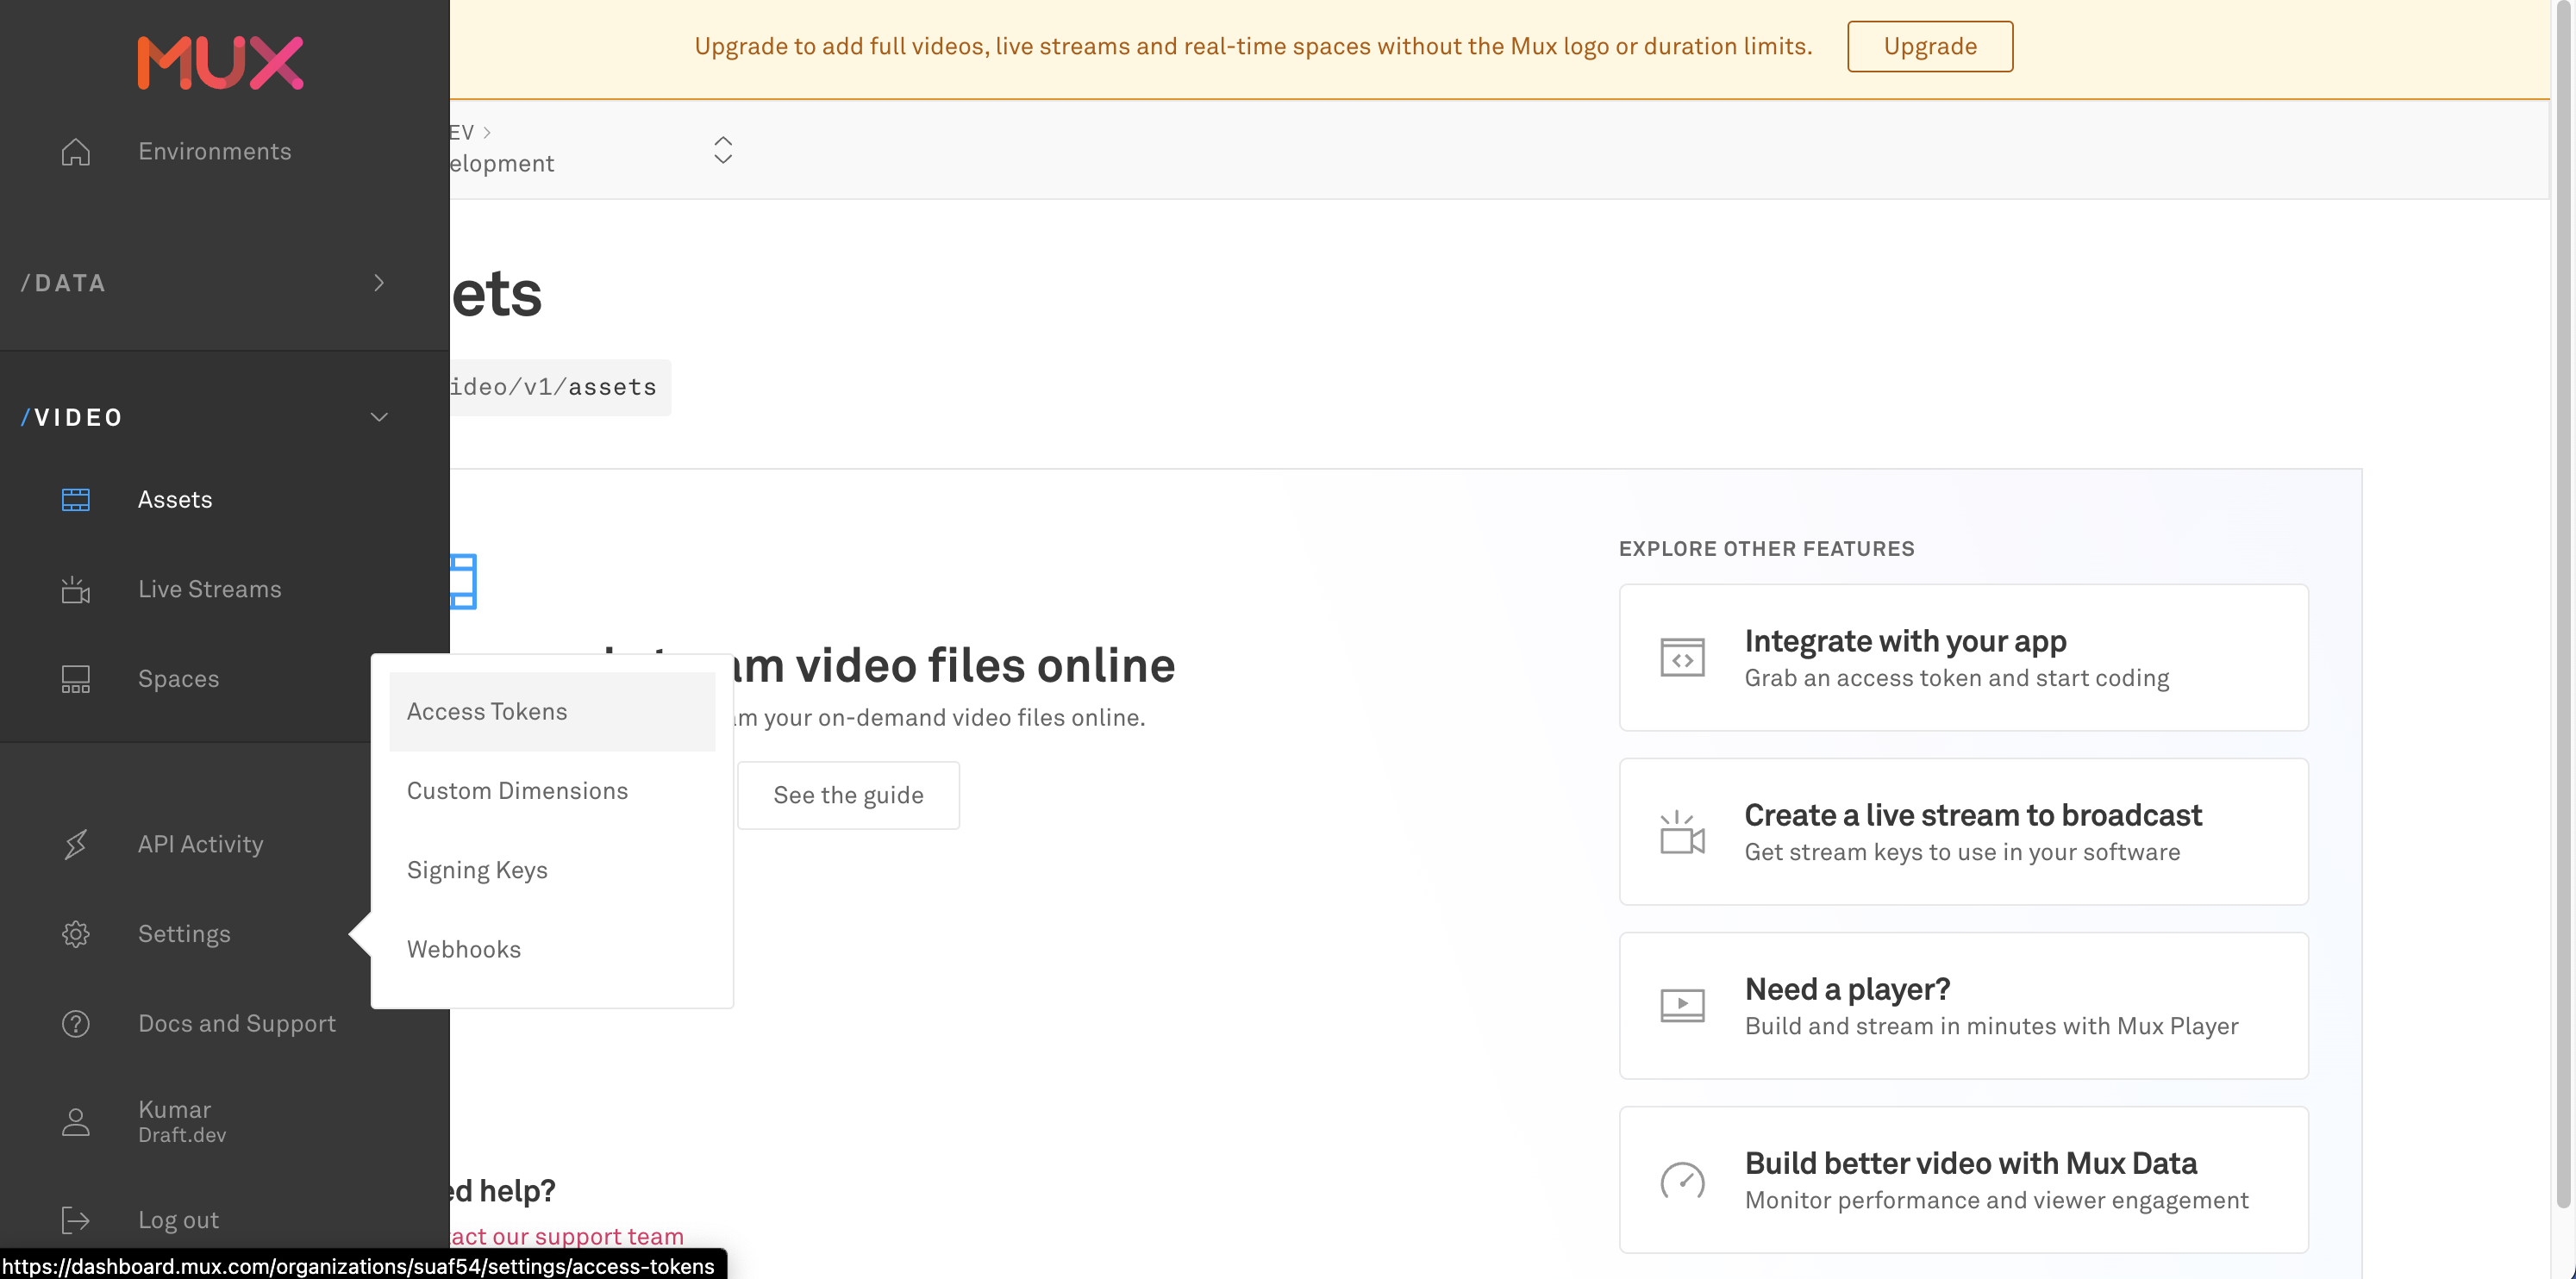
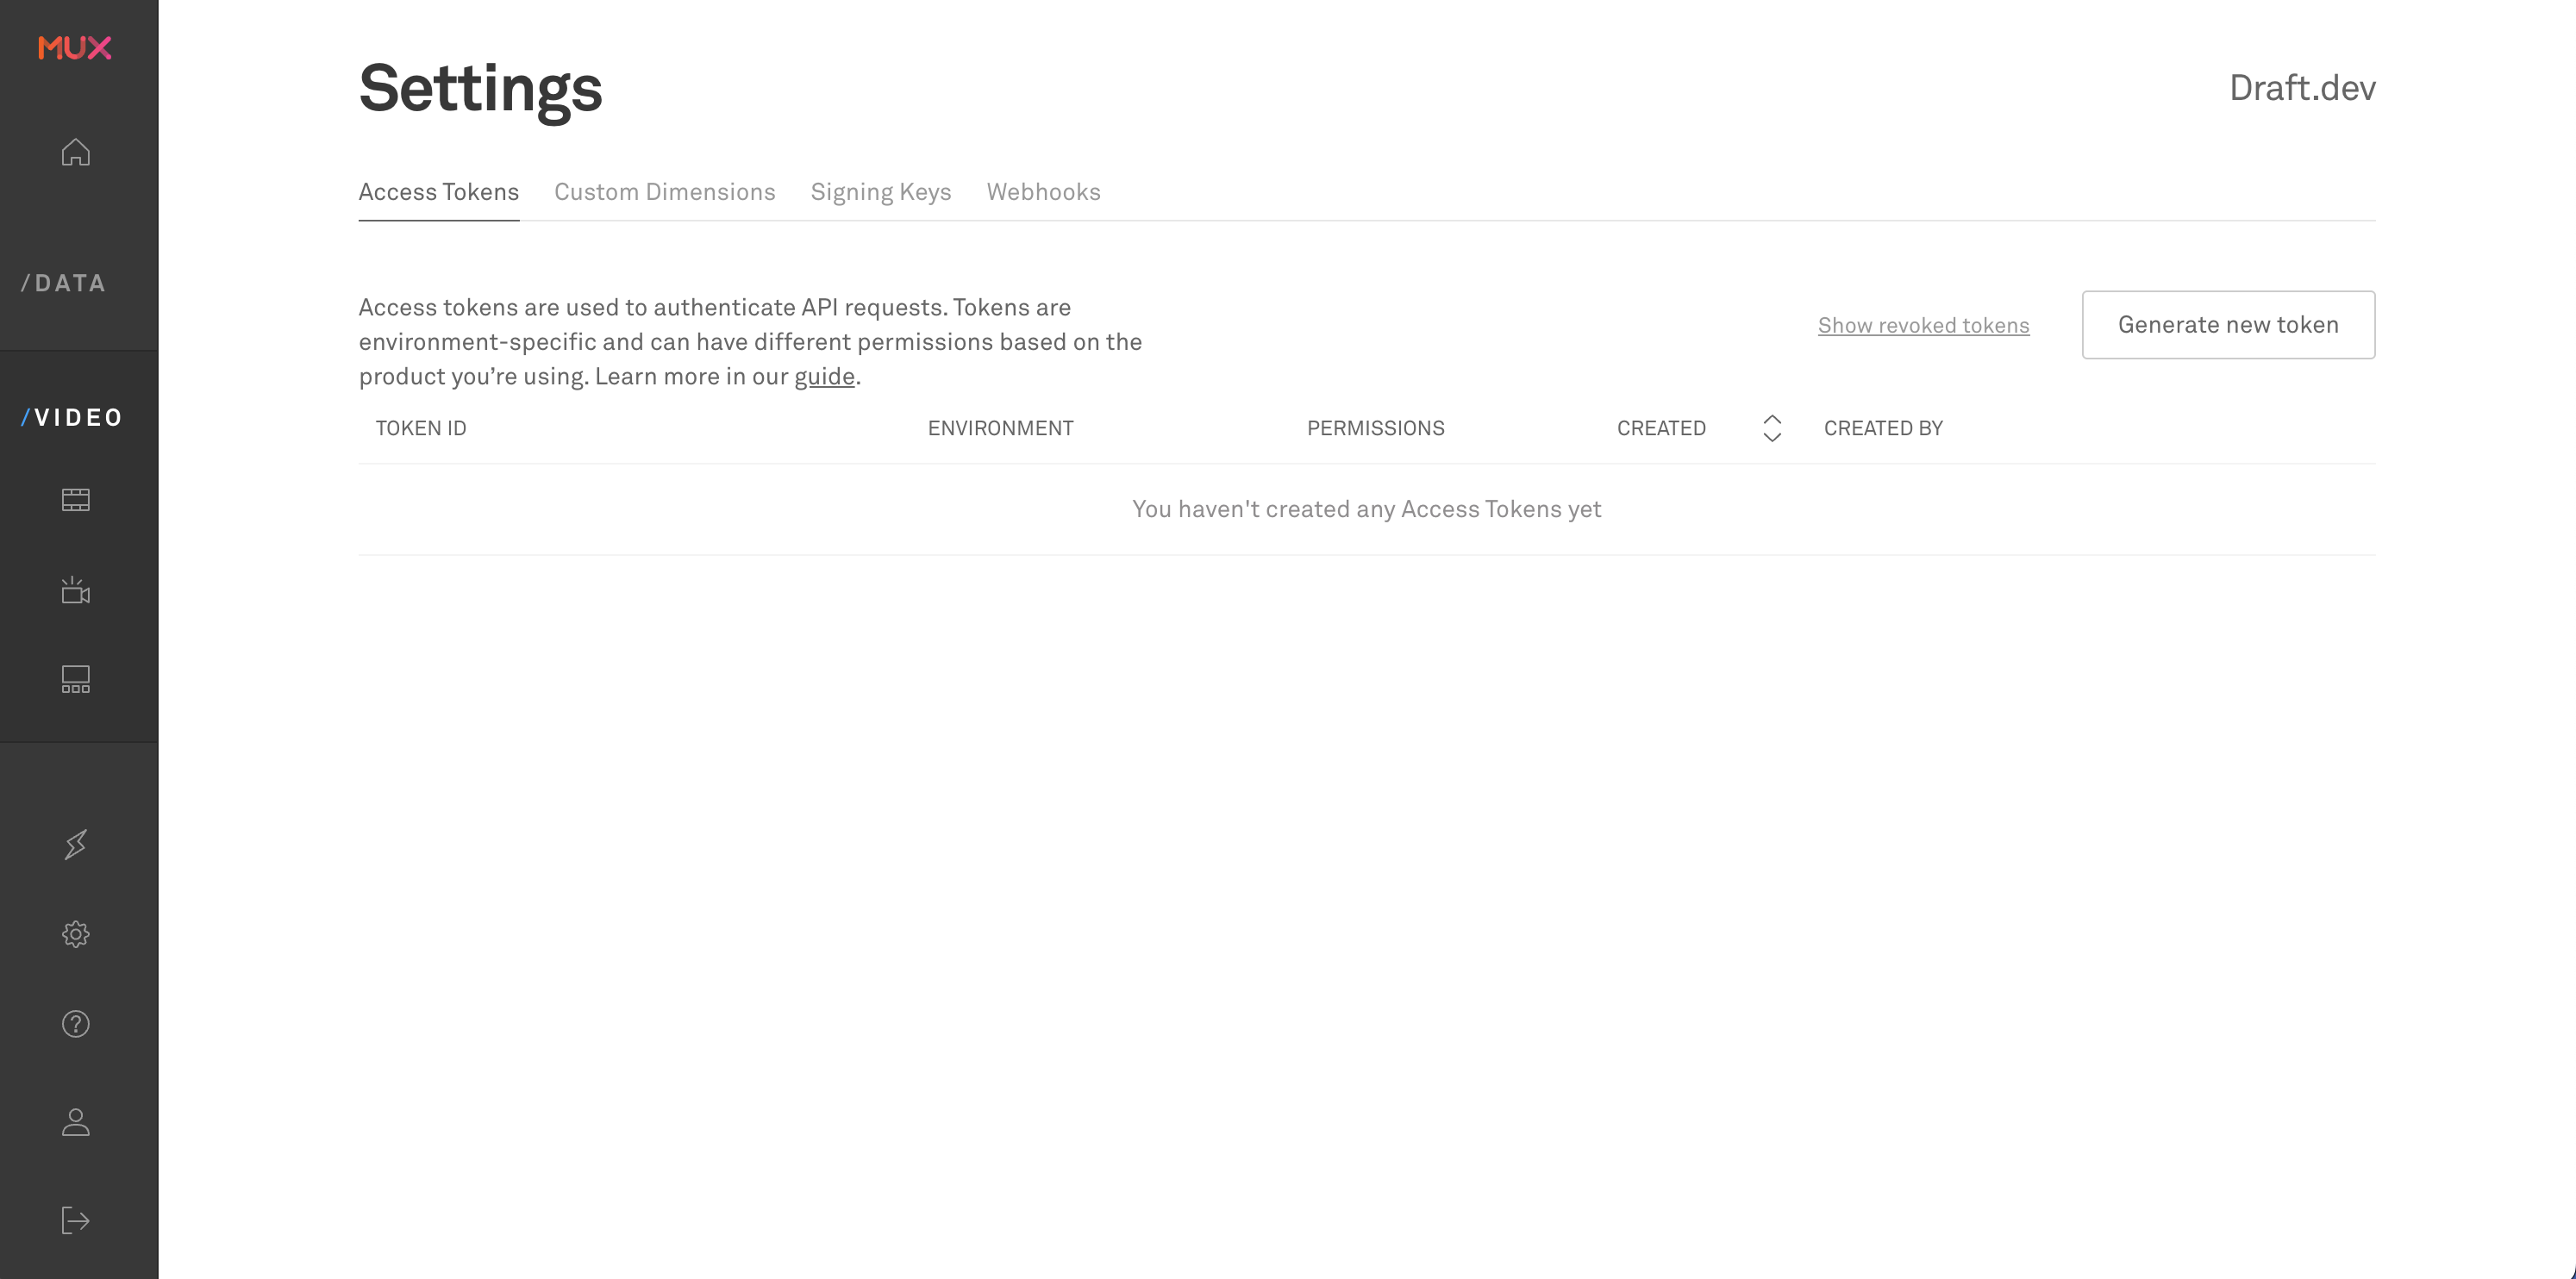
To use the Mux upload API, we need to generate an API token and secret key. Navigate to the Mux dashboard, click the Settings option at the bottom of the left navigation pane, and then click Access Tokens:
Click Generate new token to create a new API token:
A form asking for the details of the new access token should appear. Enter the following information and click Generate token:

Once the access token is created, the token and the secret key will be shown to us. Copy and store these in a safe location, as we'll need them later when setting up the Airplane project.
Once done, click Continue and close the window.
Building the project
At this point, we've set up everything we need to build the project. Next, we'll create a Task and a View to start uploading large files with UpChunk.
The Task will contain an SDK call that generates an authenticated upload URL for the UpChunk package to upload the video. Please note that this is specific to the data store we're currently using (i.e., Mux). Each data store may have its own unique method of authenticating or creating upload URLs.
The View will use the UpChunk JavaScript module to upload an MP4 file of the user's choosing via an authenticated URL to the Mux data store.
Building the Task
Create the upload-upchunk-task task by running the following command:
Then, open the upload_upchunk_task.airplane.ts file in the IDE and paste the following code snippet into it:
There are inline comments above to help us understand this code, but in summary, the purpose of the code is to use the Mux Node SDK to create an authenticated upload URL for the UpChunk package using the Mux API token and secret key.
Building the View
To update the View, paste the following code snippet into the file upload_upchunk_view.airplane.tsx:
There are inline comments to help us understand this code.
At this point, we've completed setting up the project. We can test it out locally by running the following command:
Once completed, the following screen will be displayed in the browser:
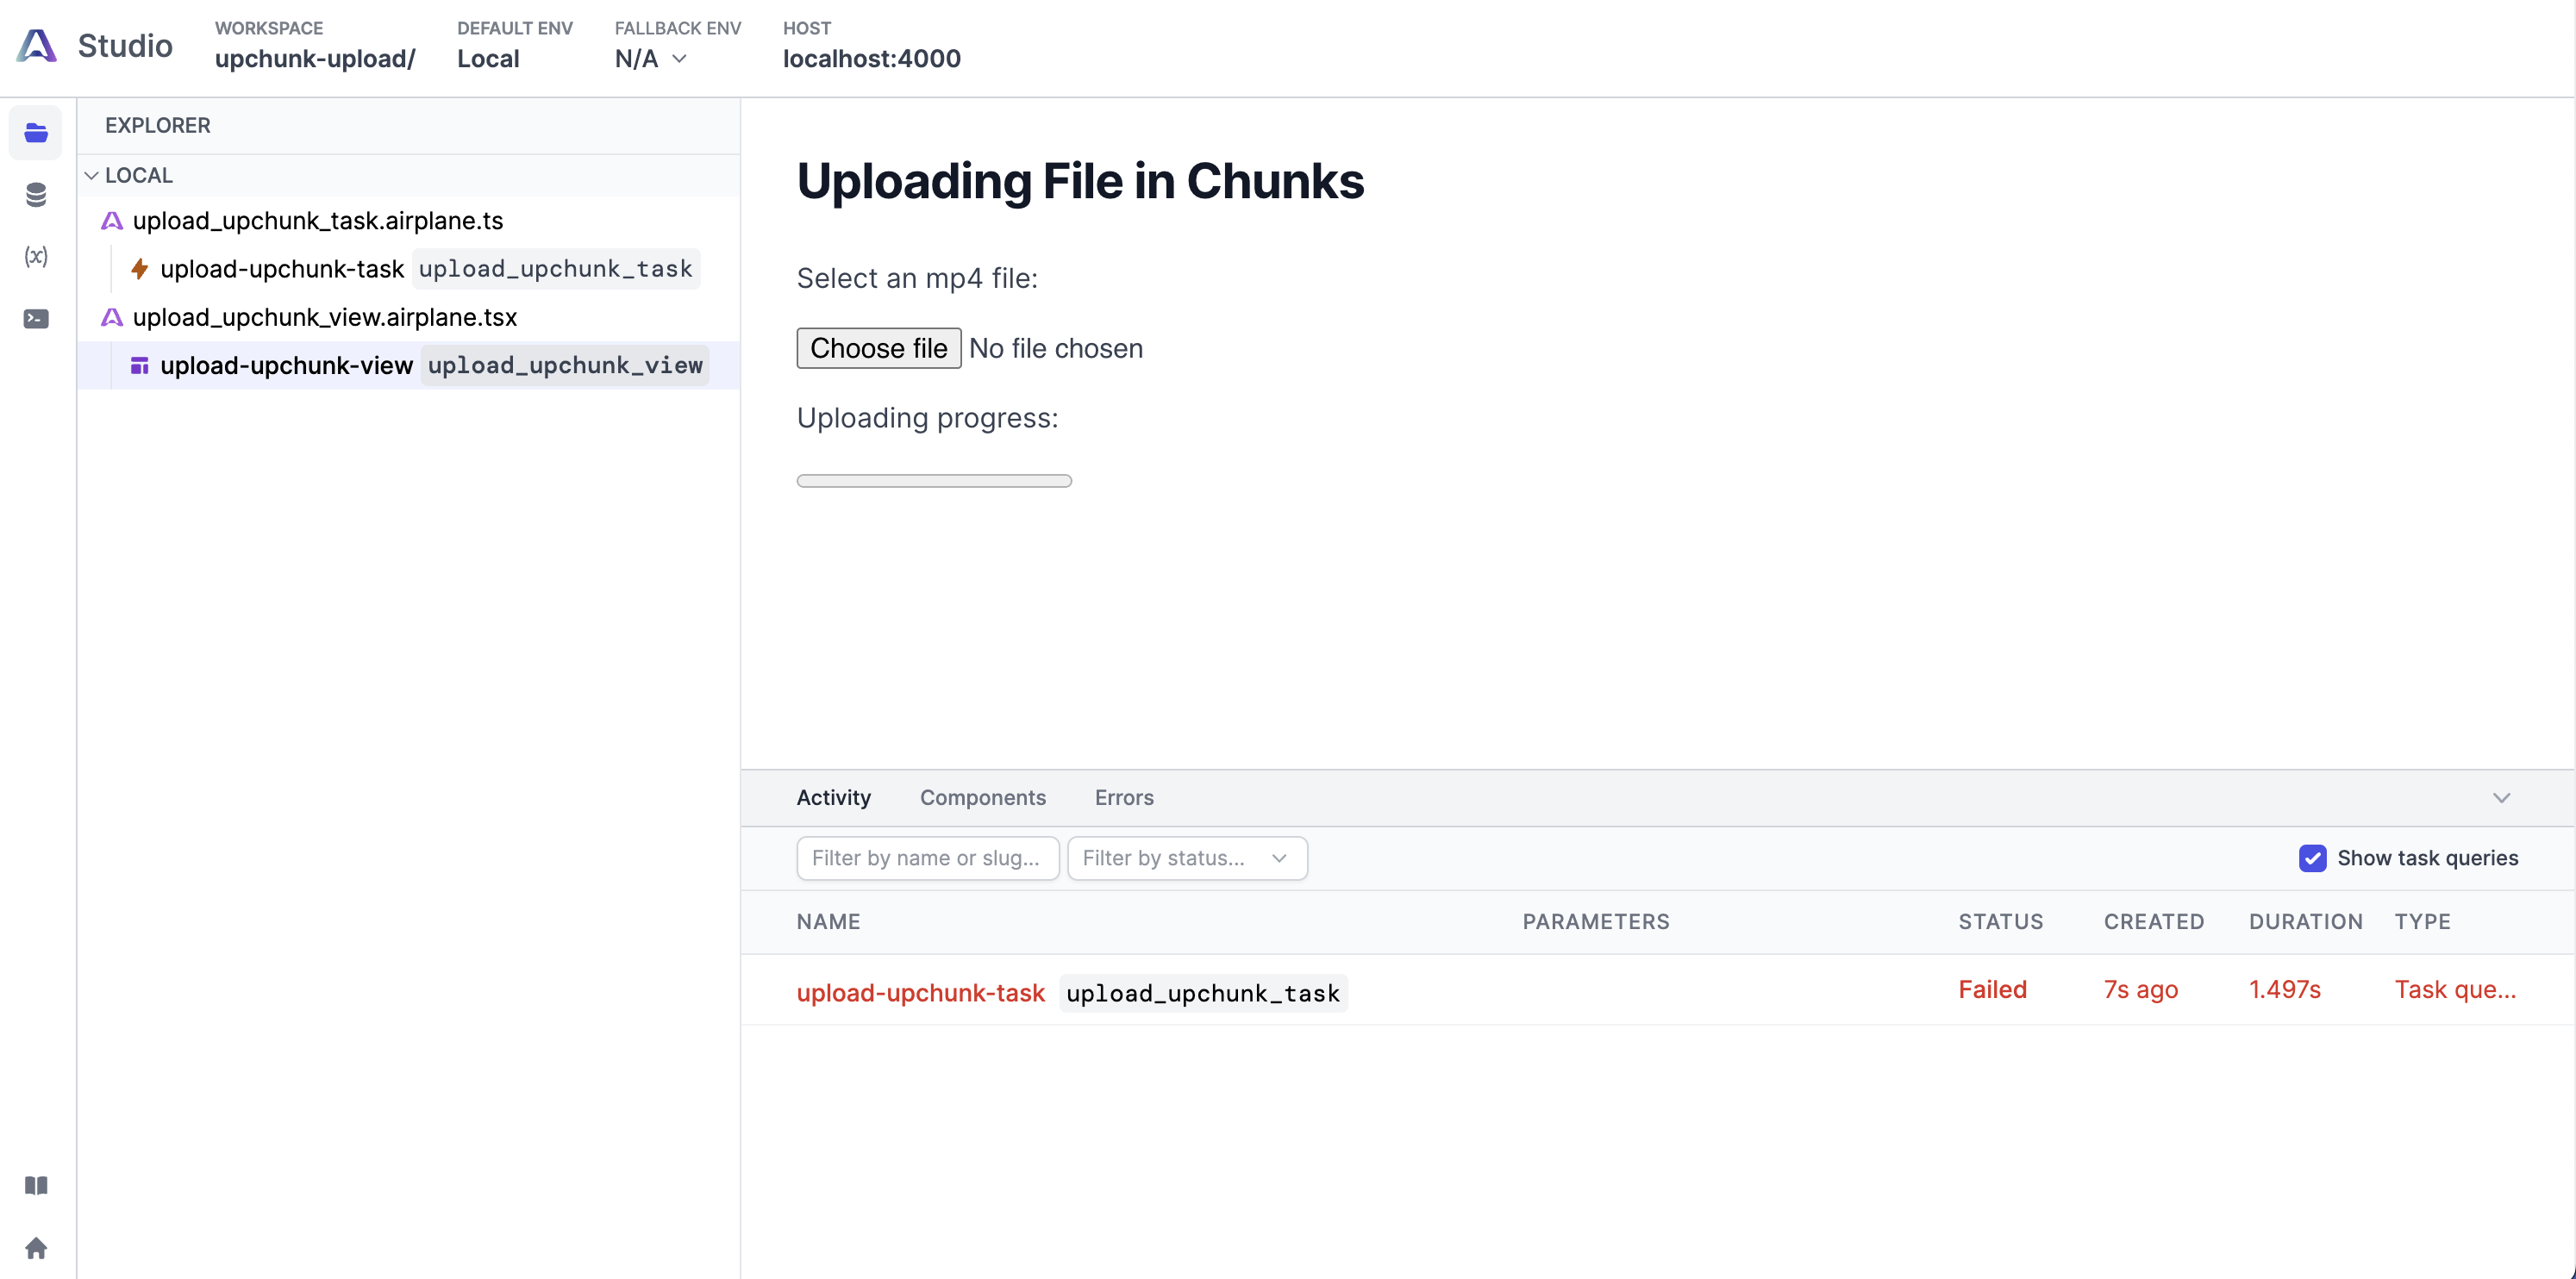
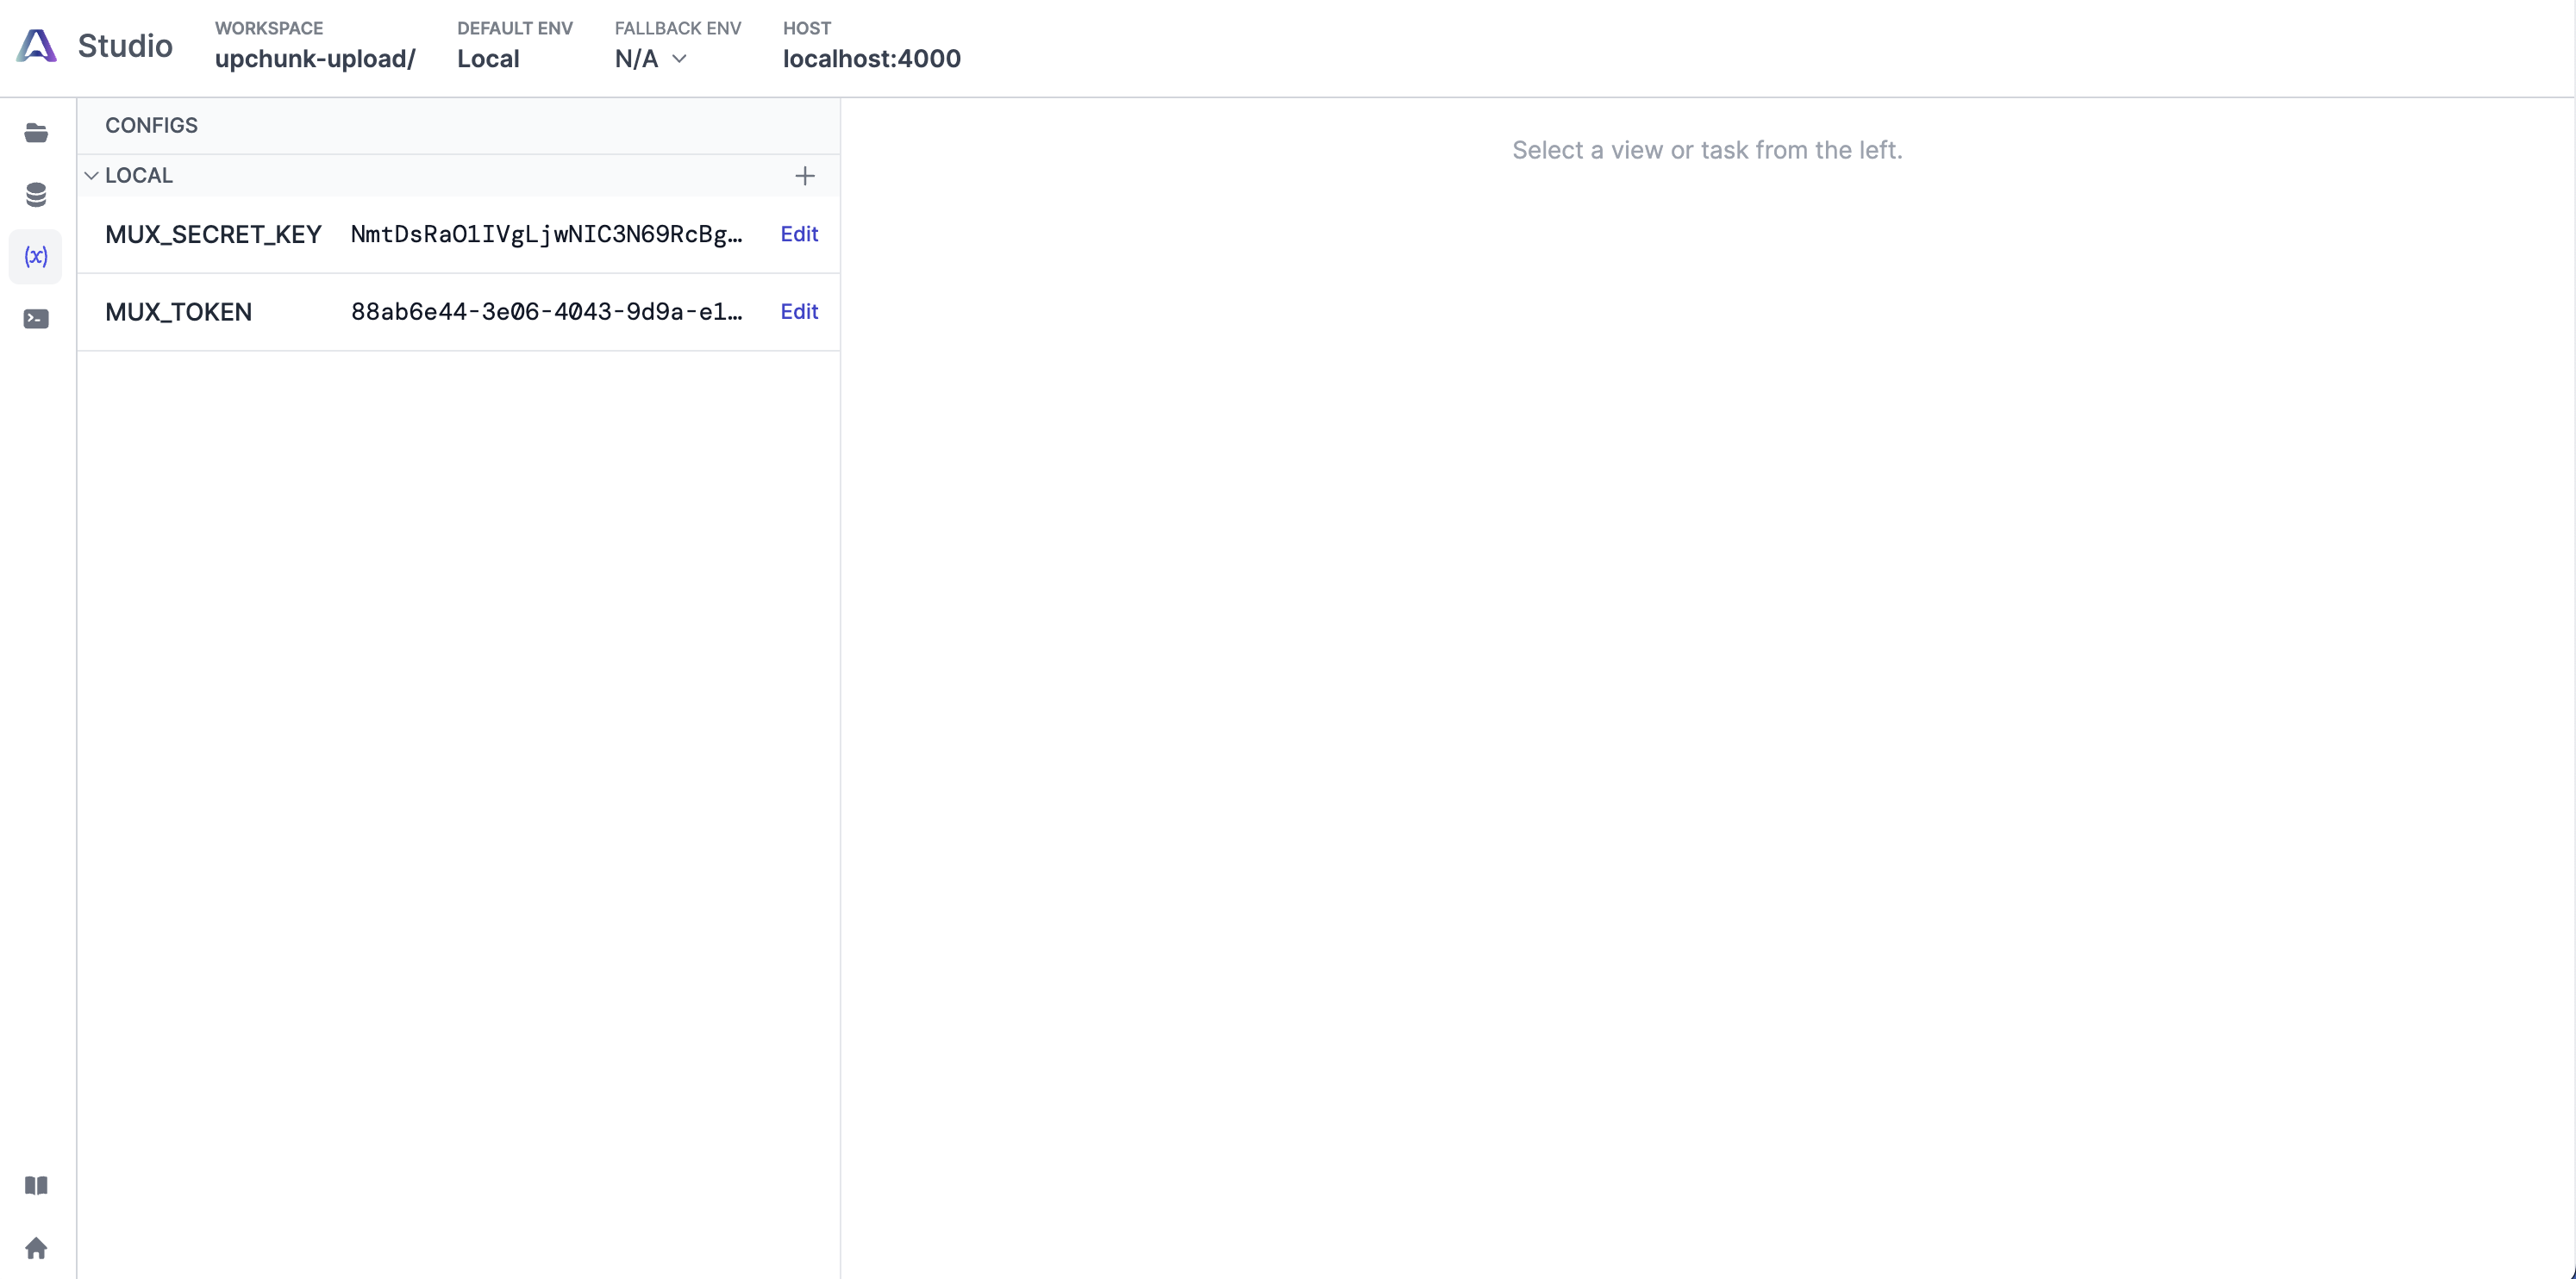
While the View loads, it calls the Task to generate an upload URL, but the call fails since the Task depends on environment variables to access the MUX API token and secret key. To add those, navigate to the Configs page located on the left of the page, and add the following config variables:
Here's how the Configs page should look once we've added all the config variables:
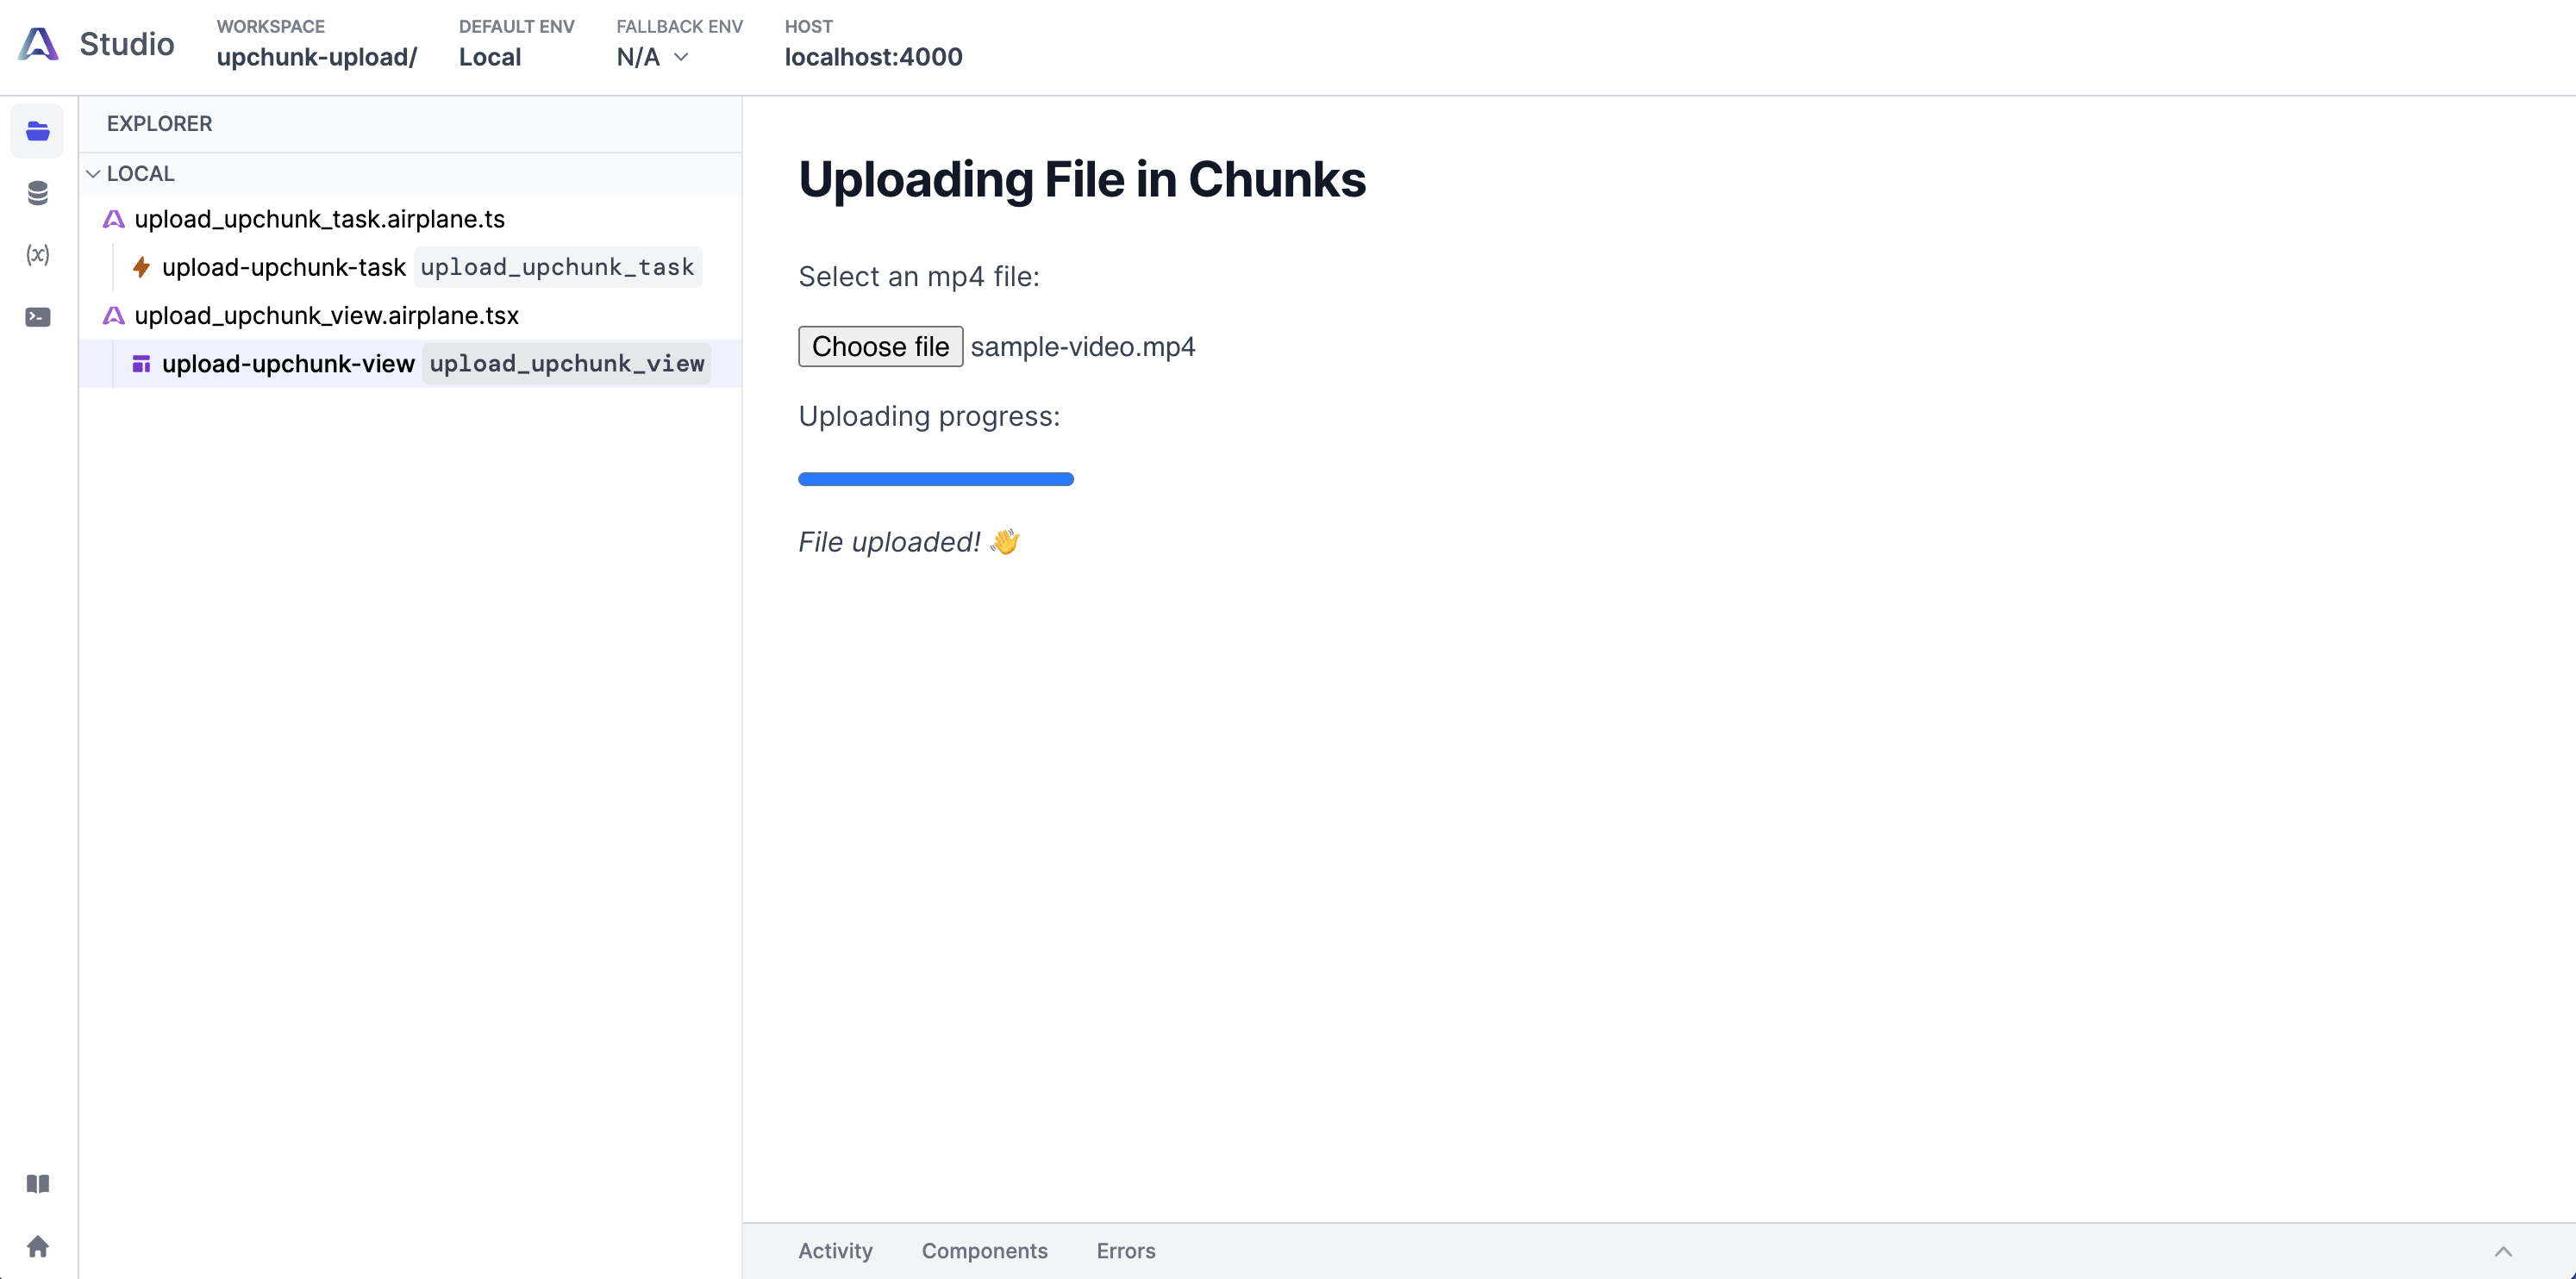
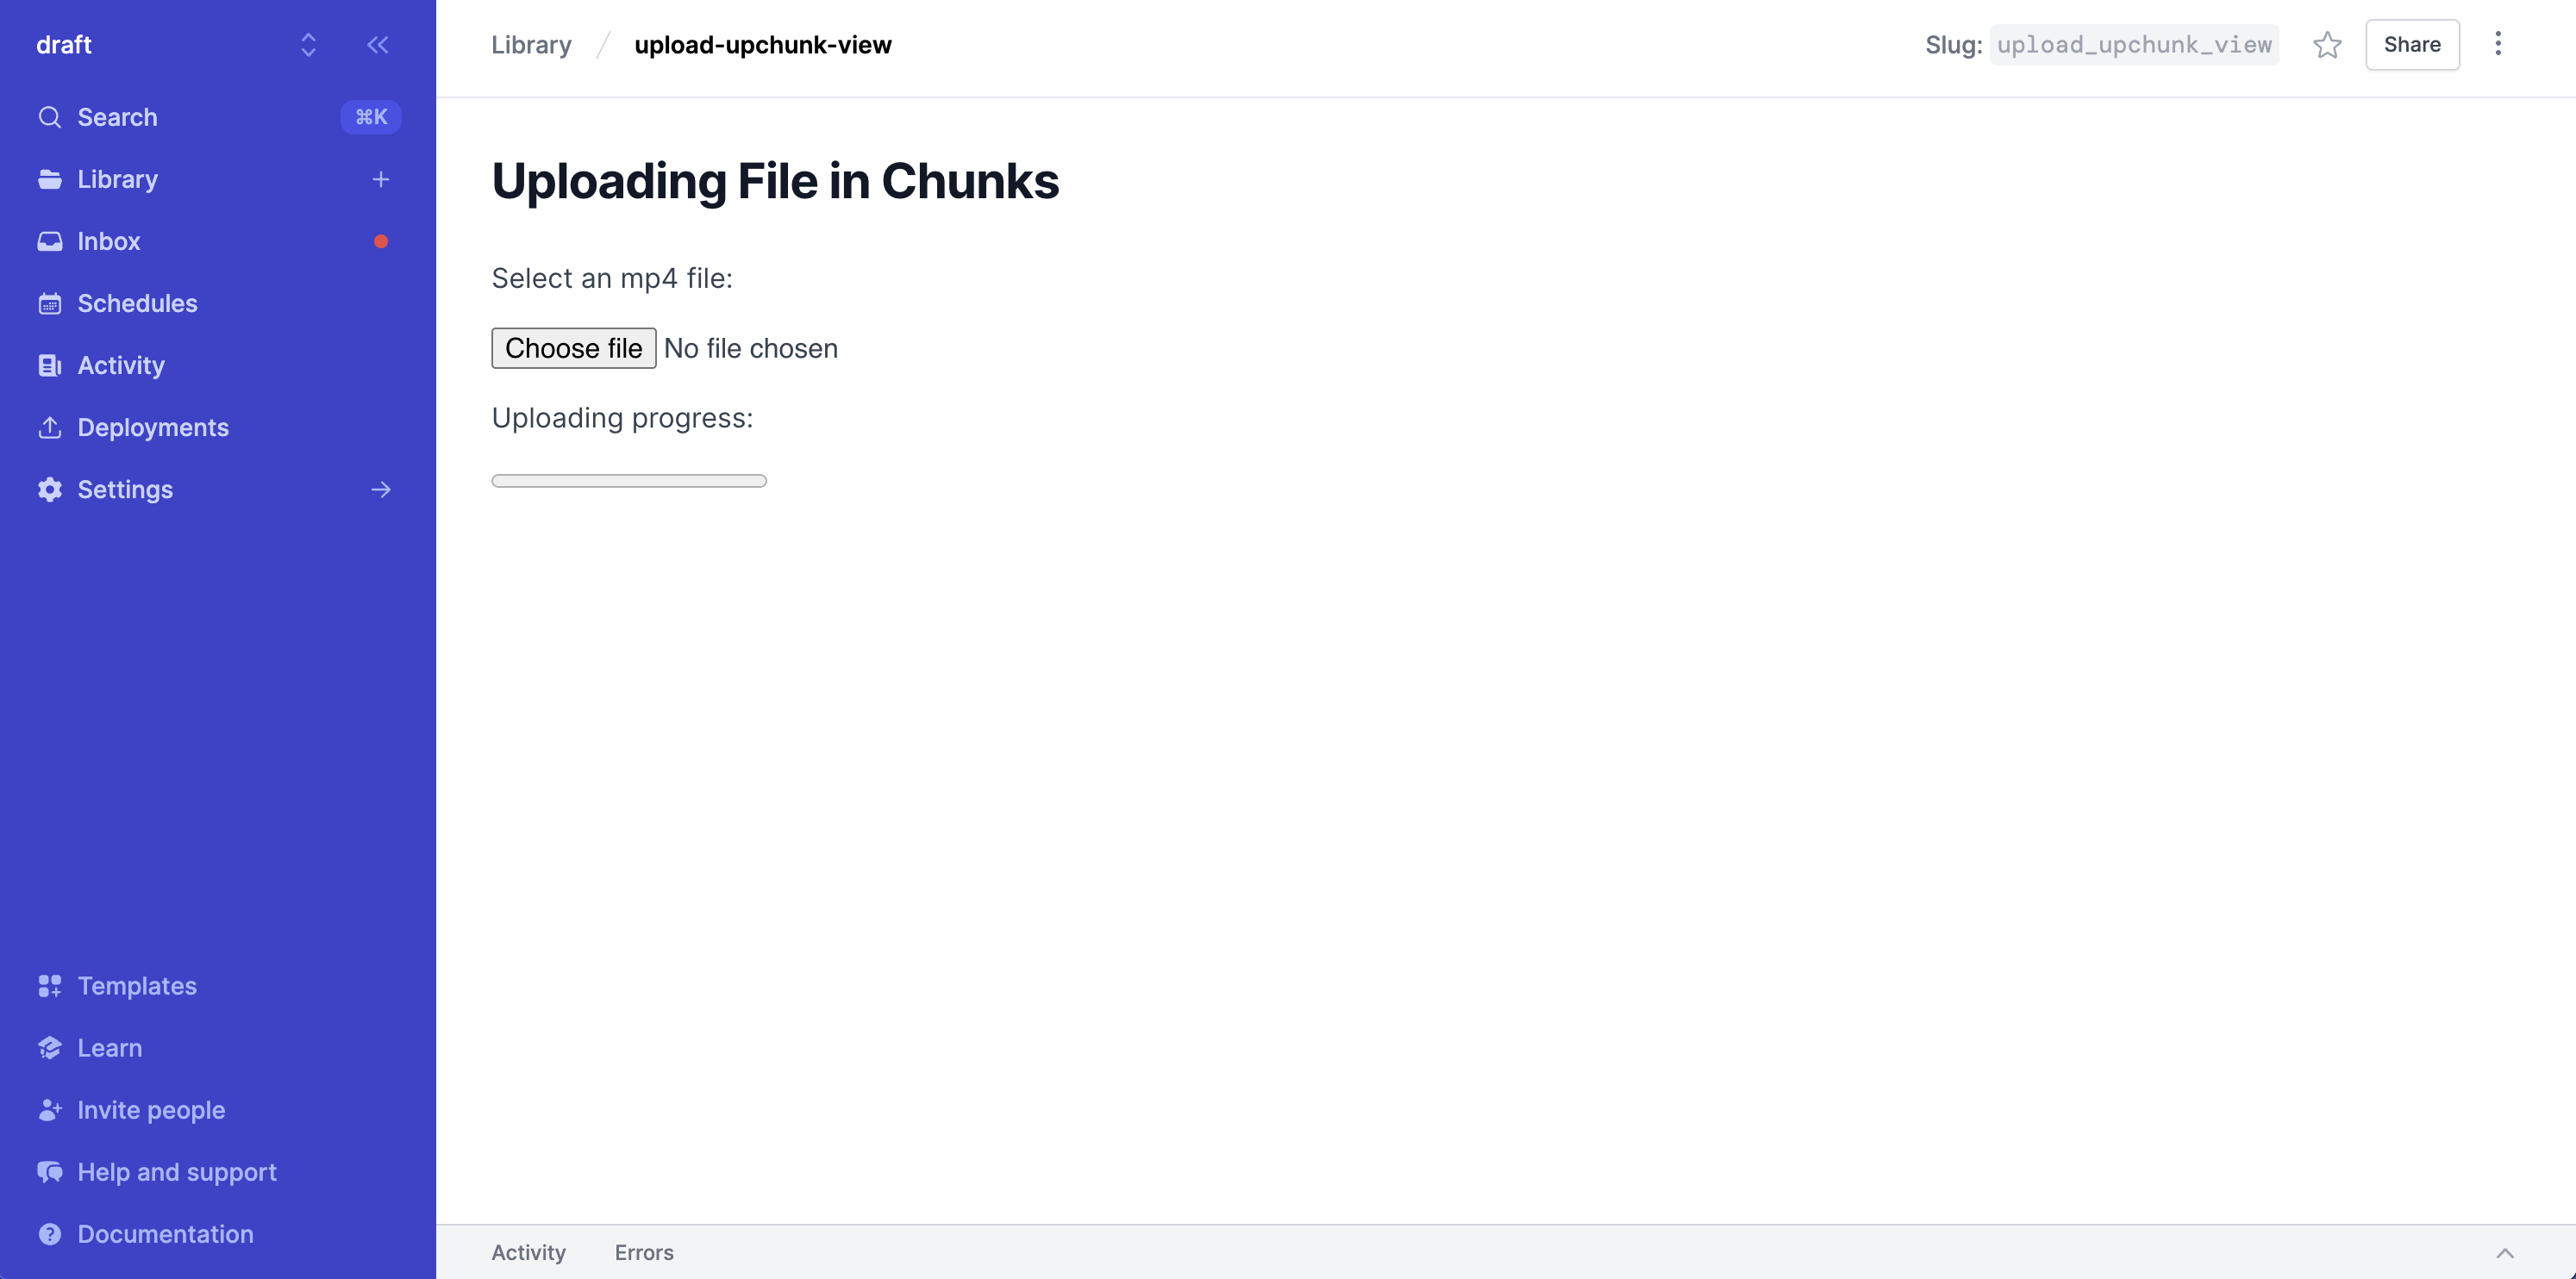
If we try running the View now, it should be able to call the task successfully:

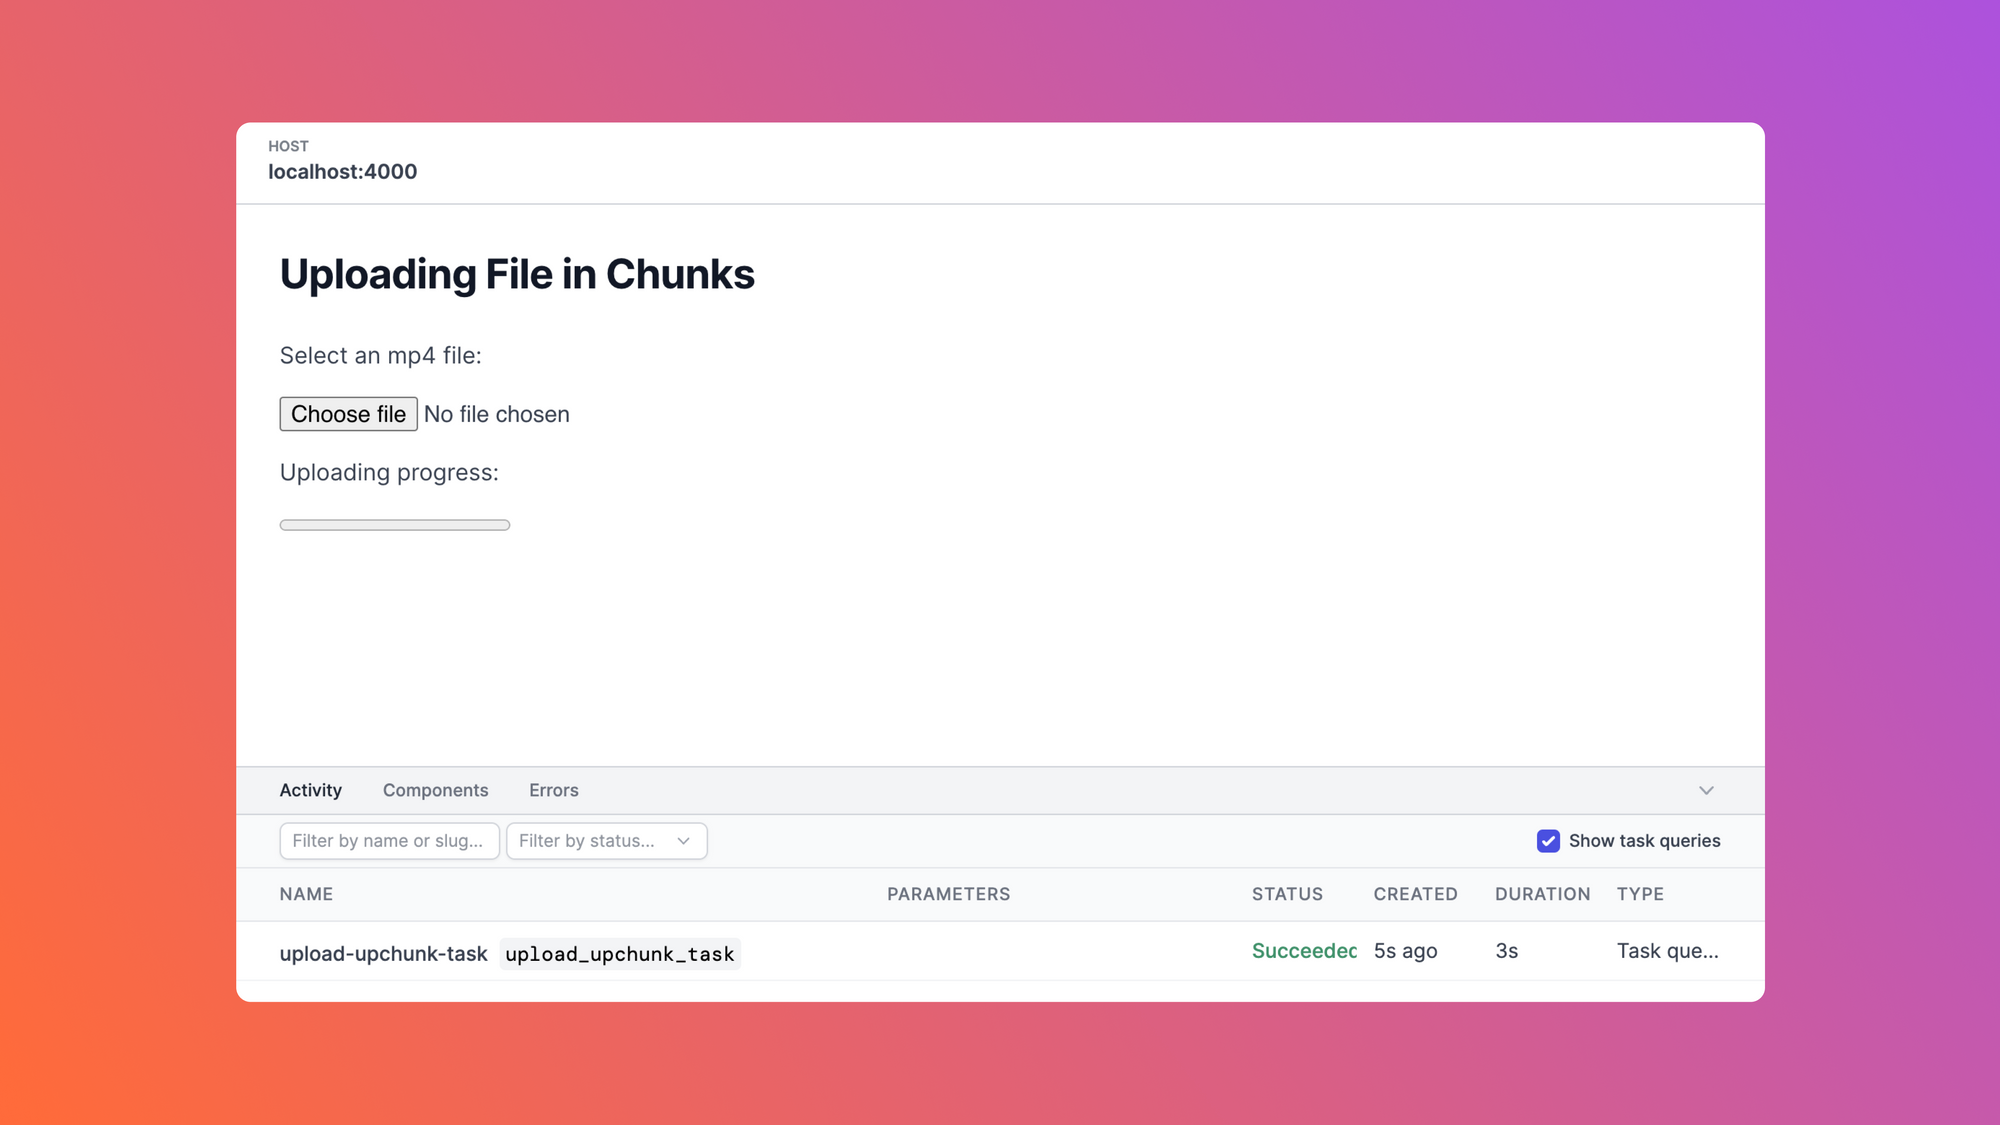
Try clicking the Choose file button to select a file. Once we select a file from the system's file picker, the upload will begin automatically, and the progress will be shown via the progress bar at the bottom of the page. Once the upload is complete, the View will look like this:
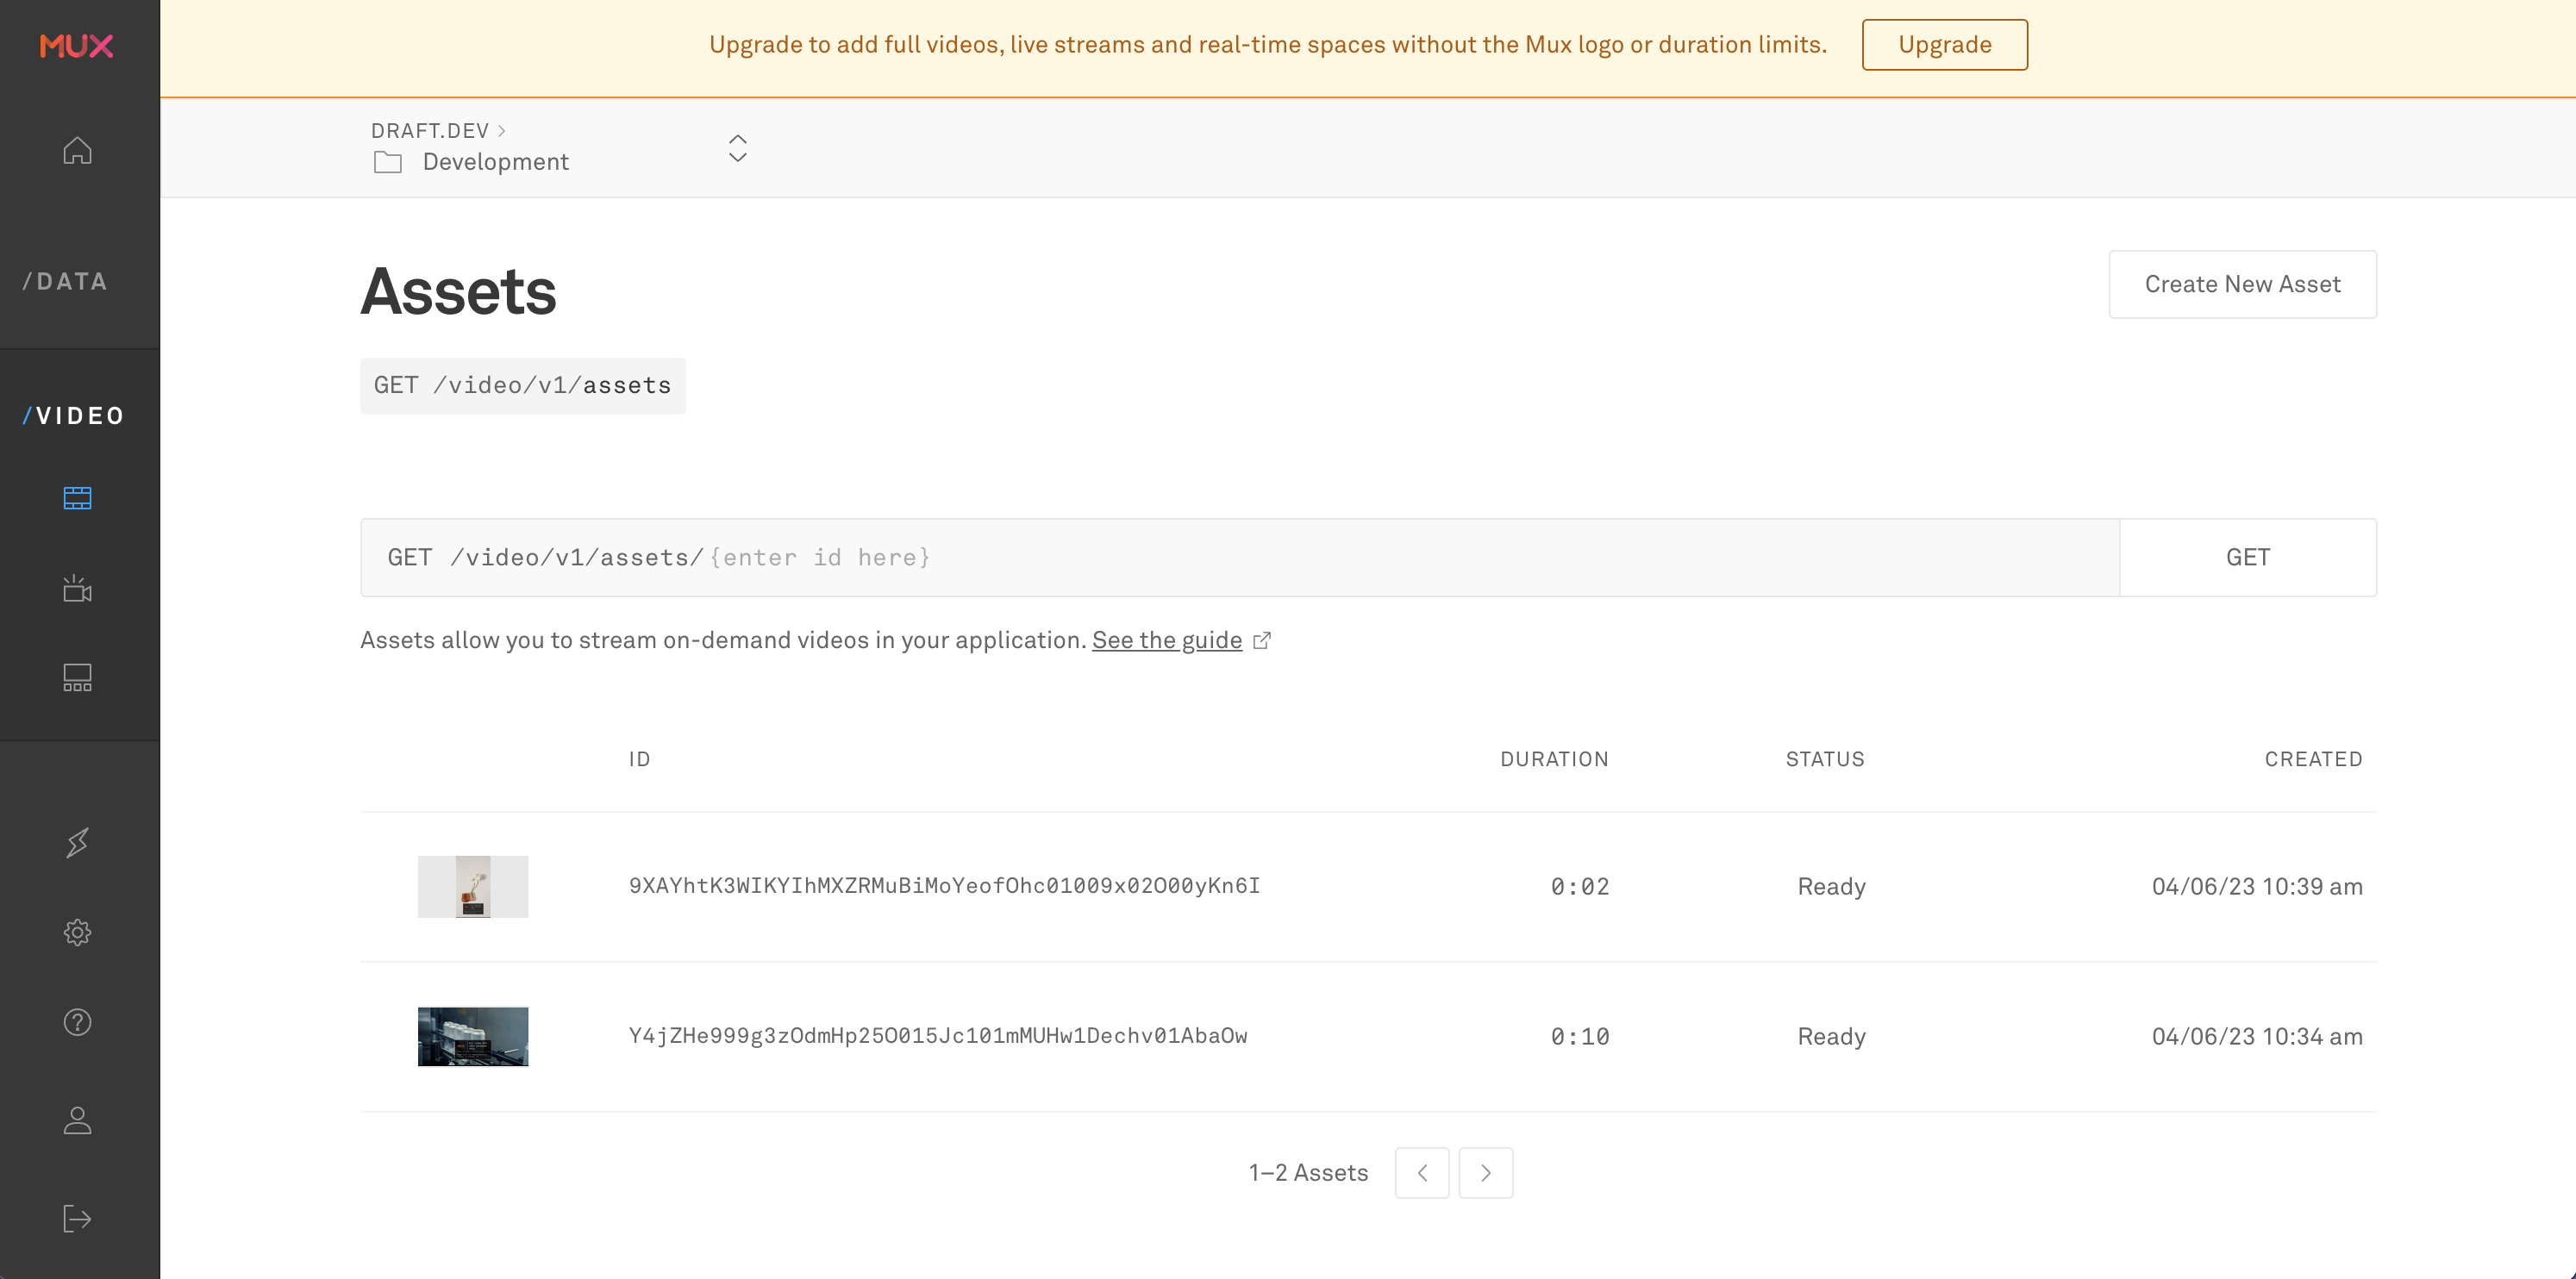
Then, navigate to the /Video > Assets page in the Mux dashboard to see the uploaded file:

Deploying and testing
The final step in this tutorial is to deploy the project to Airplane's remote deployment environment.
Deploying the setup to Airplane
Before deploying, we'll need to define the values for the config vars in the Airplane account.
The environment variables we previously set up through Airplane Studio while running the project locally are only set for the dev environment. For the remote deployment environment, we must set the values using the following commands:
Once that's done, deploying an Airplane project is very straightforward. All we need to do is run the following command:
Enter Y when asked whether to continue deploying to the default environment. Once the CLI completes the deploy operation, it will print an output that should end similarly to this:
We can copy and paste the link printed in this output in the browser to see the result of the deployment:
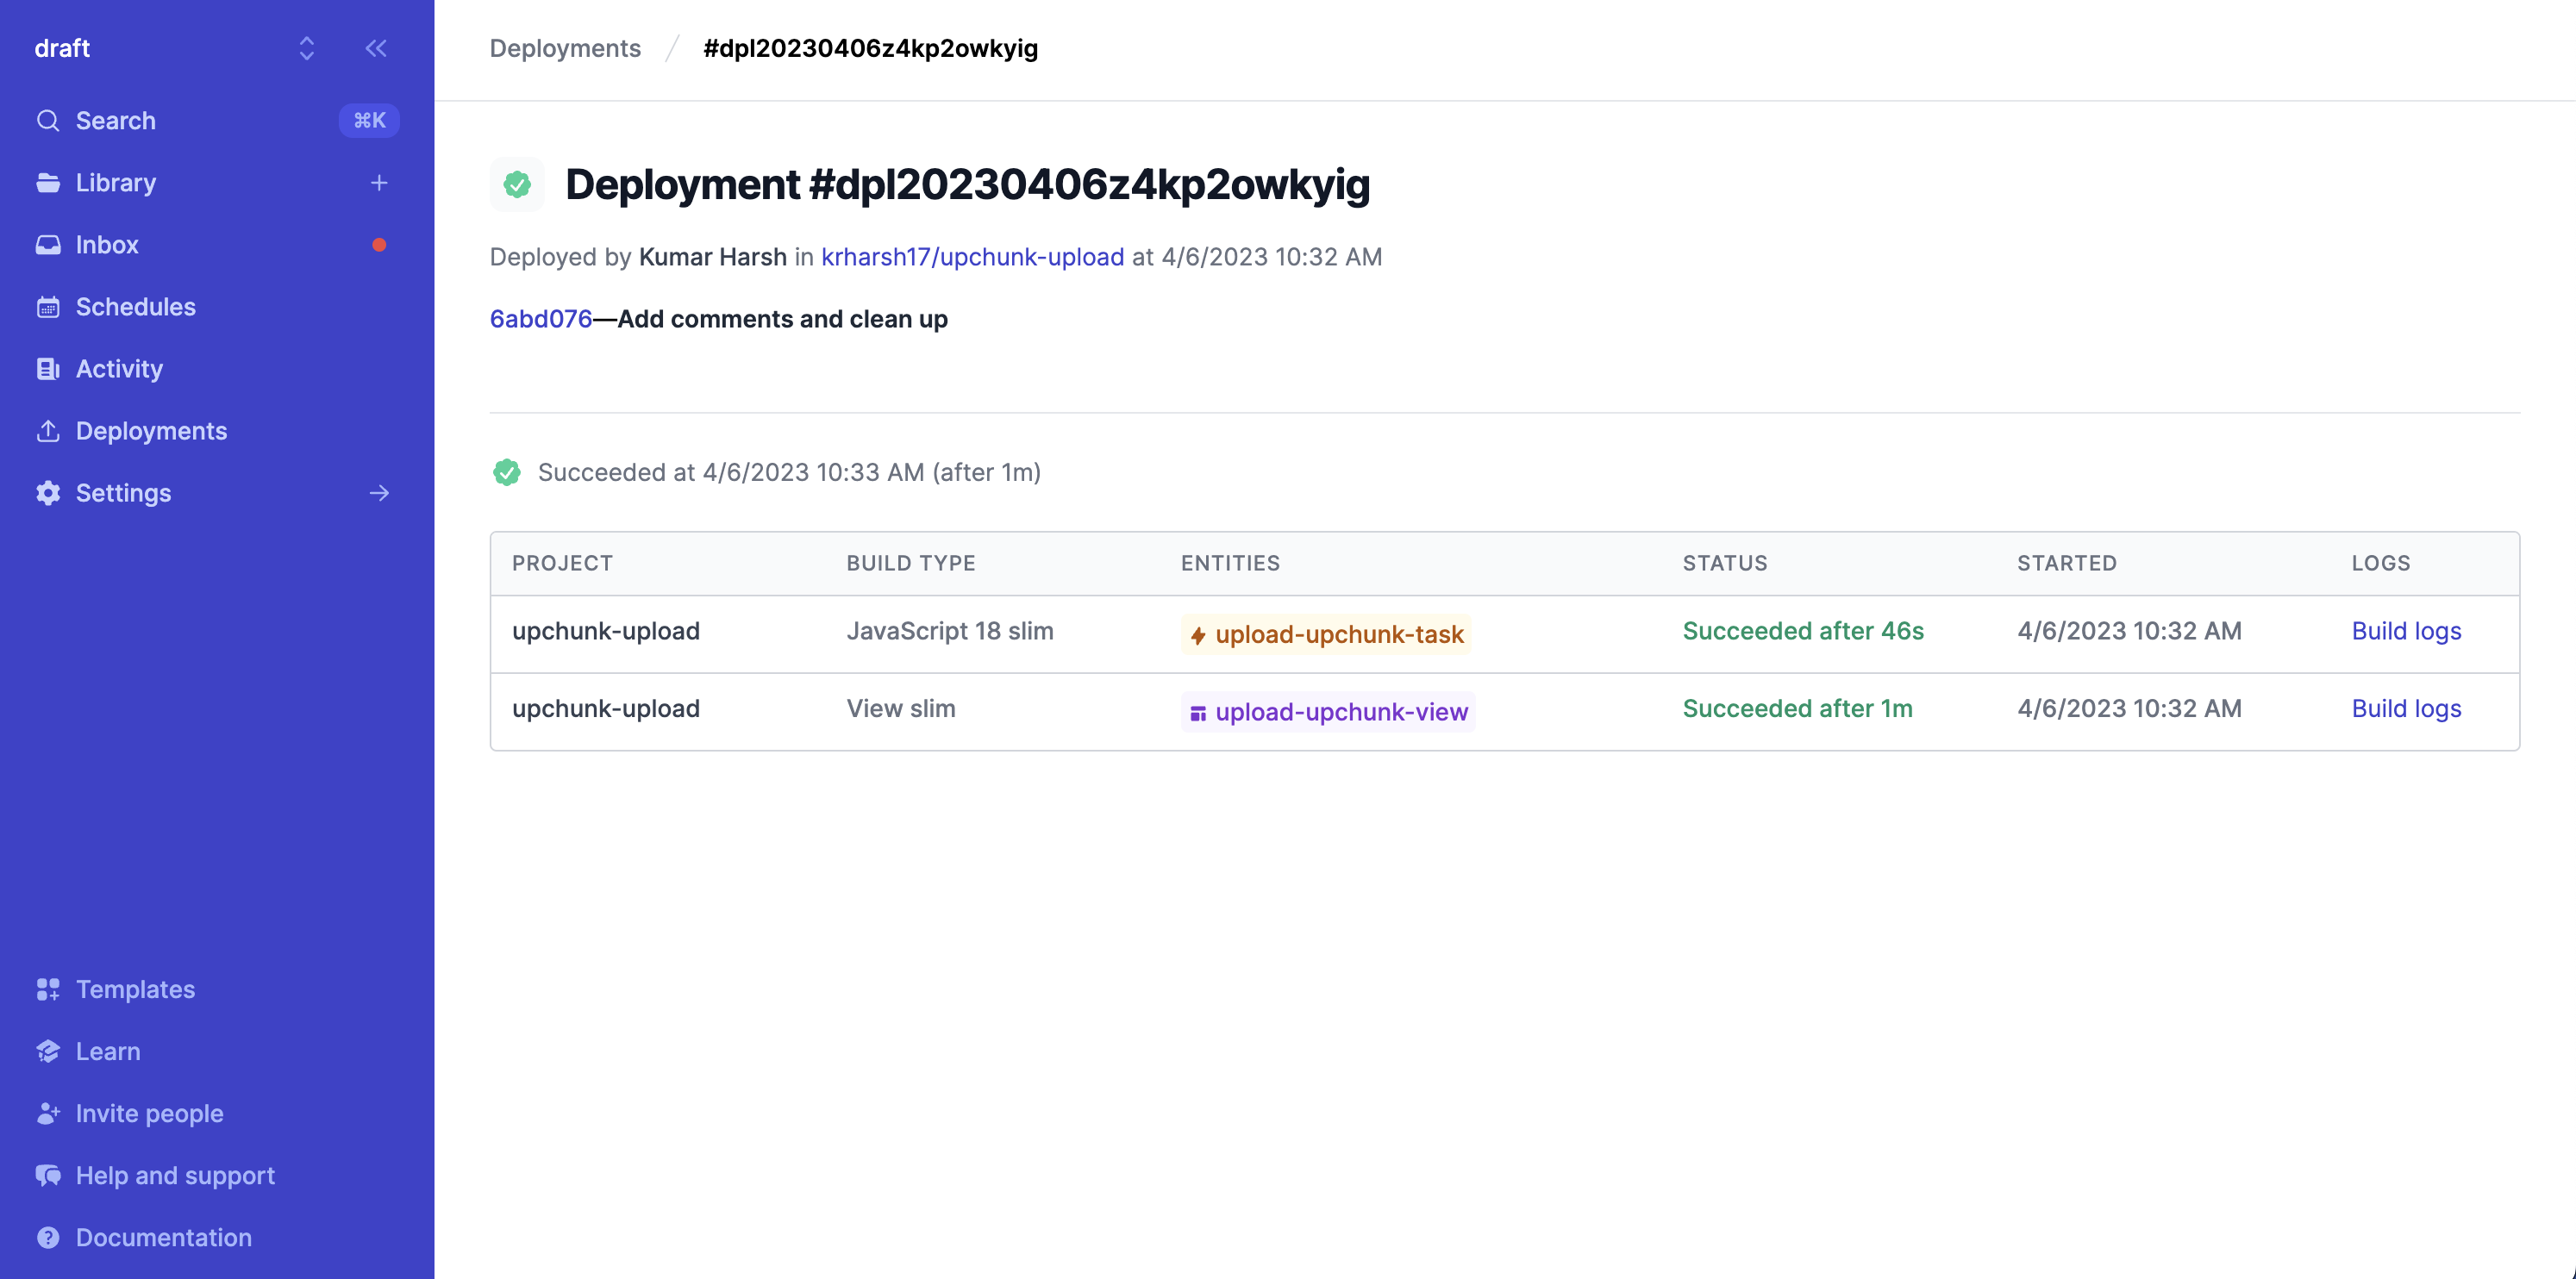
Click the upload-upchunk-view chip in the Entities column to navigate to the deployed View:
Then, try uploading a file with the Choose file button. The file should upload to the Mux data store successfully:
And that's how to utilize UpChunk and Airplane to upload large files to the Mux Video API. All of the code used for this project is available on GitHub.
Conclusion
In this tutorial, we walked through how to use Airplane Tasks and Views to upload large files to a remote file server via the Mux API. We also showed how you can set up the UpChunk JavaScript module with a few lines of code to easily get started with resumable and chunked uploads.
Building an internal tool to upload large files can be quite cumbersome. That's where Airplane can help. Airplane Views offers a prebuilt set of components to quickly scaffold a UI, and Airplane Tasks helps you easily run background jobs and in-view operations. With Tasks and Views in Airplane, you can go from ideas to a working tool within hours.
To build your first Airplane View within minutes, sign up for a free account or book a demo.
Author: Kumar Harsh
Kumar Harsh is a technical writer based in India. He loves to build robust and scalable MERN applications to solve problems and automate repetitive tasks. He enjoys learning and writing content on technical topics.


