AWS Lambda is a cloud-based computing platform that enables developers to run code without worrying about maintaining the servers the code actually runs on. At its core are Lambda functions, which only run as needed, are scaled automatically, and are billed per millisecond of usage. Often, these functions are used to process images after they're uploaded, as workers in a queue or to make APIs even more scalable and powerful.
There are many tutorials on how to set up a Lambda function to respond to a change in an S3 bucket or to act as a queue worker. However, sometimes you have a script in a Lambda function that you need to trigger at a specific time, either on a recurring basis or just as needed. In that case, it can be a bit less straightforward to figure out the best way to run your Lambda function when needed.
In this article, we'll take a look at a few different ways to trigger a Lambda function manually including:
- Using Lambda function URLs - This is the absolute easiest way to trigger a Lambda function manually and works great when your function doesn’t take any input data.
- Using an API request (GET, POST, etc) - If you need more flexibility or need to make different types of requests to pass data to your Lambda function, this slightly more complex setup is the option for you.
- Using a schedule - If your Lambda function needs to run on a set schedule once it’s been triggered, use this method to make sure it always runs at the right time.
Setting up a Lambda function
To get started, create an AWS account and navigate to the AWS Console. If you've never used AWS before, this is where a lot of the configuration of the various web services happens and where we'll spend most of our time as part of this tutorial. To get to Lambda specifically, you can use the search bar at the top of the screen when you're logged in.
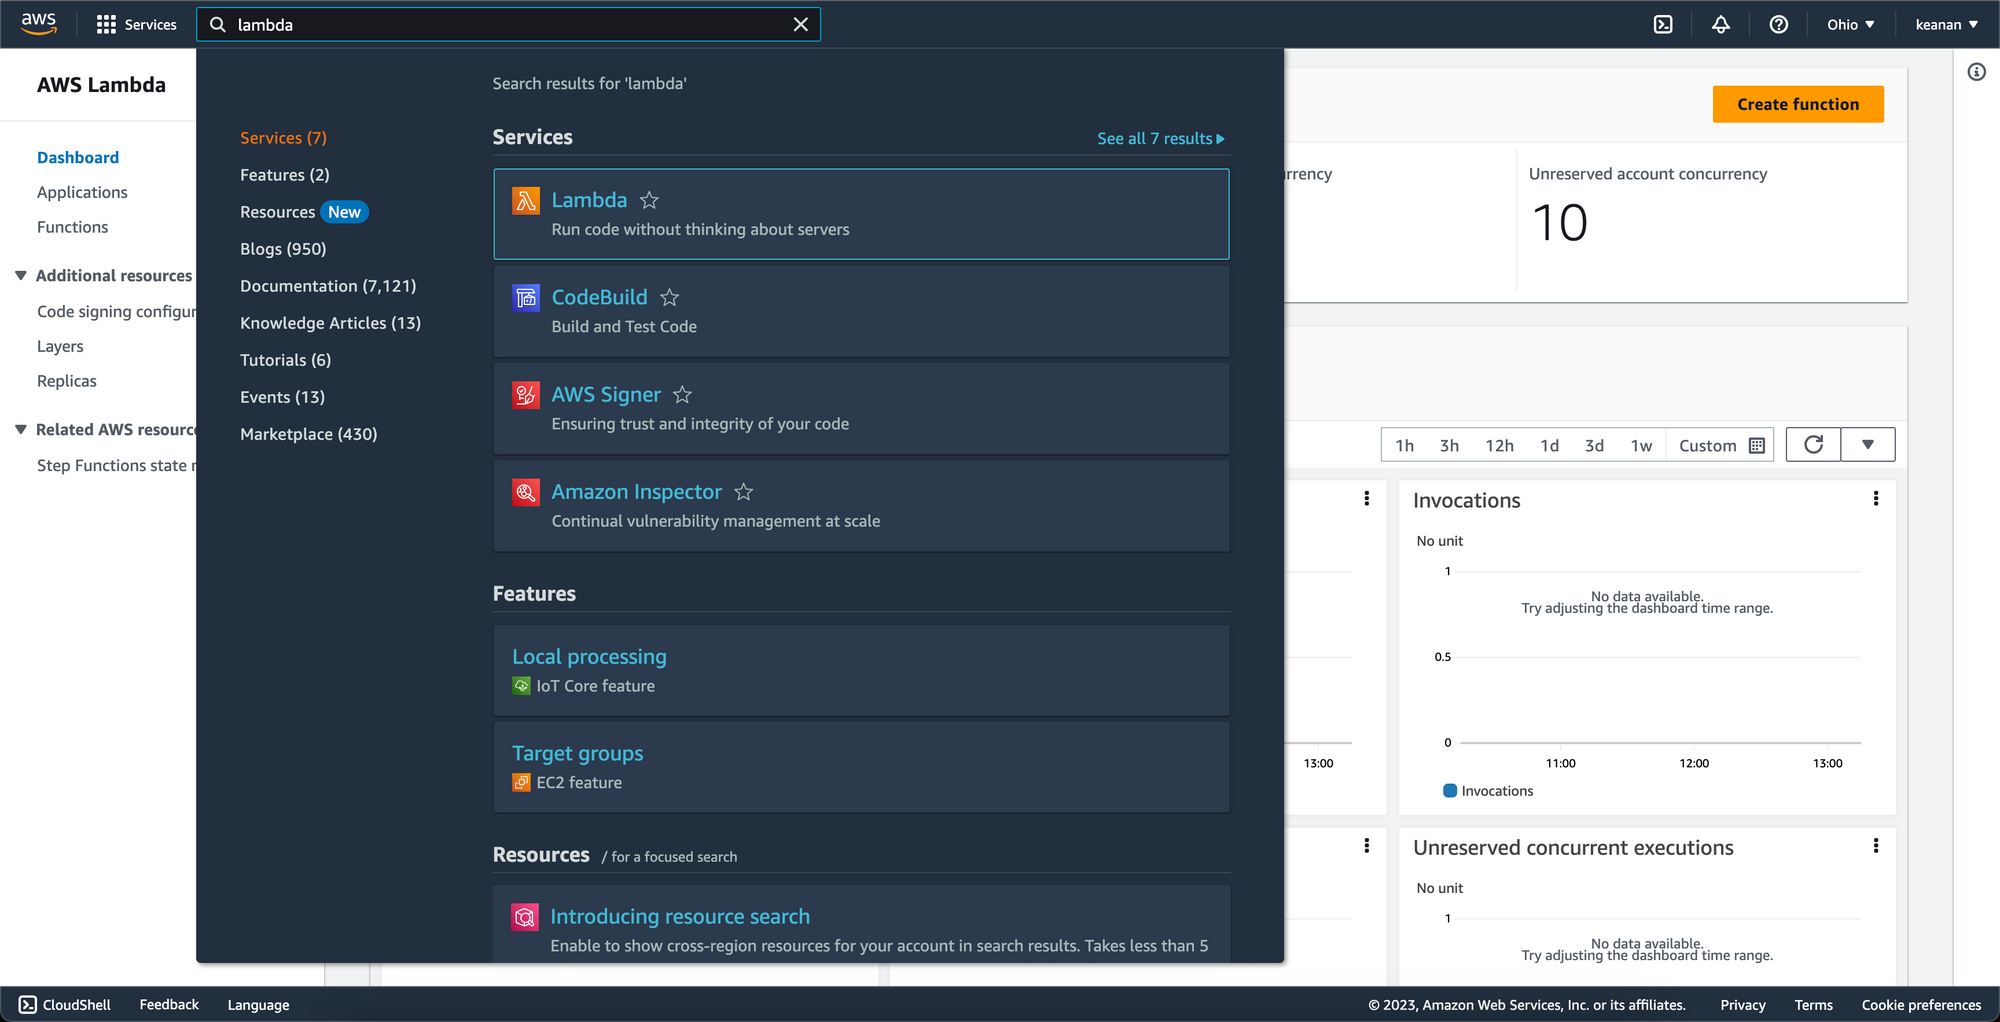
Once you navigate to the Lambda section of the AWS Console, you'll be presented with the option to create a new Lambda function. Clicking on the orange Create function button will present you with a few options to create a new Lambda function.
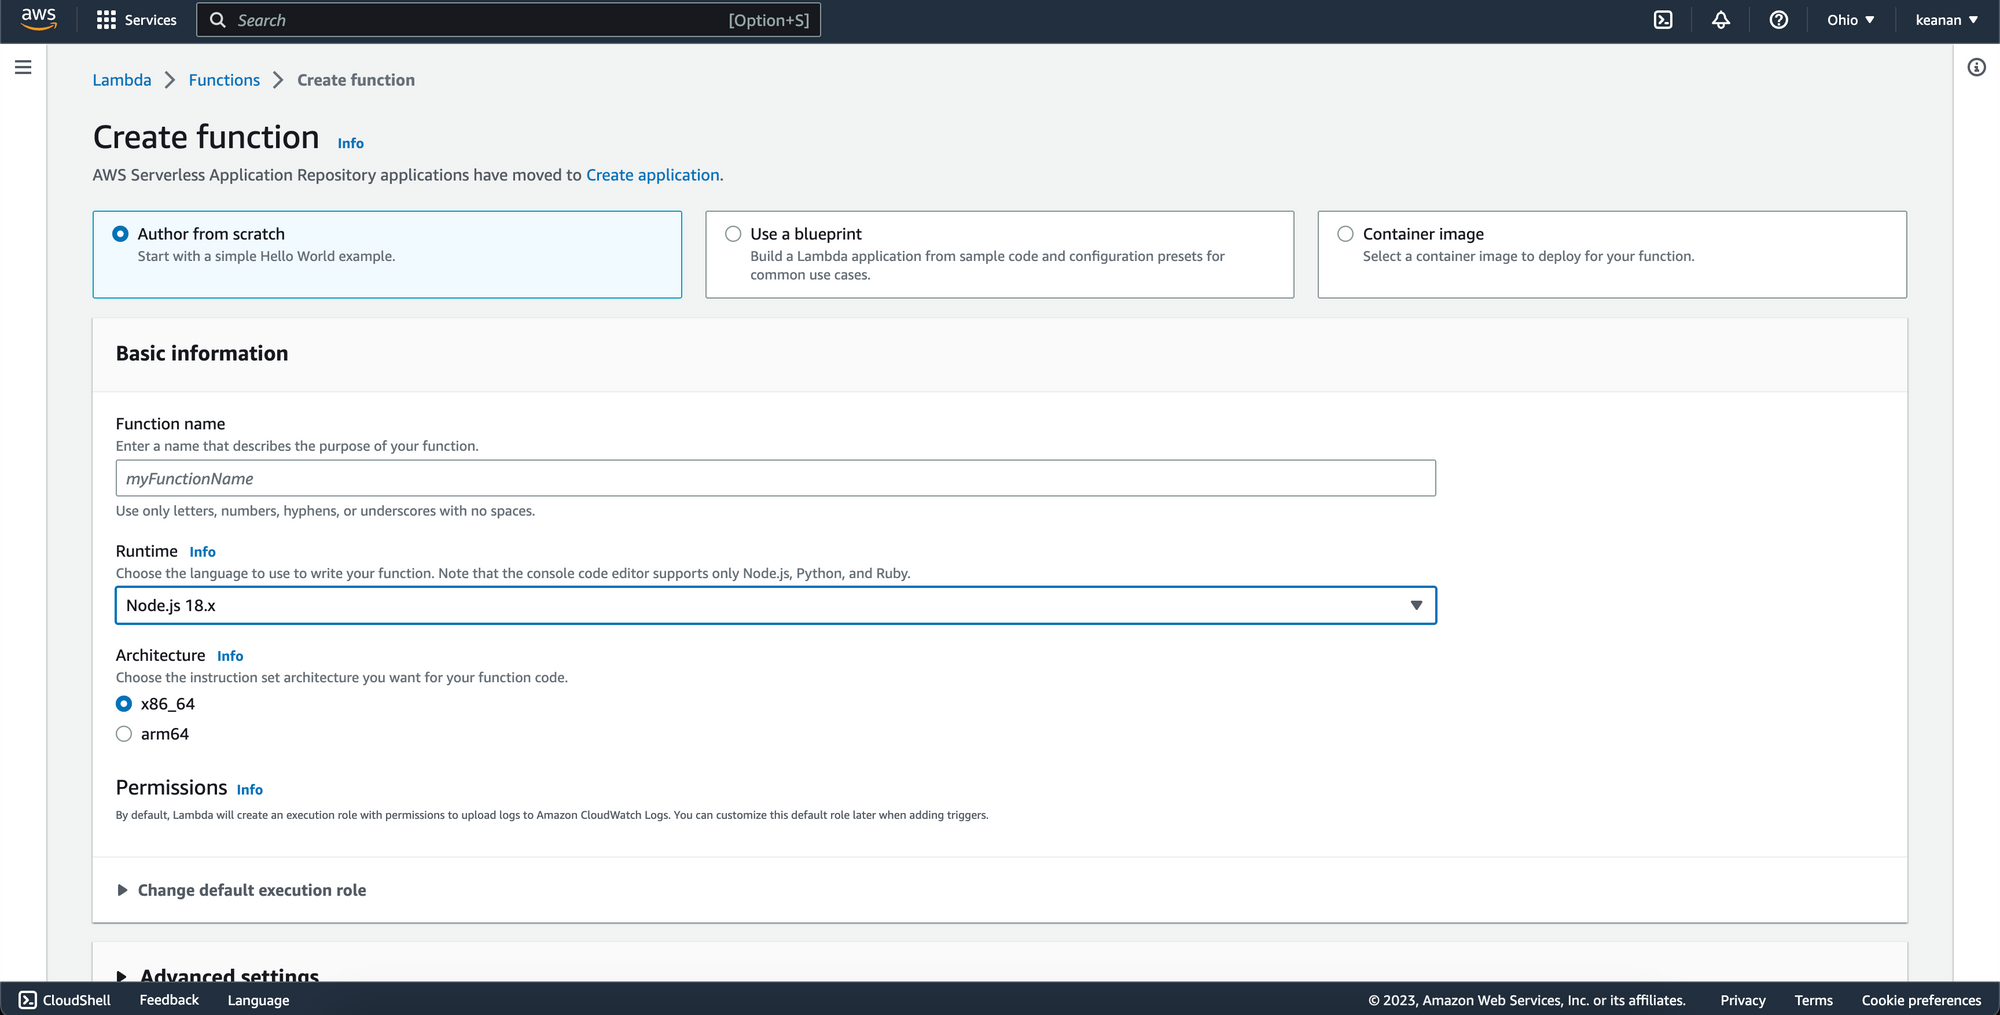
After choosing a language from the list of options, giving your function a name, and providing any of the optional custom configuration options, you'll see the default contents of your Lambda function.
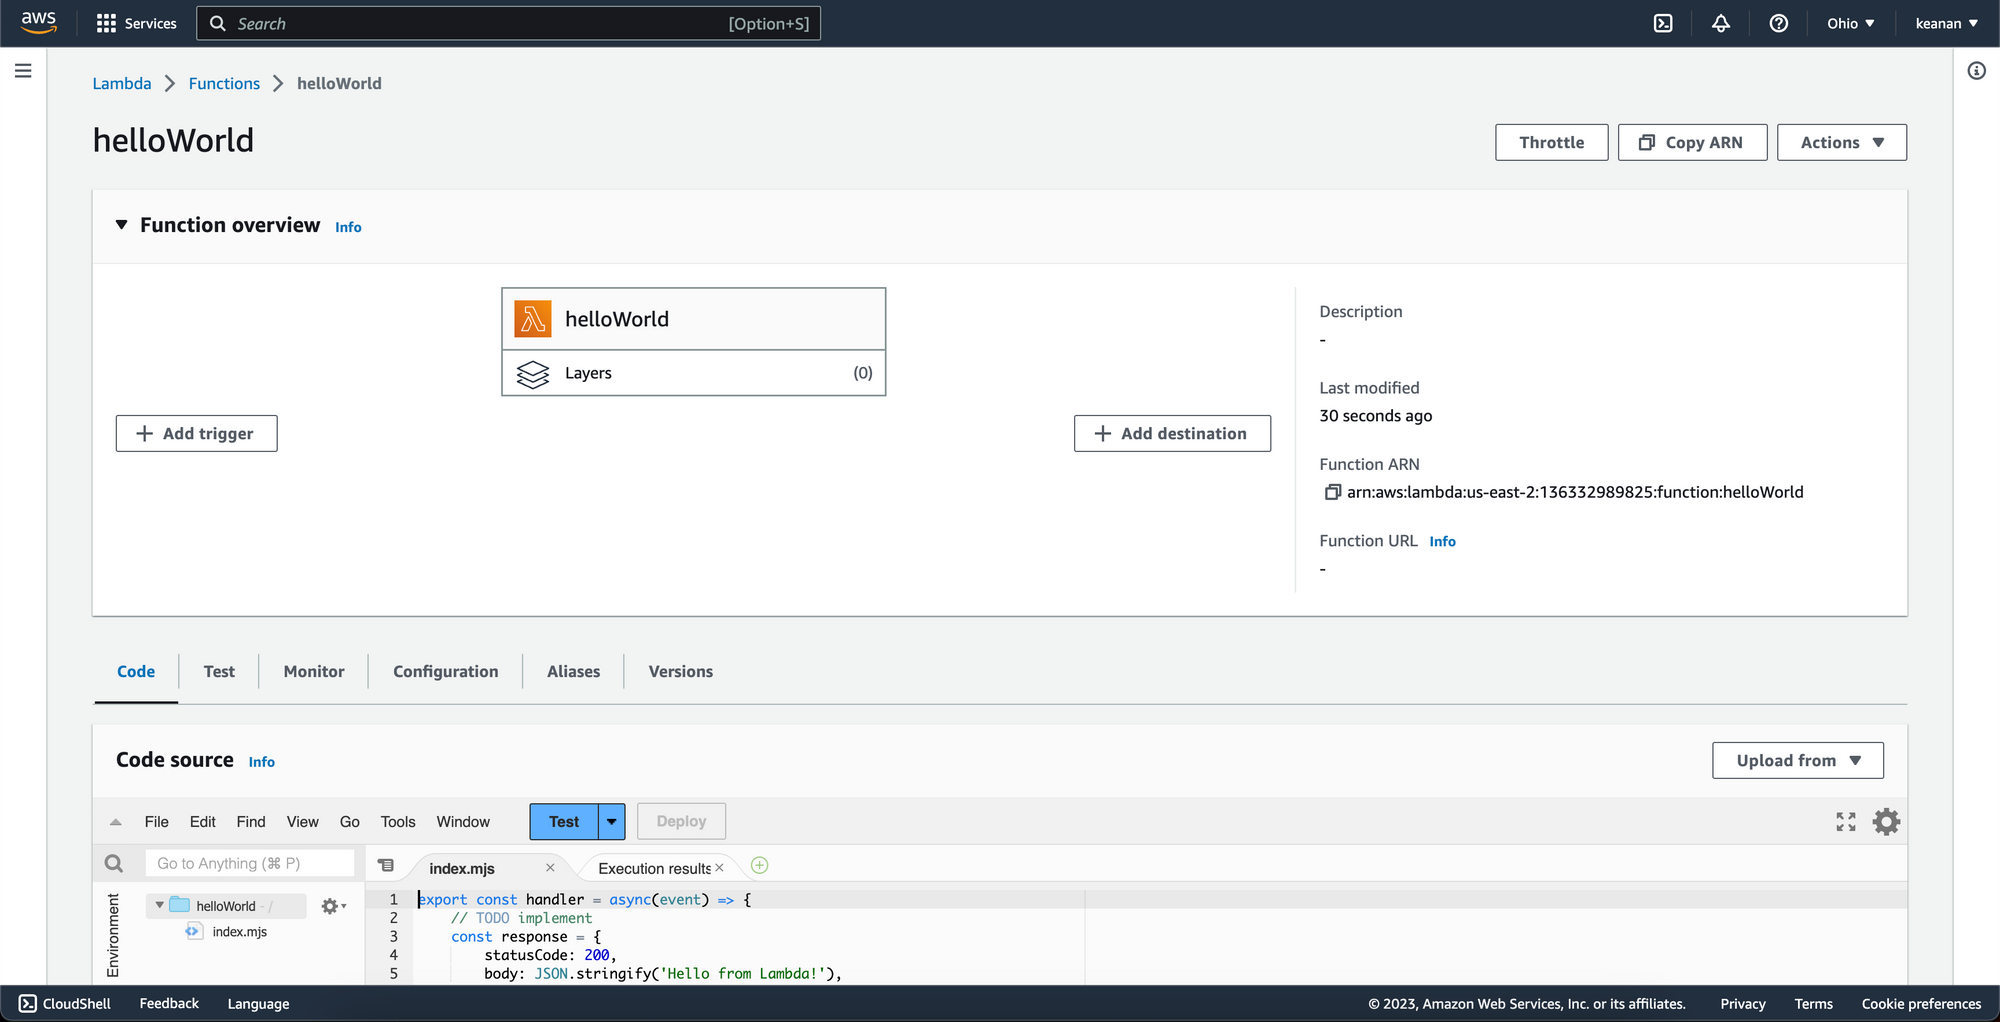
Now that you have a very basic function configured, let's look at the various ways we can trigger this function manually.
Using Lambda URLs
Because of how many people were setting up a single API URL to trigger their Lambda functions, AWS shipped the concept of Lambda function URLs, which are dedicated HTTP(s) endpoints for each Lambda function. This makes it even easier to invoke Lambda functions by providing a single, unchanging URL that can be called to trigger the function at any time.
To start using Lambda function URLs, navigate to the Configuration tab, where you'll see a sidebar item for Function URL.
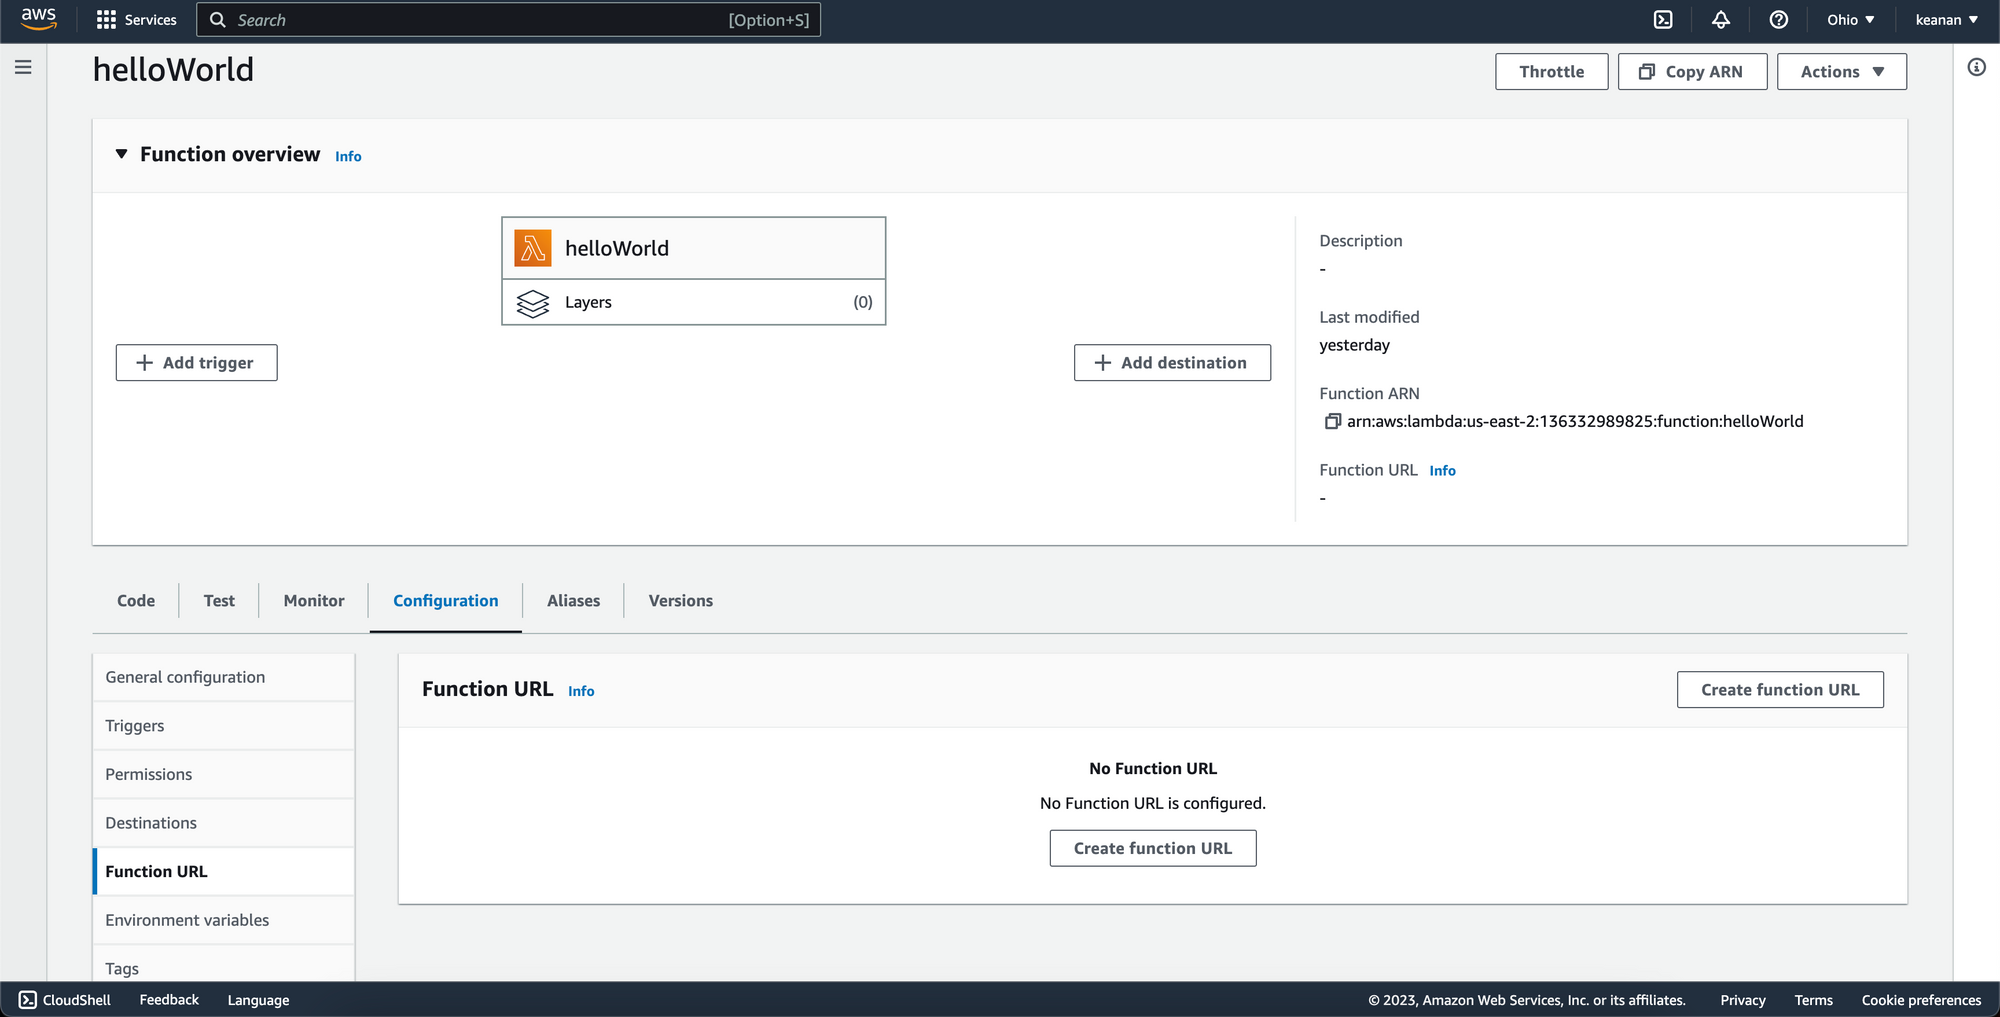
After clicking on Create function URL, you'll be prompted to choose the type of authentication you would like this URL to have. If you're creating an endpoint that's ok to be exposed and called publicly, you can choose the NONE option. Otherwise, choose the AWS_IAM option so that only authenticated IAM users and roles can make requests to your function URL.
After selecting one of these options and clicking Save, you'll see your function URL in that same configuration pane.
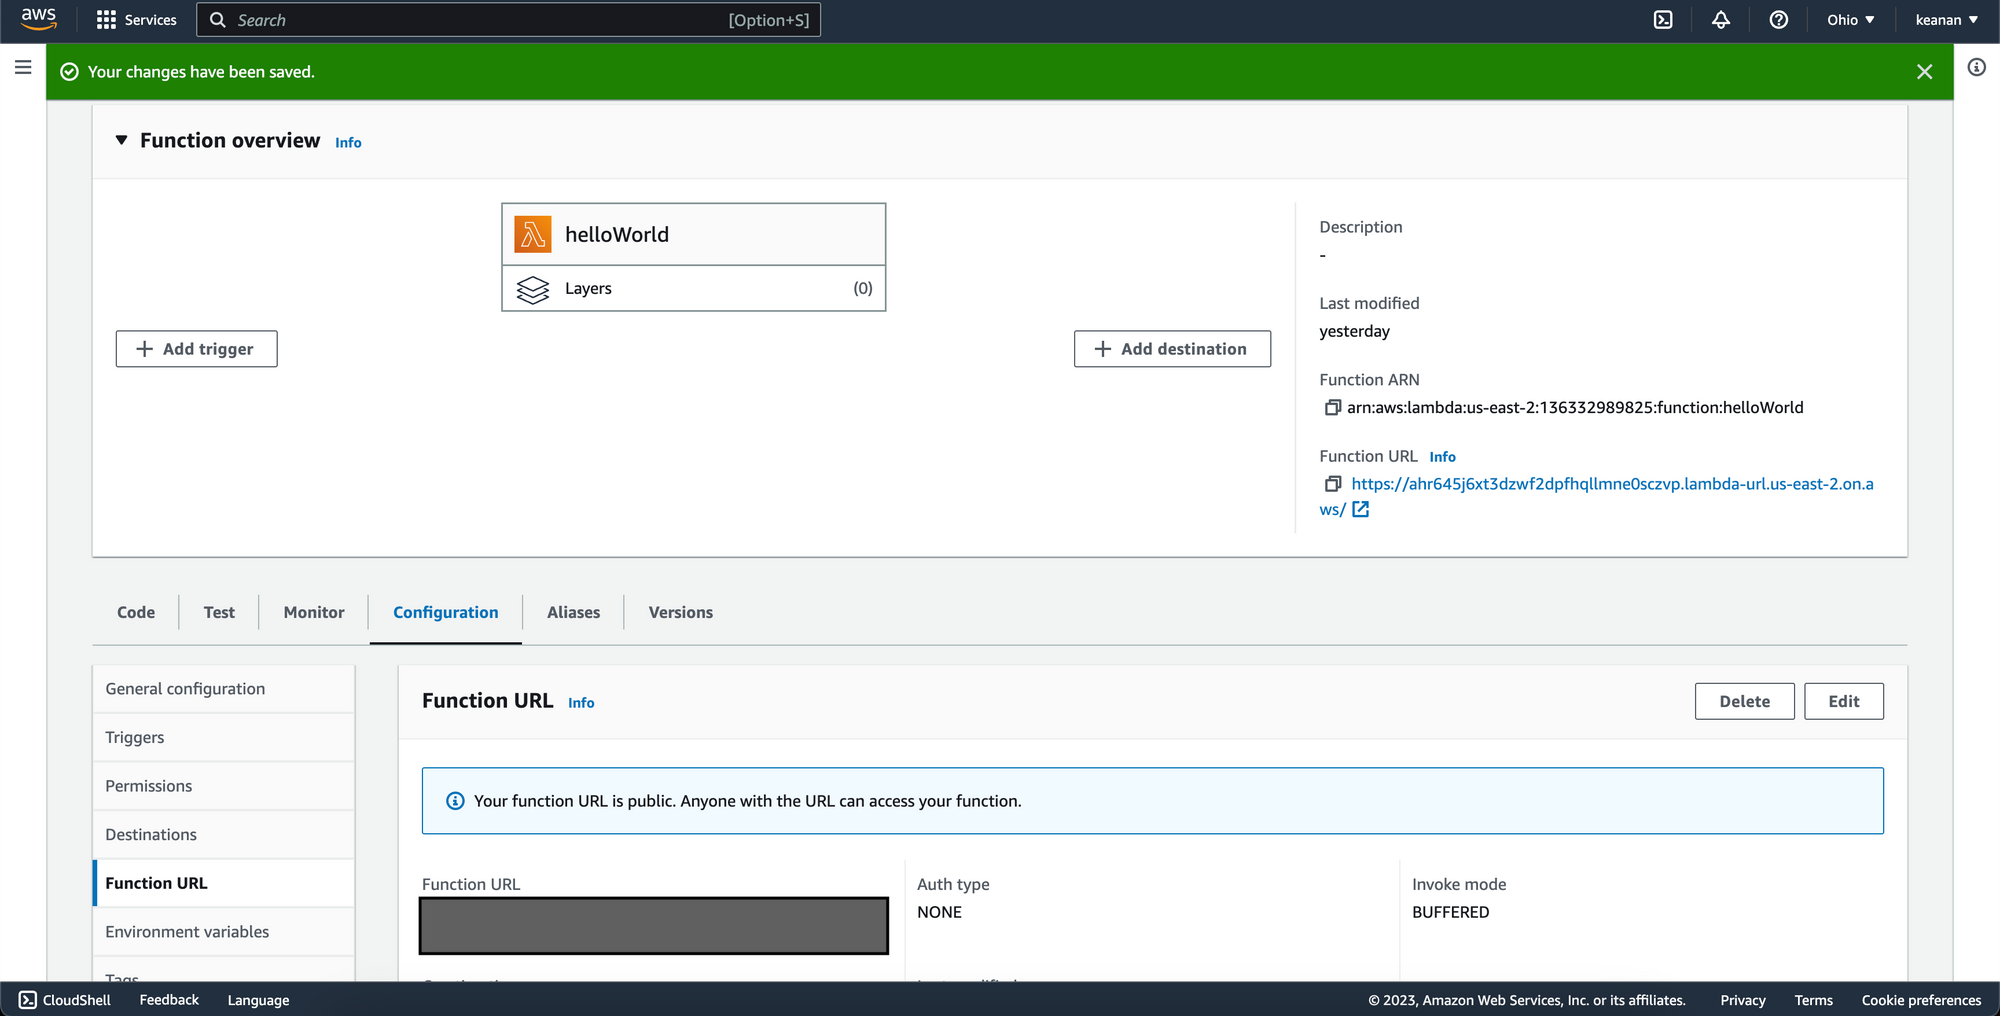
With that, you have a URL that you can use to trigger your function from another piece of code, from an API client like Postman, or from any web browser.
Using an API request
If you need more flexibility than Lambda URLs can provide or need to make different types of requests to your Lambda function, AWS has a product called API Gateway that enables this sort of setup.
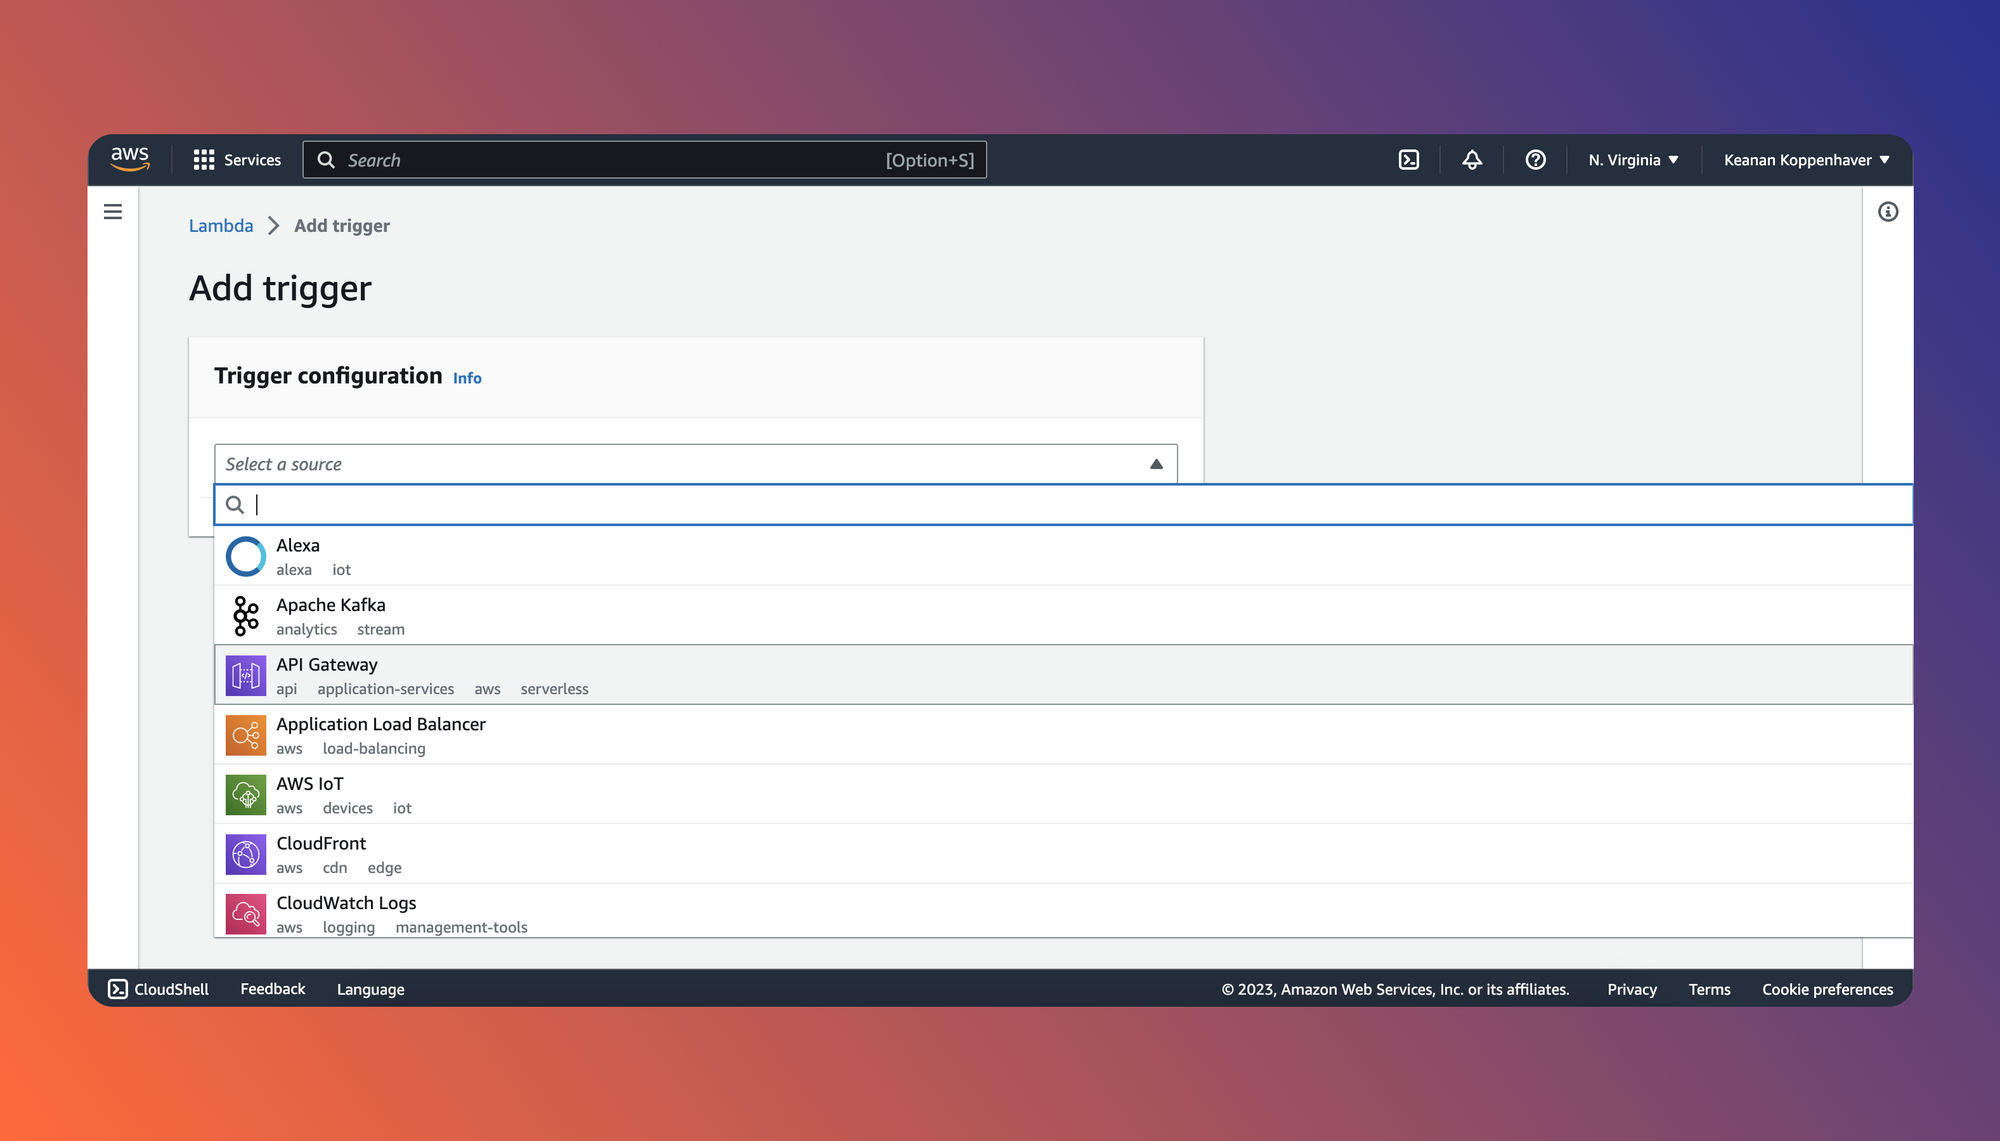
From the detail view of your Lambda function, click on “Add Trigger” and choose API Gateway.
After selecting API Gateway as your trigger, you will need to decide whether to use an existing API that you’ve already configured or whether you want to create a new API. For the purposes of this walkthrough, let’s assume we want to create a new API. For API Type, choose REST API and for Security, choose “Open” for now. Once you confirm that your API is working, you’ll definitely want to add some sort of authentication unless it’s meant to be a publicly available API endpoint.
After your API is configured, you should see it under Configuration > Triggers on the detail view for your Lambda function.
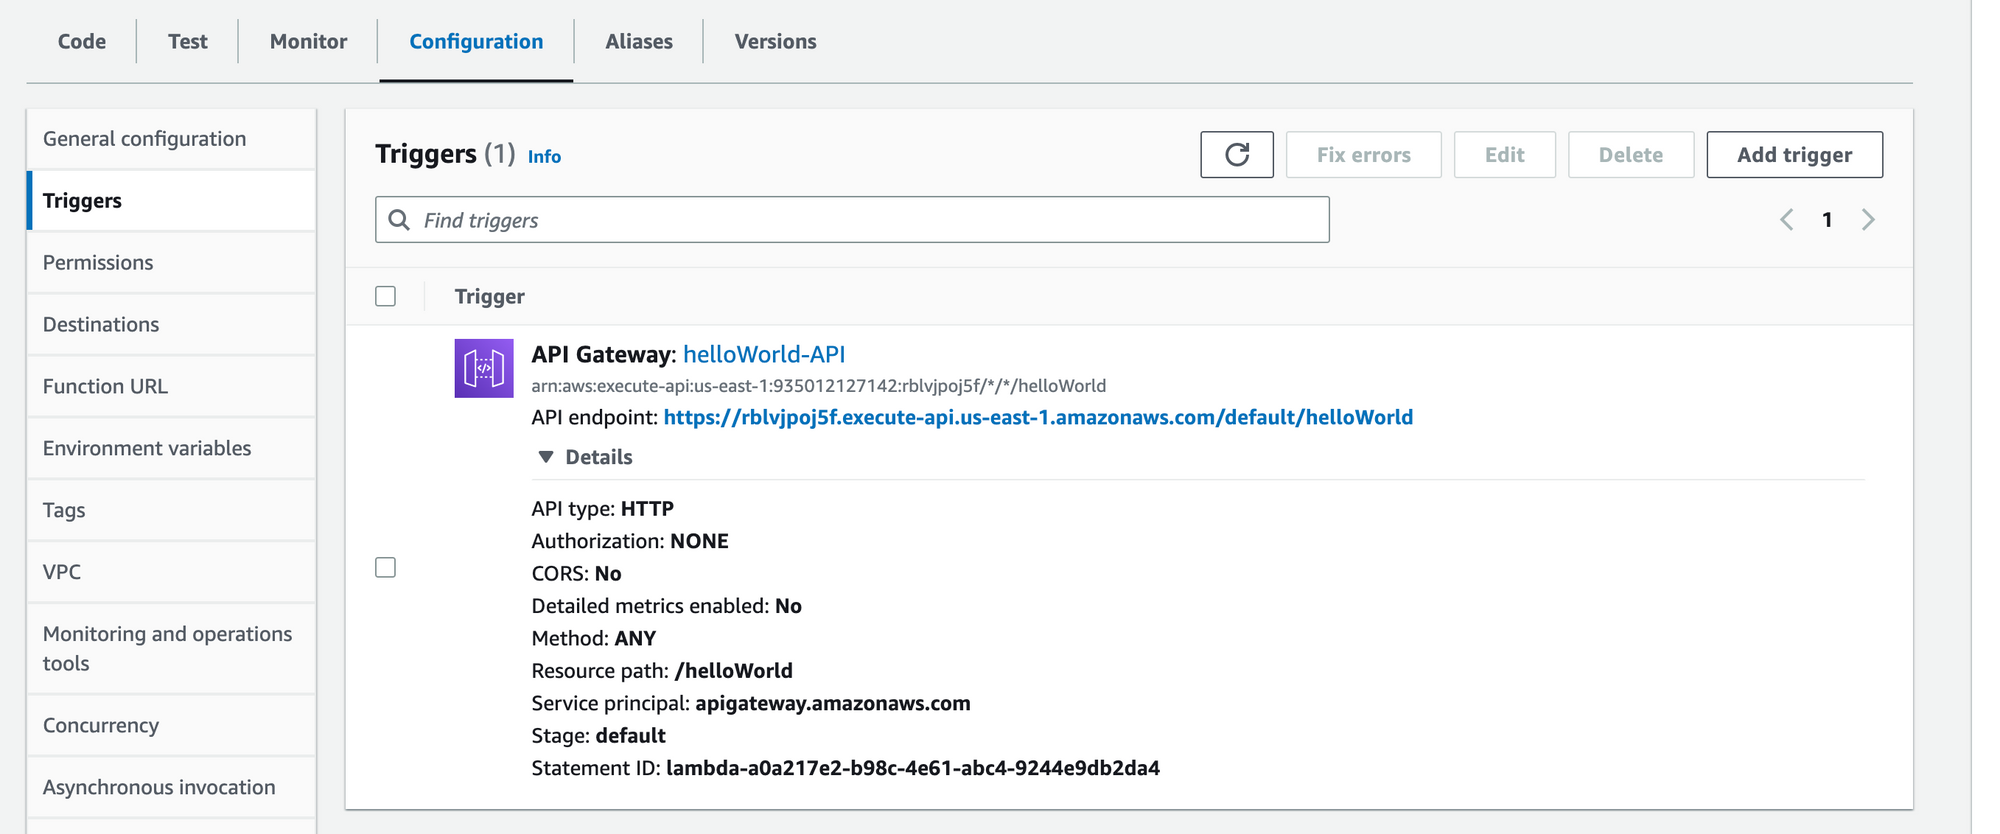
Since you now have a fully-functional REST API in front of your Lambda function, your function can now respond to GET requests (the default behavior), POST requests as well as all the other request methods that API Gateway supports.
Using a schedule
If, instead of invoking your Lambda function via API or URL, you need your function to be triggered on a preset schedule (similar to how a cron job might run on a server), AWS provides a service called EventBridge that can act as a trigger.
Using the same process detailed above, add a new trigger to your function, but select EventBridge as the service. Once EventBridge is selected, you will be able to configure the schedule you want to run your Lambda function on. In this example, we have configured it to run every hour.
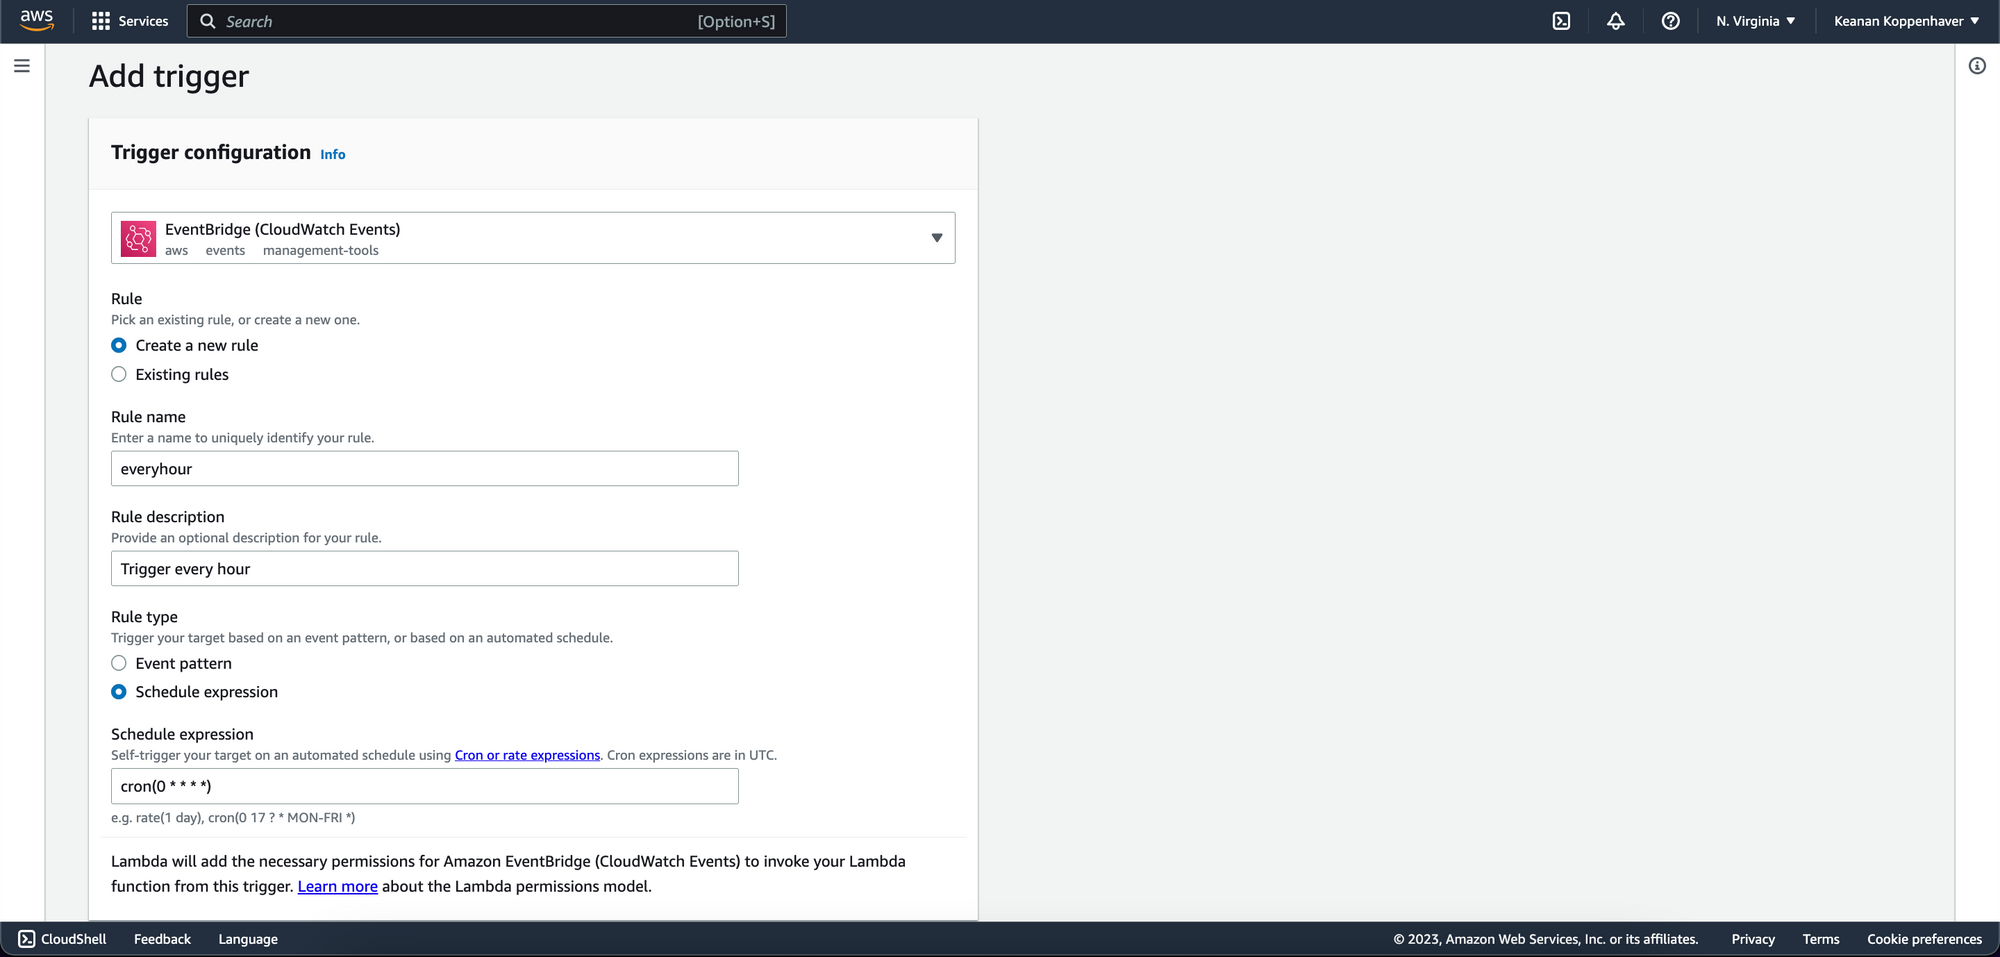
After saving your configuration, your Lambda function will run every hour automatically. If you need to change this configuration, you can update your EventBridge rule at any time to change how often your function runs.
Airplane as an alternative task runner
One drawback to each of these methods is that you have to have some level of technical knowledge to even execute these functions once they’re set up. If you’re executing your Lambda function on behalf of non-technical users, then you may want to take advantage of a tool like Airplane.
Airplane is a developer platform that allows users to transform scripts, queries, and more into powerful tasks and UIs within minutes using code. The basic building blocks of Airplane are Tasks, which are single or multi-step functions that anyone on your team can use. Airplane also offers Views, which allow users to build custom UIs within minutes.
This means that instead of making non-technical users learn how to make API calls or manage schedules using unfamiliar cron syntax, you can configure tasks to be run at the click of a button or scheduled with a much more user-friendly interface.
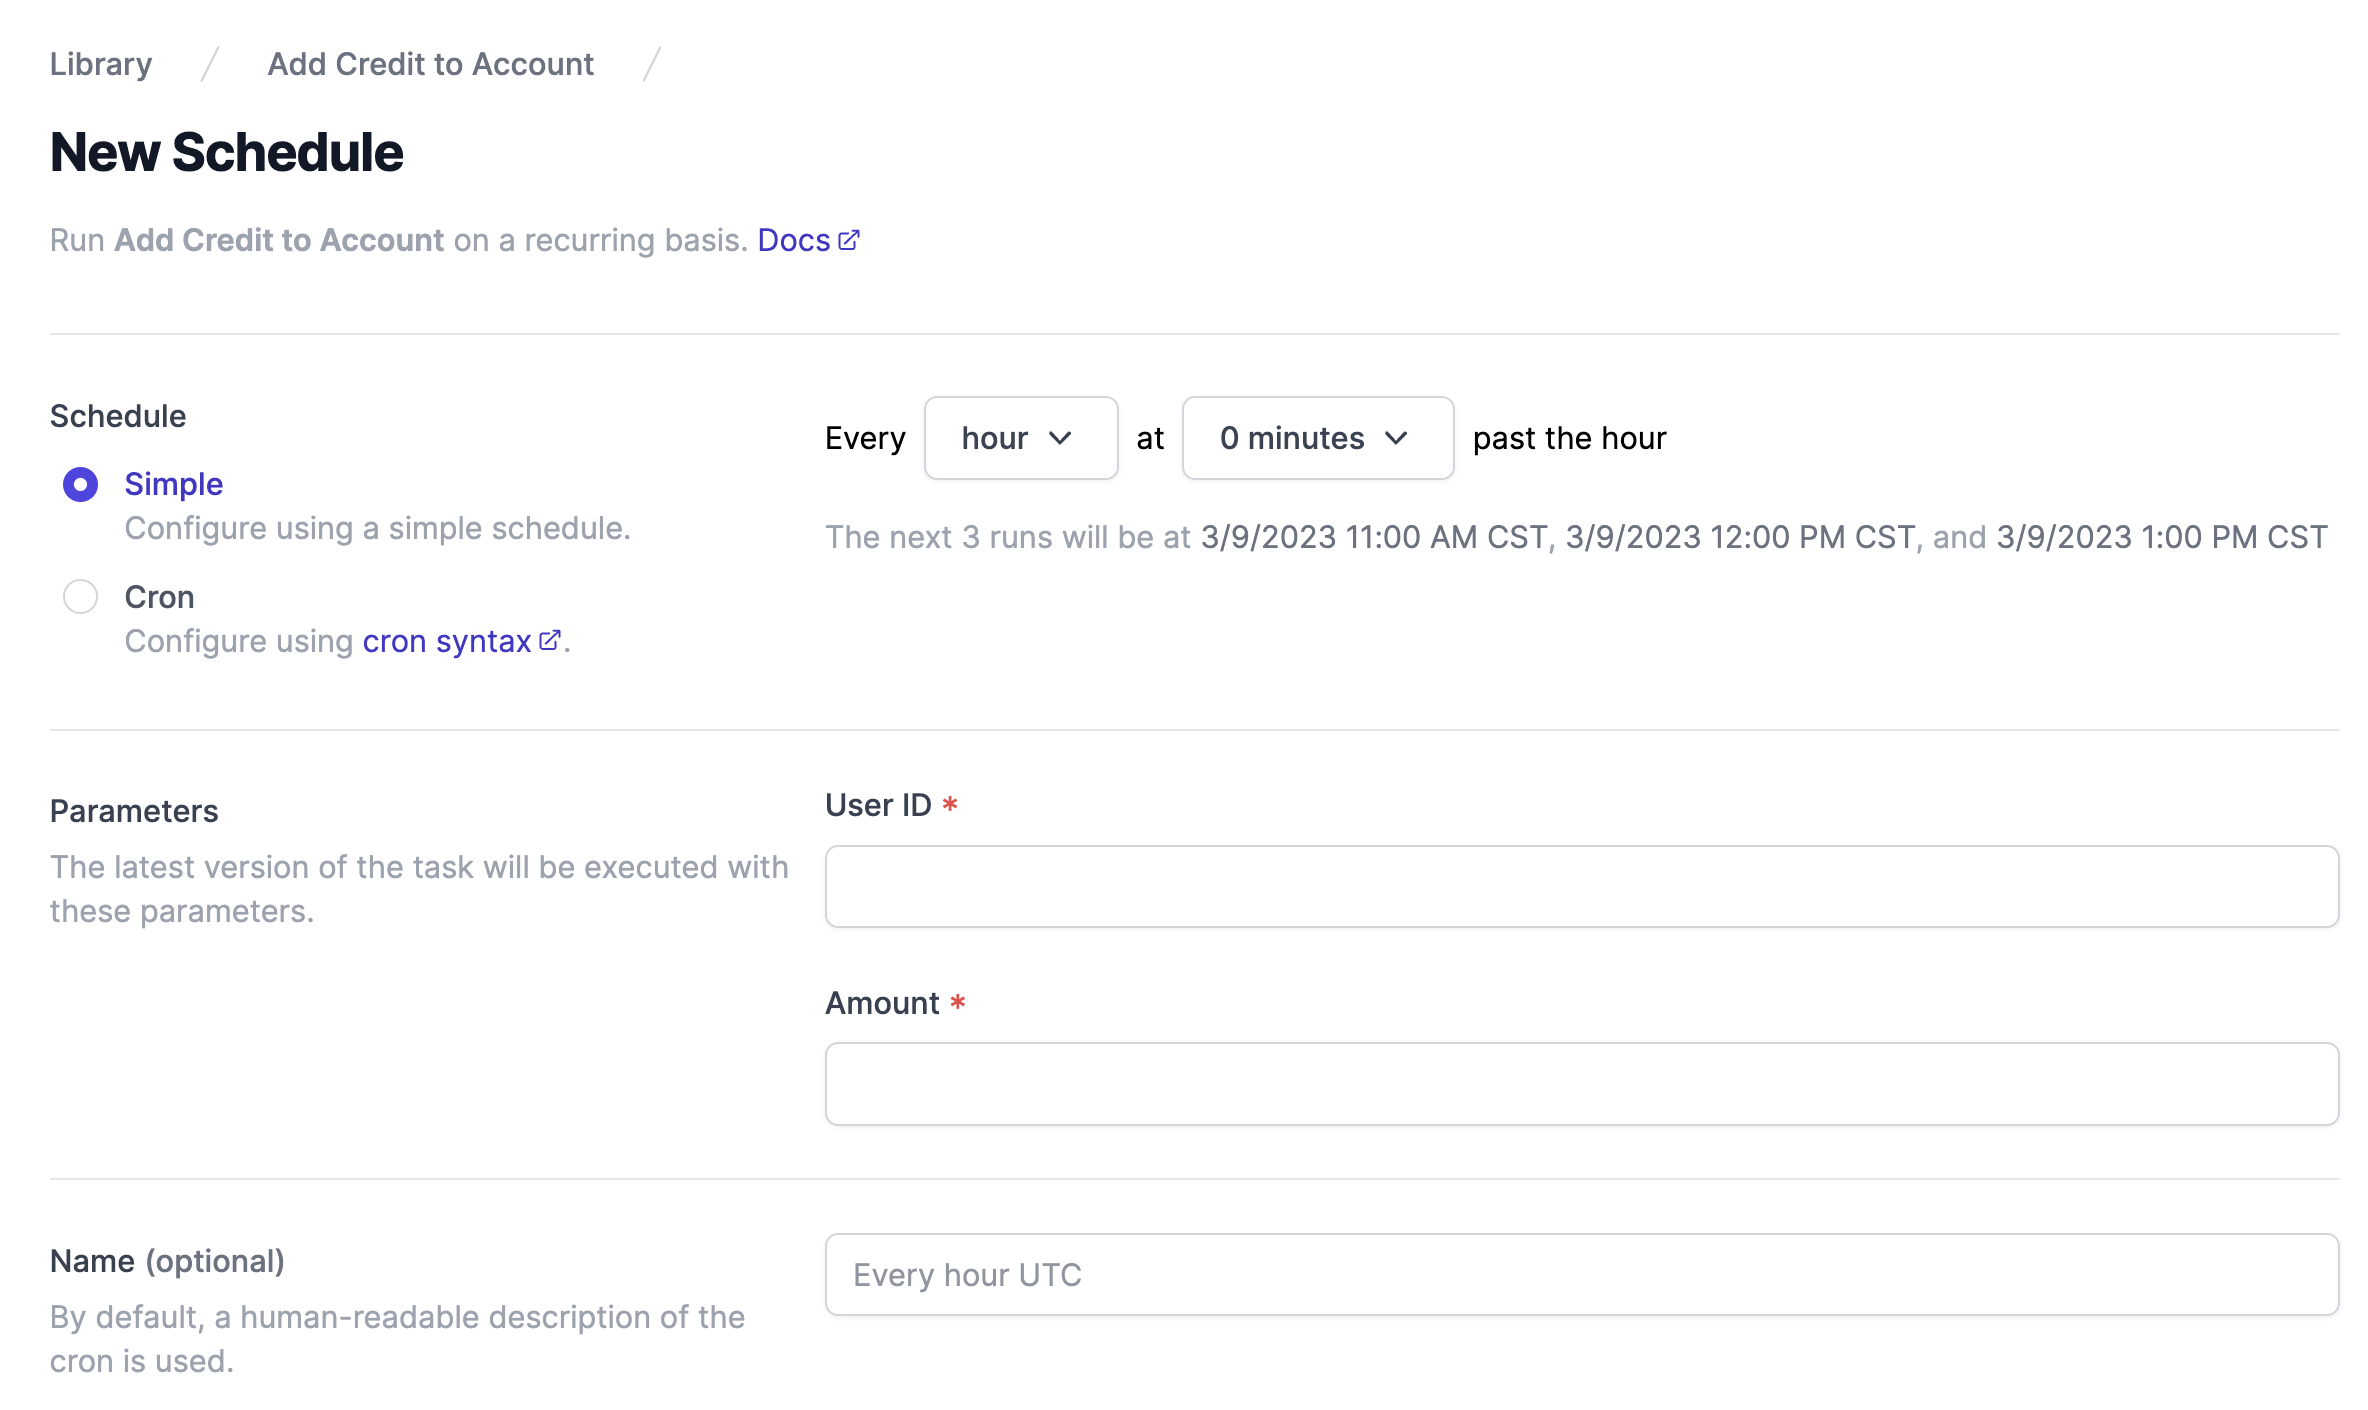
If you’re ready to get started with Airplane, sign up for a free account or book a demo. If you’re at an early-stage startup with under 50 employees, you can take advantage of our Airplane Startup Program to get $10,000 in Airplane credits for your first year.


