Airplane is the developer platform that allows users to transform scripts, queries, APIs, and more into powerful tasks and UIs within minutes using code. In this tutorial, we'll walk through how to create a birthday calendar app so that you can easily keep track of existing employees’ birthdays and document new employees’ birthdays when they join.
If you’re just looking for the code behind this example, check out the Airplane Blog Examples GitHub repo.
Prerequisites
Once we have all these prerequisites in place, we’re ready to get started! Over the course of this tutorial we will:
- Set up Airplane - We will configure Airplane to be able to run locally so you can build all the necessary parts of this tool, and any other internal tools you would like to build, quickly and easily.
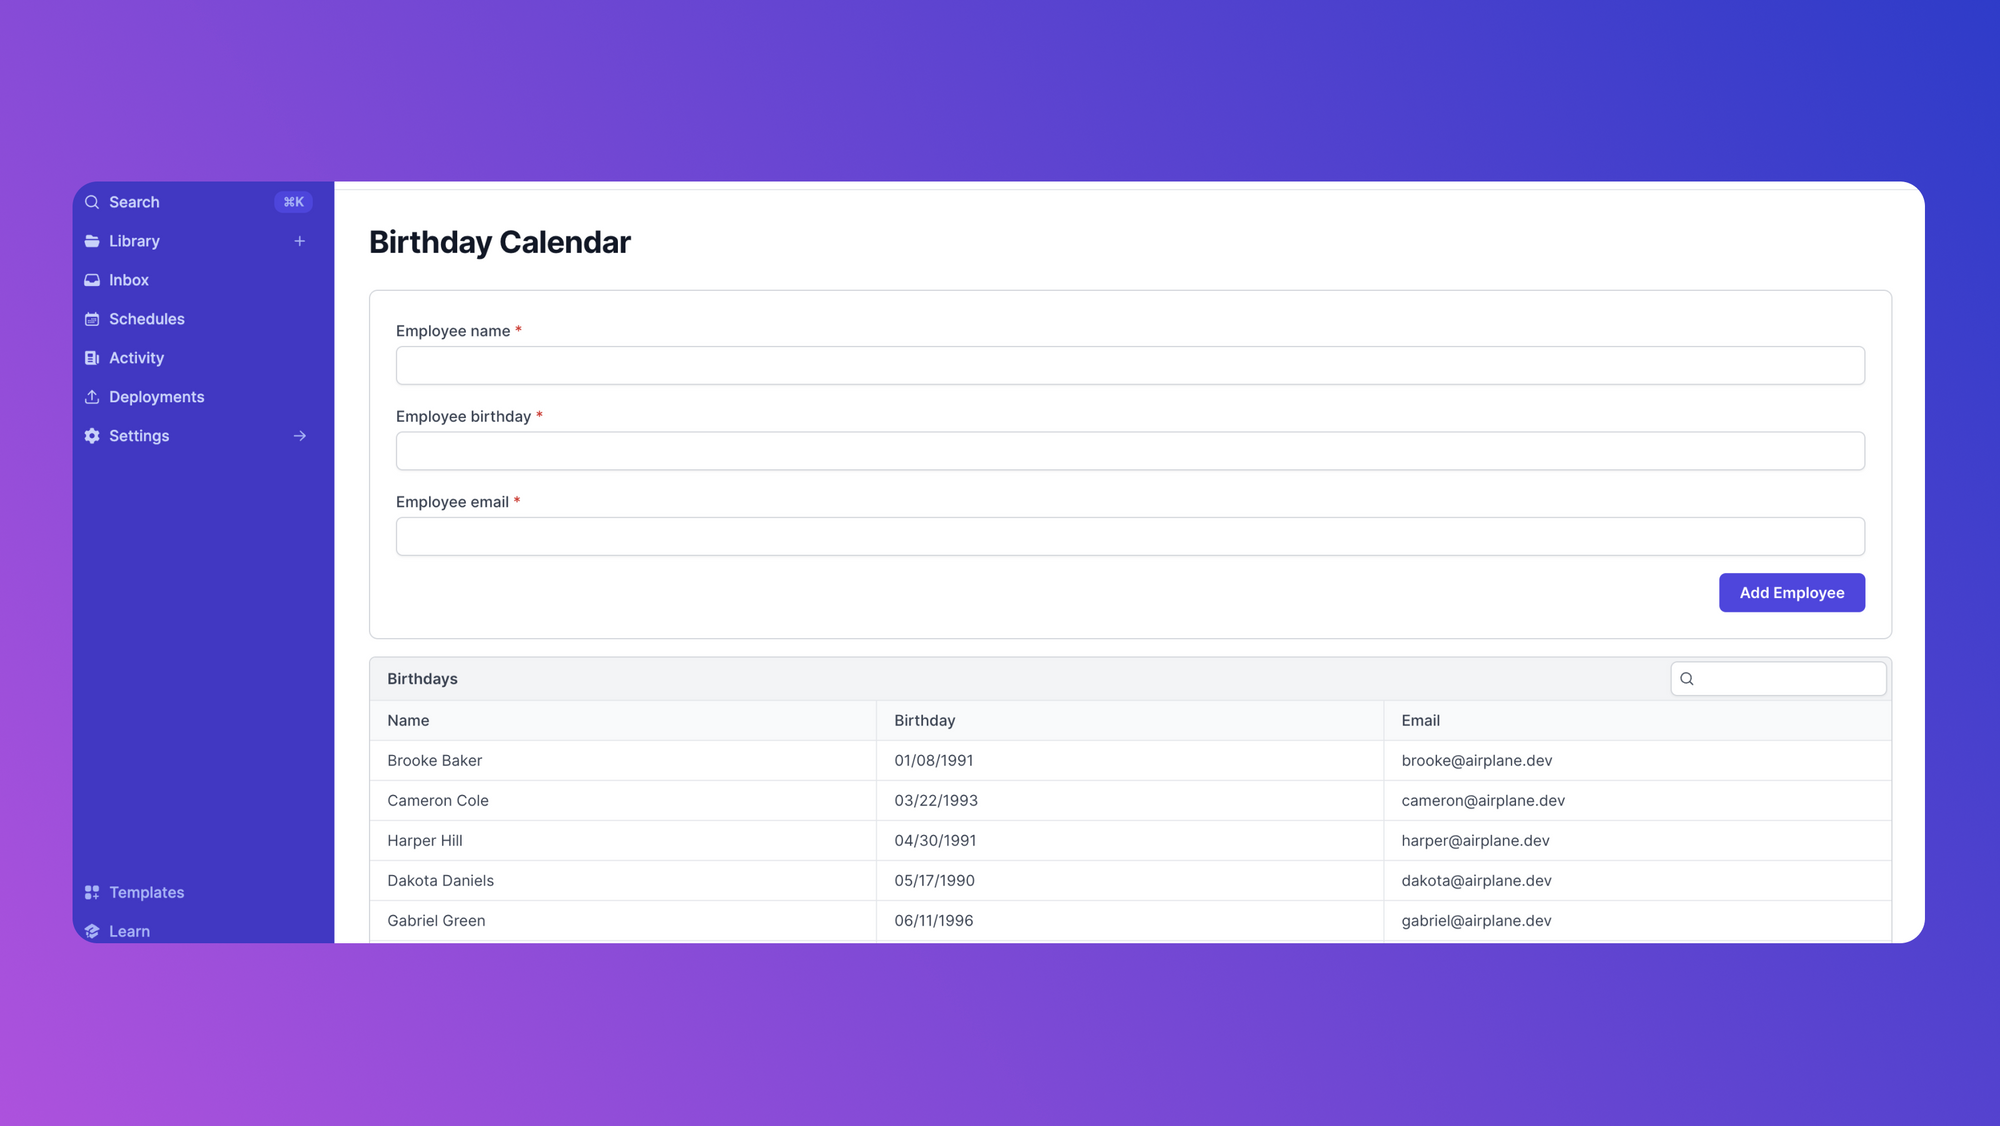
- Build a visual interface - We’ll use Airplane Views to build an interface that will allow us to see all the employees and their birthdays that are currently in the system.
- Build out read functionality - We’ll then build out a few small scripts, known as Tasks in Airplane, that will let us read this employee data.
- Make our data dynamic - By moving our stored employee data out of our script and into the cloud, we will be able to add new employees directly in Airplane - no coding knowledge required.
- Enable notifications - And finally, we’ll use Airplane to send a notification to Slack once per day if it’s someone’s birthday that day.
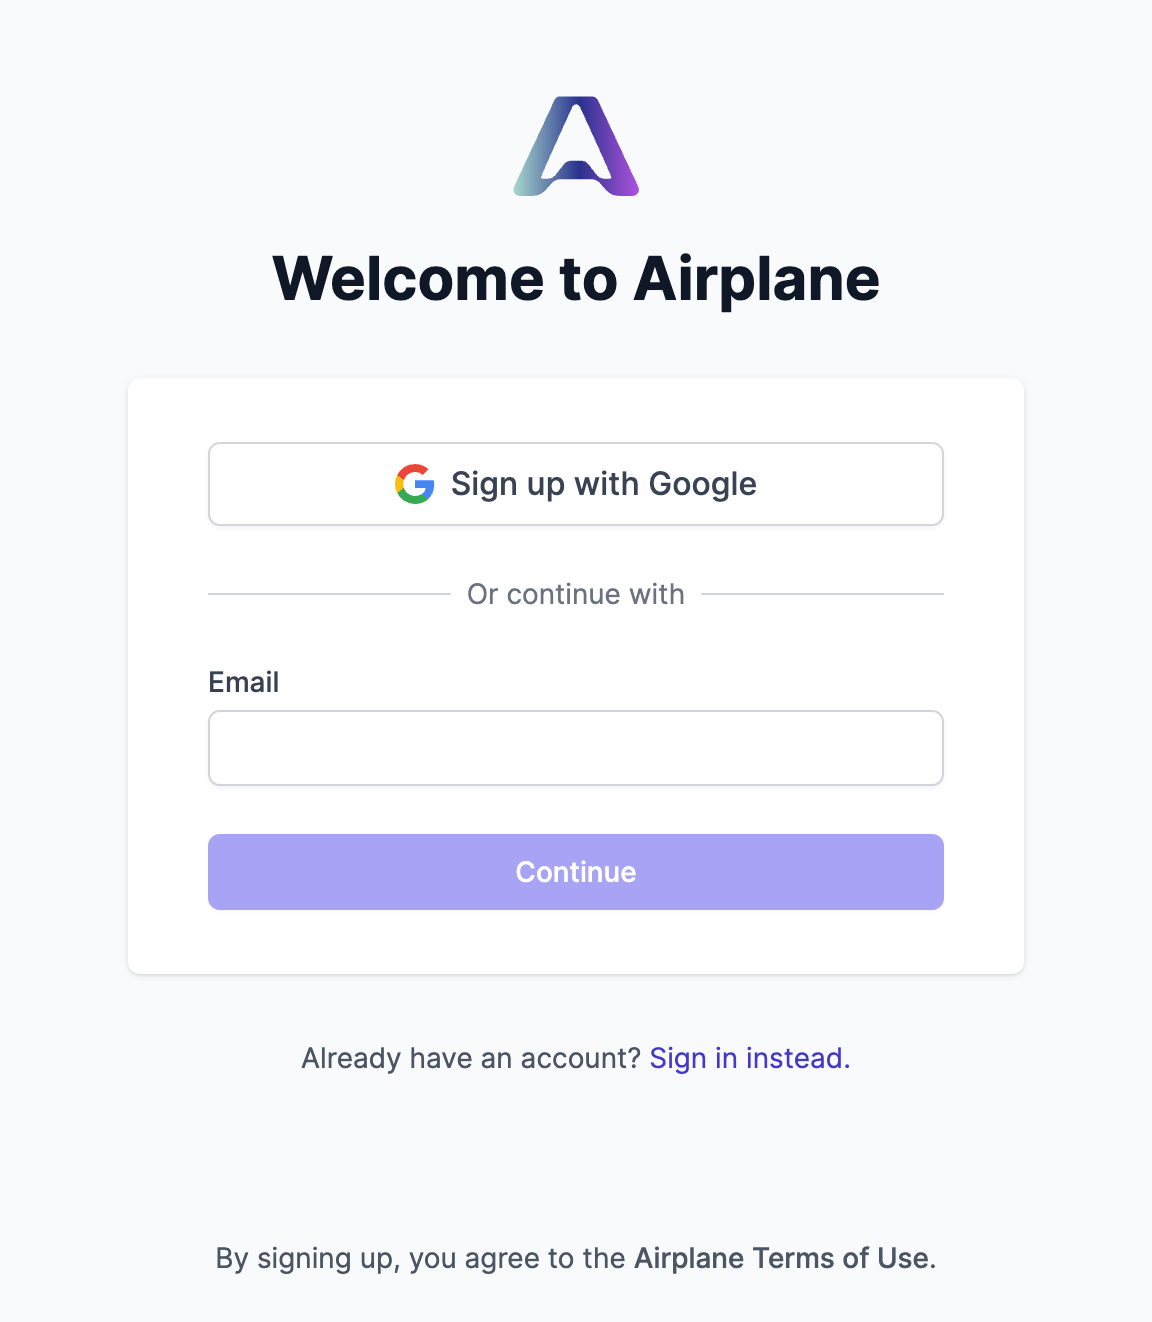
Signing up for Airplane
Navigate to the Airplane sign-up page then enter your email address or link a Google account for convenience:
After registering with an email address, fill out the Create a new team form:
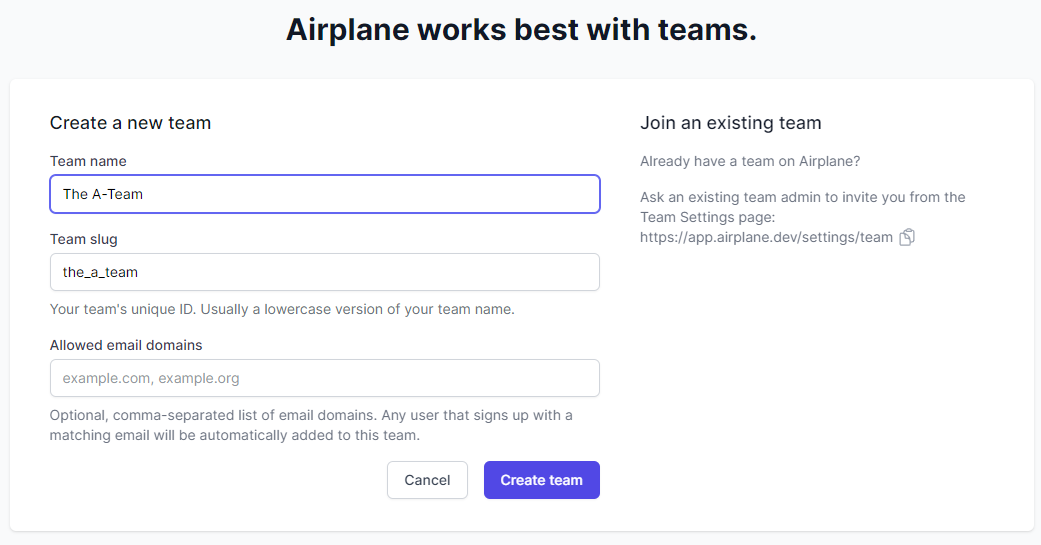
Once the above is complete, your Airplane account will be ready to use.
Installing node.js and npm
For this tutorial, we'll need the Node.js runtime environment and npm, the Node package manager, installed on the local system.
On many newer Linux distributions, Node.js and npm are already installed, but they may be dated. Airplane requires Node.js version 18 to work properly, and it's recommended to use Node Version Manager (nvm) to install the required version.
Navigate to the nvm website and follow the installation instructions to install the latest version.
Once nvm has been installed, download and activate version 18 of Node.js with the following command:
Next, test that the installation worked by running the following commands:
If there aren't any version numbers or if there is an error message, you'll need to troubleshoot the Node.js installation.
Create the calendar interface
Now that we have everything installed, the first thing we want to create is the visual interface for our calendar. In Airplane, these interfaces are called Views.
Once you've installed and logged in to the Airplane CLI, navigate to the folder where you want to create your view and run using the following:
The easiest way to get all the code you need to build a View in Airplane is to use one of the available templates. By passing a template argument to airplane init, the getting started template will populate your directory with some starter code. For the purposes of this tutorial, you can remove everything currently in the tasks directory, rename customer_dashboard.airplane.tsx to birthday_calendar.airplane.tsx and fill it out with some markup to get started:
Next, let's take a look at what each of the pieces of this file do.
The View
The bulk of the display code for your View relies heavily on Airplane components. Components are pre-built interface pieces, built in React that enable you to create complex, dynamic interfaces with a consistent UI. In this View, we create a <Stack> which contains the title for our calendar and a button we'll use to add new employees in the future. We then create a Card and loop through each of our employee's information.
We have hardcoded this information for now, but when we move on to being able to add new employees, we'll store this in a database.
Hardcoded employee data
const employeeData is a variable of hardcoded fake data for employees that is useful for the initial render of our project, but will eventually be replaced with a dynamic data source.
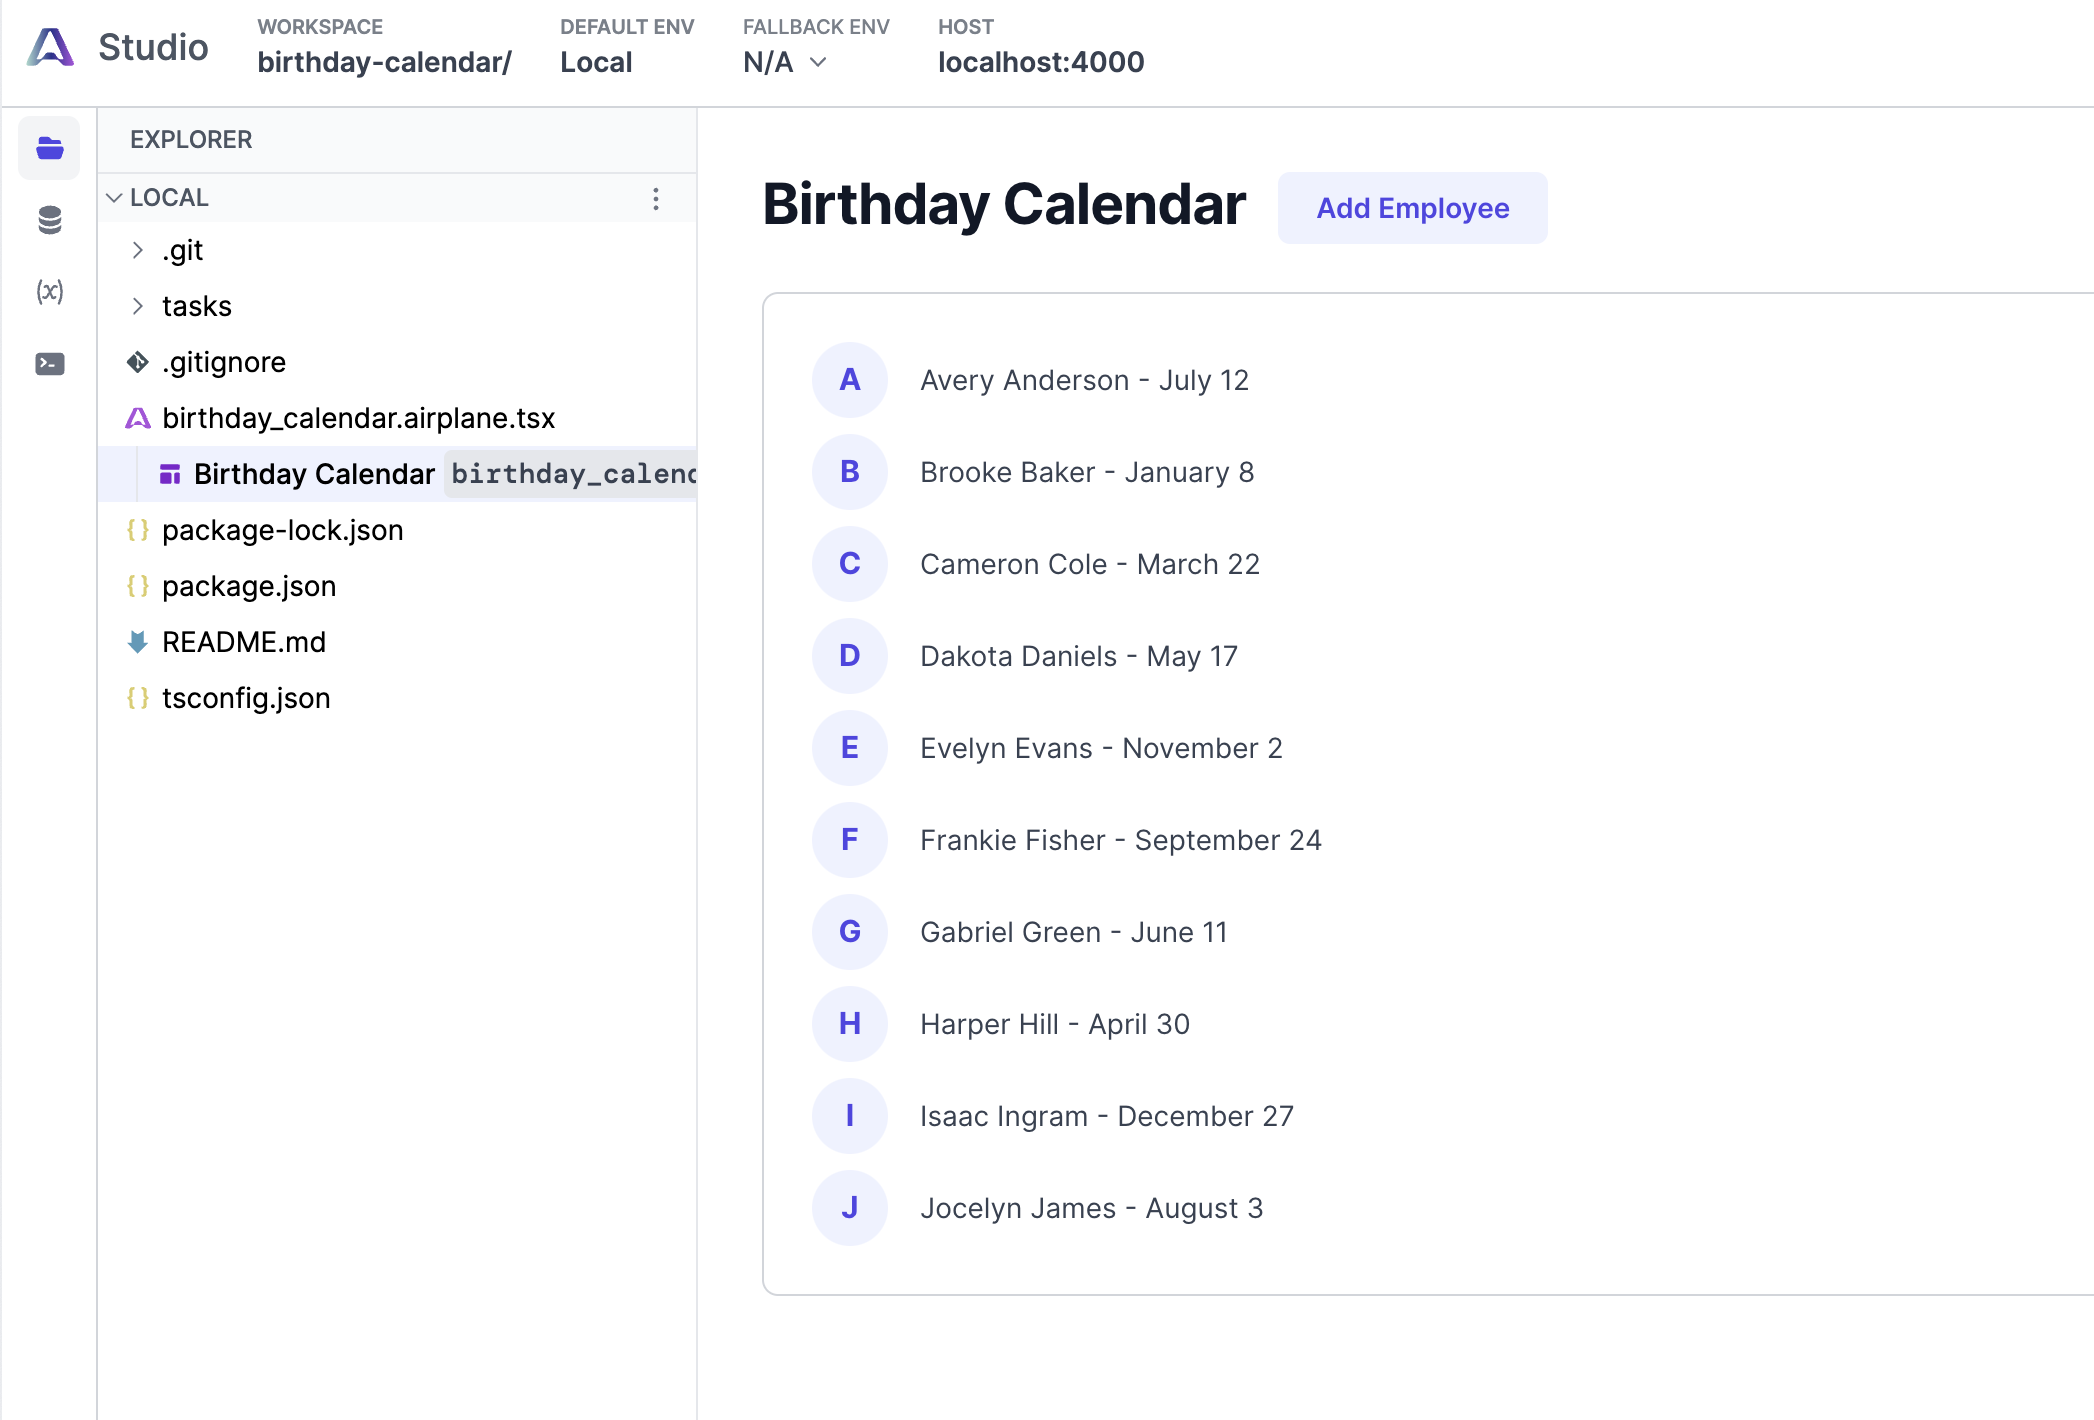
A first look at your View
Once you have this code in place, running airplane dev on the command line, you'll see the first working version of your View!
To make this a bit more useful, we can add a function that sorts our employee data so that birthdays appear chronologically.
You can put this function right after the hardcoded employeeData array. We'll come back to this later when we have data coming from a database.
Set up data storage
To make our data dynamic instead of being limited to a hardcoded list of employees, we need to add some storage to our project.
We will use Firebase Cloud Storage to host the list of employee birthdays. Firebase Cloud Storage is a simple, cost-effective way to store data in the cloud. In this case, we’ll use it to store a JSON file of our employees’ names and birthdays.After you have configured your Firebase account and set up a Firebase App for this project, navigate to the Firebase console, select the Storage menu item underneath "Build" in the left hand sidebar and click on "Get Started".
We can set up storage in "Test Mode" for the purposes of this tutorial, but should definitely re-evaluate once we get everything up and running.
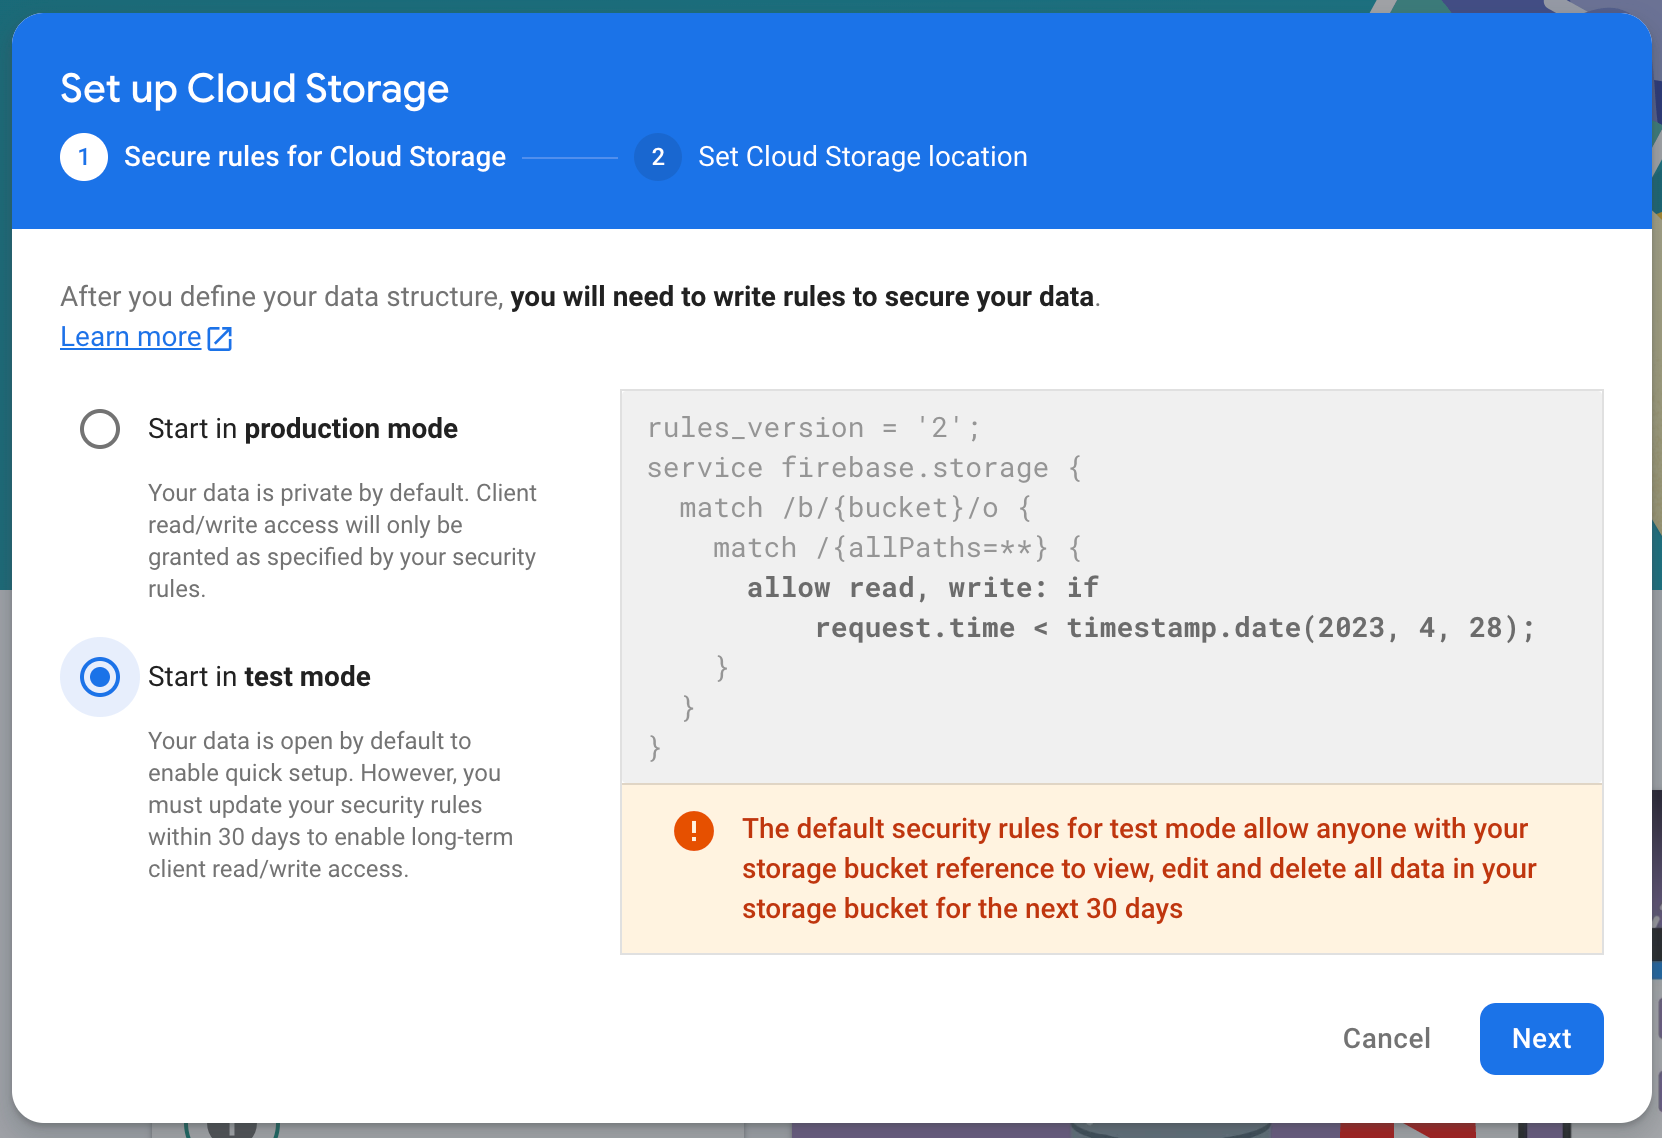
After picking a location for our storage bucket, your bucket will be created and our storage will be available.
Use a Task to read from storage
Now that we have our storage set up, we want our View to be populated with data from storage instead of our hardcoded testing data. To do this, we need to create an Airplane Task.
Airplane Tasks are the foundation of building tools in Airplane. You can create tasks that read from SQL, REST APIs, and much more. In this example, we'll write a task in JavaScript that queries the birthday data we have in Firebase storage.
From the tasks directory of your local codebase, run airplane task init and answer all the prompts. Once you do this, you should see a .ts file inside your tasks directory.
Now that we have our Task set up, we can remove the hardcoded employeeData from our View and move the sort function into the async function inside our new task. After that, your Task should look something like this:
employeeData is still an empty array, so we need to populate it with birthday information from Firebase.
We can install the Firebase SDK by running npm install firebase --save inside our tasks directory. After the installation completes, let's start using Firebase inside our Task. First, add the necessary import statement:
Then, inside our async function, we can add code to connect to Firebase:
Because we haven’t added any employee data yet, our table is still empty, but we can fix that by adding in the ability to add new employees.
Configure the "Add Employee" Form
Now that we're able to read birthday data, the next step is to be able to insert data into our data storage so that we can add new employees and their birthdays.
We can create a Task the same way we did above with airplane task init. After filling out the information for our Task, we can tie that Task to a Form component.
Now, when we click the "Add Employee" button, the information in these text fields will be passed to the create task, will update the data in Firebase.
Now, we need to update our newly-created task to save each new employee back into Firebase, using similar code as we did to read the data from Firebase earlier.
Once this data is updated, the table will automatically refresh as well. This means that we can now add new employees as well as see the current list of employees.
Checking birthdays and celebrating in Slack
Now that we have our birthday calendar configured and can add employees, we need to build a check that runs every 24 hours to check if anyone has a birthday that day. To do this, we’ll set up a recurring task from within Airplane and have that recurring task send a Slack notification if it’s someone’s birthday.
Use airplane task init and fill out all the same information as our Tasks above to create a new check_brithdays task.
We will use Airplane’s ability to call one task from within another task to get the current list of employees using our read_birthdays task and check if anyone’s birthday is today:
Once we know if it’s someone’s birthday, we should send a notification in Slack to let everyone else know too.
Configuring a Slack notification
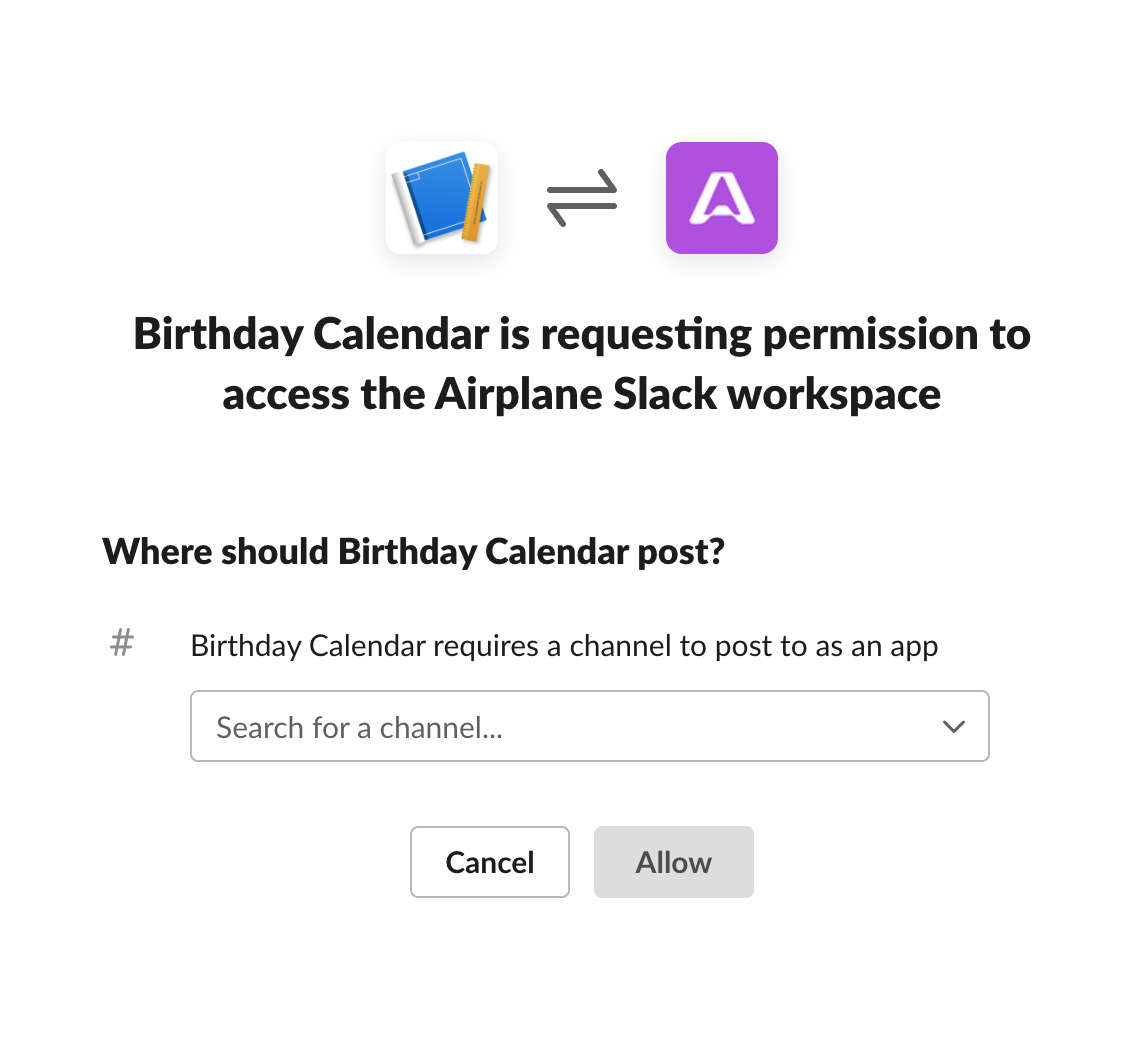
The first thing we need to do is create a Slack app. Make sure to add the necessary permissions so that your newly-created app can write messages to your channels in Slack.
Once you’ve created your app, we can create a webhook, which will give us a URL to send messages to. We should create this webhook to post into a specific channel in Slack so that anyone who wants to receive these birthday notifications can join this channel.
After you complete this setup, Slack should give you a webhook URL, which we’ll need to finish setting up our task.
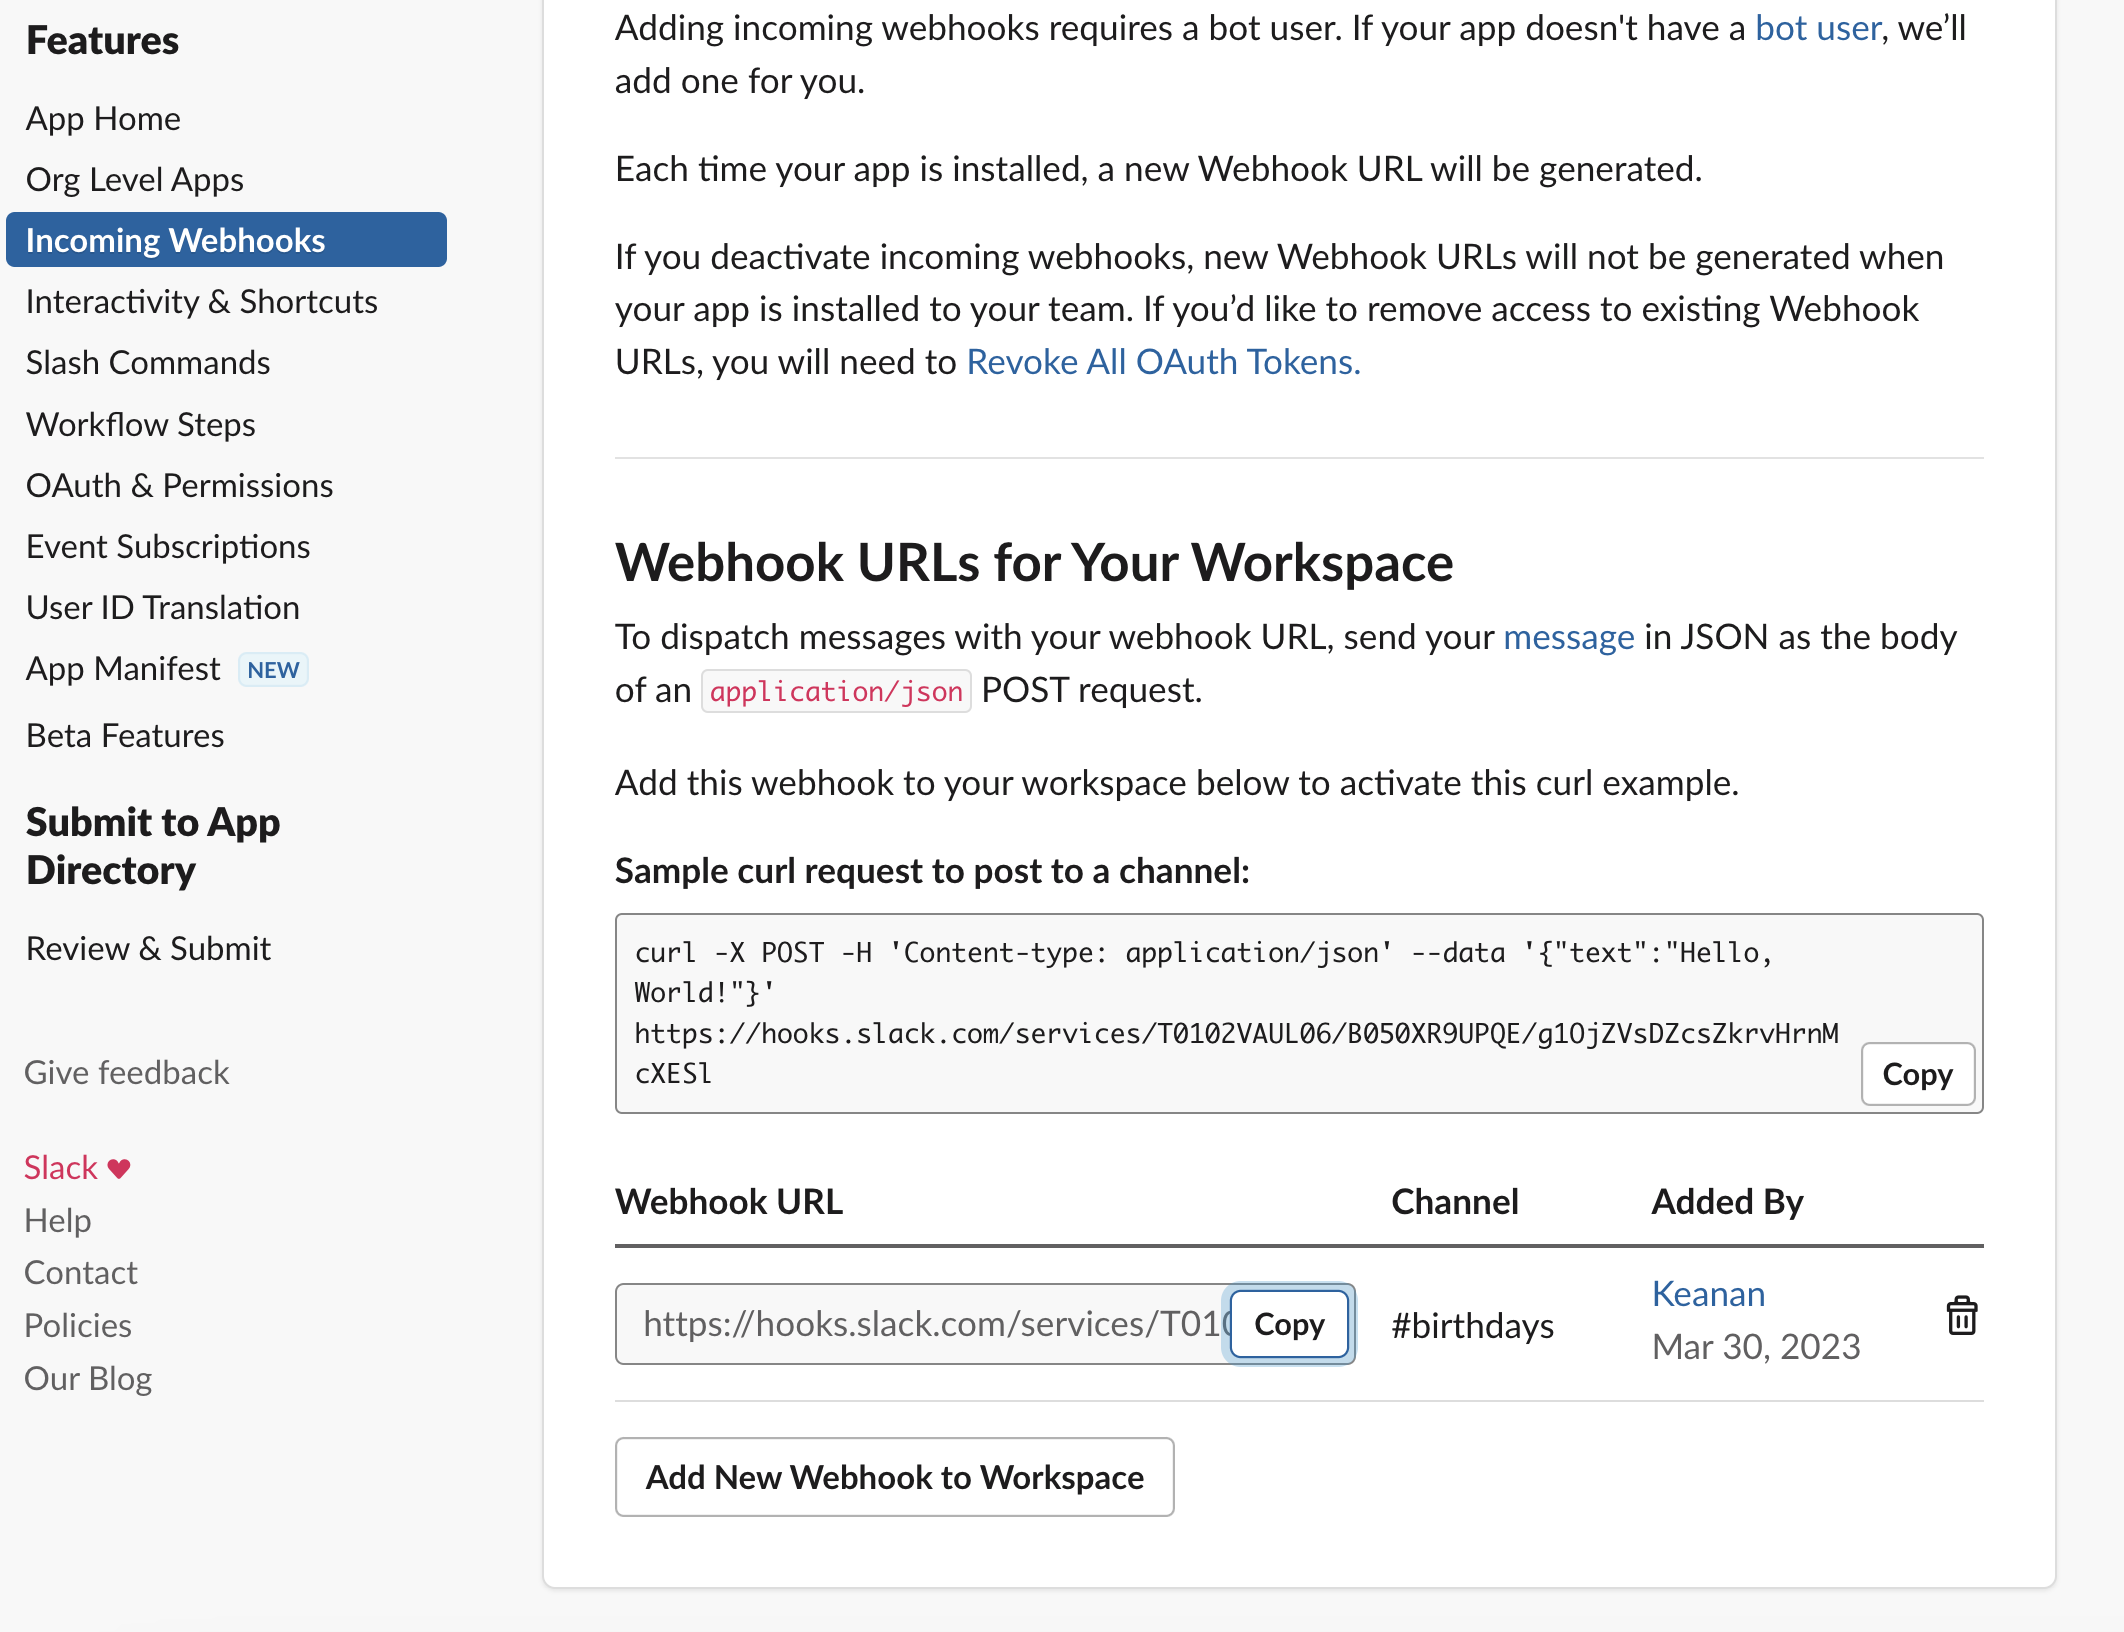
Copy this URL and add it to your existing task to send a message into Slack when someone’s birthday is today:
And we have a working Task! Now that everything is set up, we need to deploy our Task to Airplane and set up our check_birthdays task to run daily.
Deploying
Now that our Task is complete, we need to deploy it to Airplane so that others in your organization can see this calendar as well. After you have the View and both your Tasks updated with the latest code, you can run airplane deploy and after your deploy is complete, you'll see your View inside your Airplane Library.
Scheduling the Task
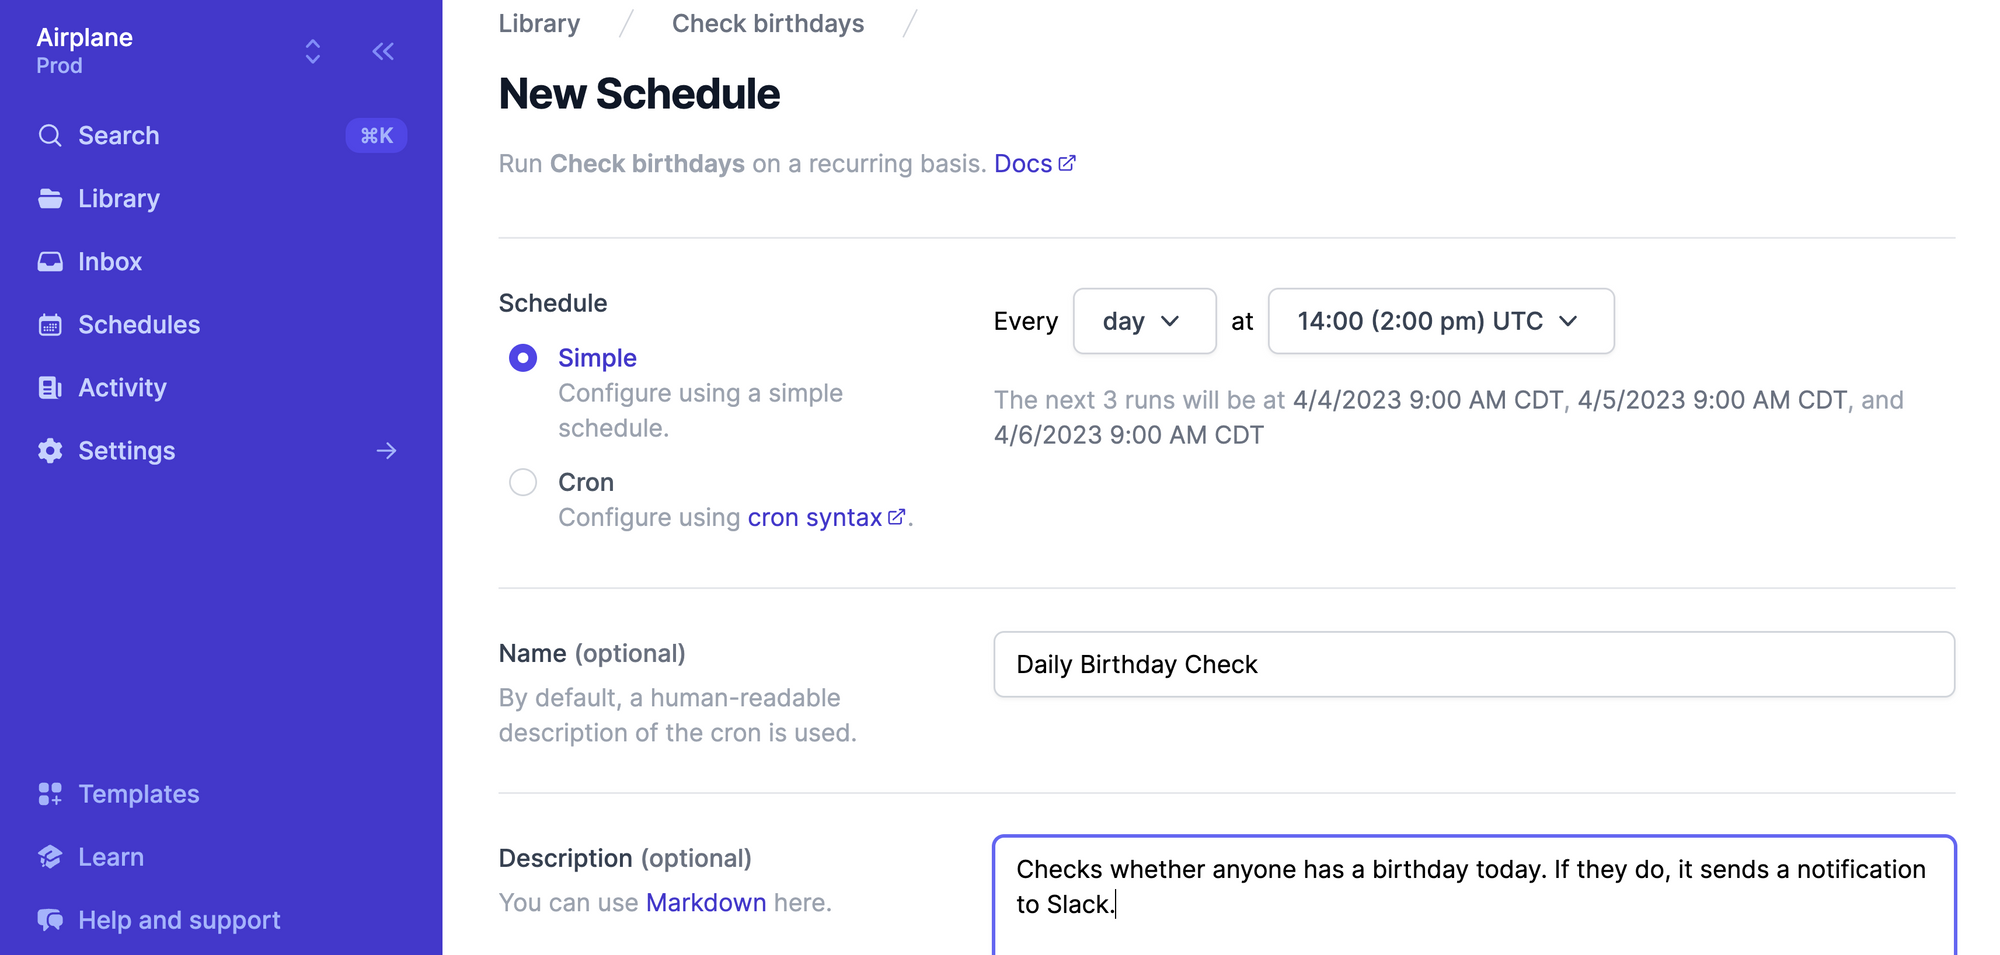
Now that our View and all our Tasks are available inside Airplane, we can schedule our check_birthdays task to run every day and check if it’s someone’s birthday.
By going to the Schedule section of Airplane, we can configure our task to run every day at 9 AM, just as everyone is starting work for the day.
Wrapping up
Now that you have built your first internal tool with Airplane, there are so many things to explore. Airplane allows users to build powerful tasks and UIs using scripts, queries, APIs, and more. In addition to the pre-built component library we used, Airplane also offers users the ability to create custom components in a fast and secure manner. Airplane also provides robust built-ins, such as audit logs, job scheduling (which replaces cron), permissions setting, and more.
We can't wait to see what you build with Airplane. If you have any questions or want to chat with us, you can email us at [email protected]!