

NoSQL databases have become increasingly popular in the past decade. This type of database is particularly useful for handling large volumes of unstructured data, which is usually beyond the scope of traditional relational databases. MongoDB has been at the forefront of the NoSQL revolution. It offers a highly scalable, efficient, and easy-to-use NoSQL database solution that is easy to start using within minutes. MongoDB focuses on the developer experience and is supported by a large community.
When working with MongoDB databases, you may need to set up jobs to carry out repetitive tasks, such as cleaning up the database and creating backups. You may also need to set up reactions to changes in the database to facilitate operations such as content moderation, data validation, and notifications. MongoDB provides a solution for this with its "Triggers" feature, which allows you to automate these processes and streamline your workflow.
In this article, we'll walk through how to set up database triggers and scheduled triggers in a MongoDB Atlas deployment.
What are MongoDB Triggers?
MongoDB Triggers are user-defined functions that are executed in response to set execution conditions. Based on these conditions and the scope of usage, triggers can be classified into three categories:
- Database triggers: These triggers are executed in response to database-related events, such as inserting a new document, updating an existing document, or deleting a document. These are helpful for automating tasks at the document level, such as data validation and transformation.
- Scheduled triggers: These triggers are executed based on a fixed schedule, such as once a minute, once an hour, or once a day. They are helpful in running batch maintenance jobs that can affect multiple documents at once.
- Authentication triggers: These triggers are executed in response to user-related events in a MongoDB deployment, such as user login, logout, and failed login attempts. This type of trigger is rarely used but can be quite helpful in maintaining audit logs and implementing security-related automation.
In the following sections, we'll discuss how to create a database and schedule triggers. Before that, we'll need to set up a MongoDB cluster in MongoDB Atlas.
Setting up MongoDB Atlas
To create a new test cluster in MongoDB Atlas, head over to the MongoDB Atlas sign-up page and create a new account.
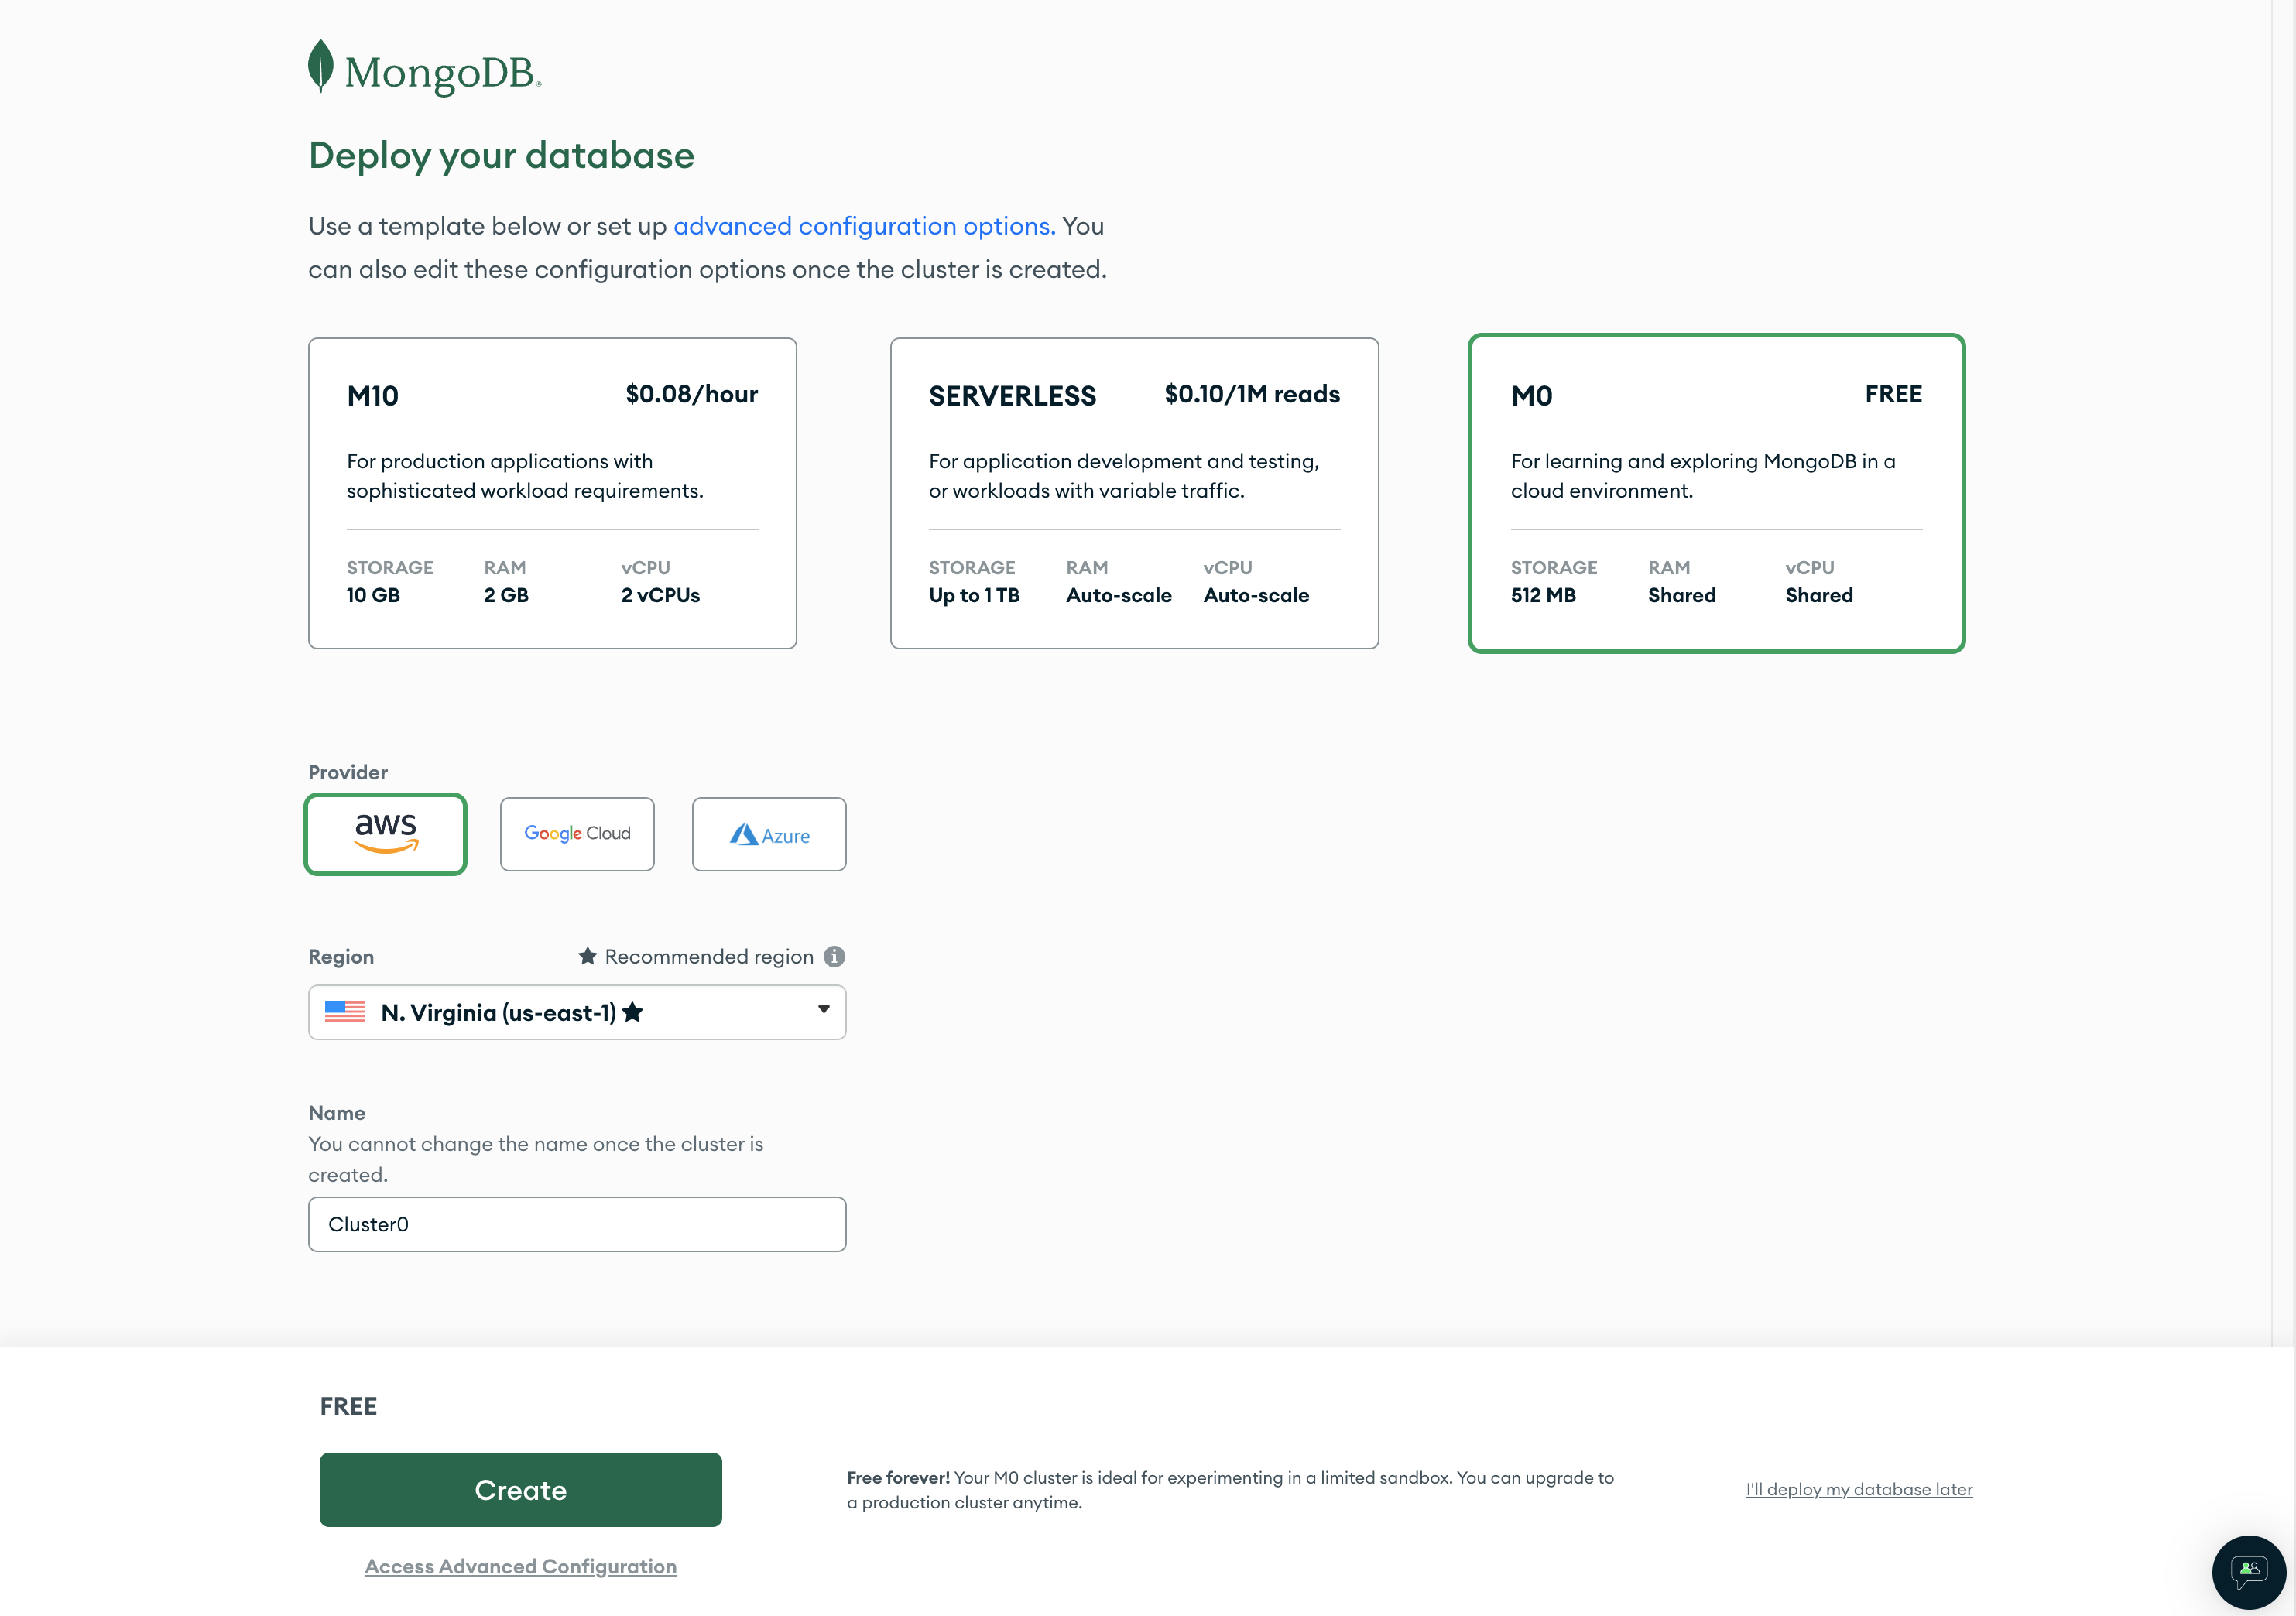
The sign-up process will ask us for the preferred programming language and prompt us to create a new cluster for the database. For this tutorial, choose JavaScript as the preferred programming language. Next, choose the M0 cluster template and keep the default values for the other fields. Lastly, click the Create button:
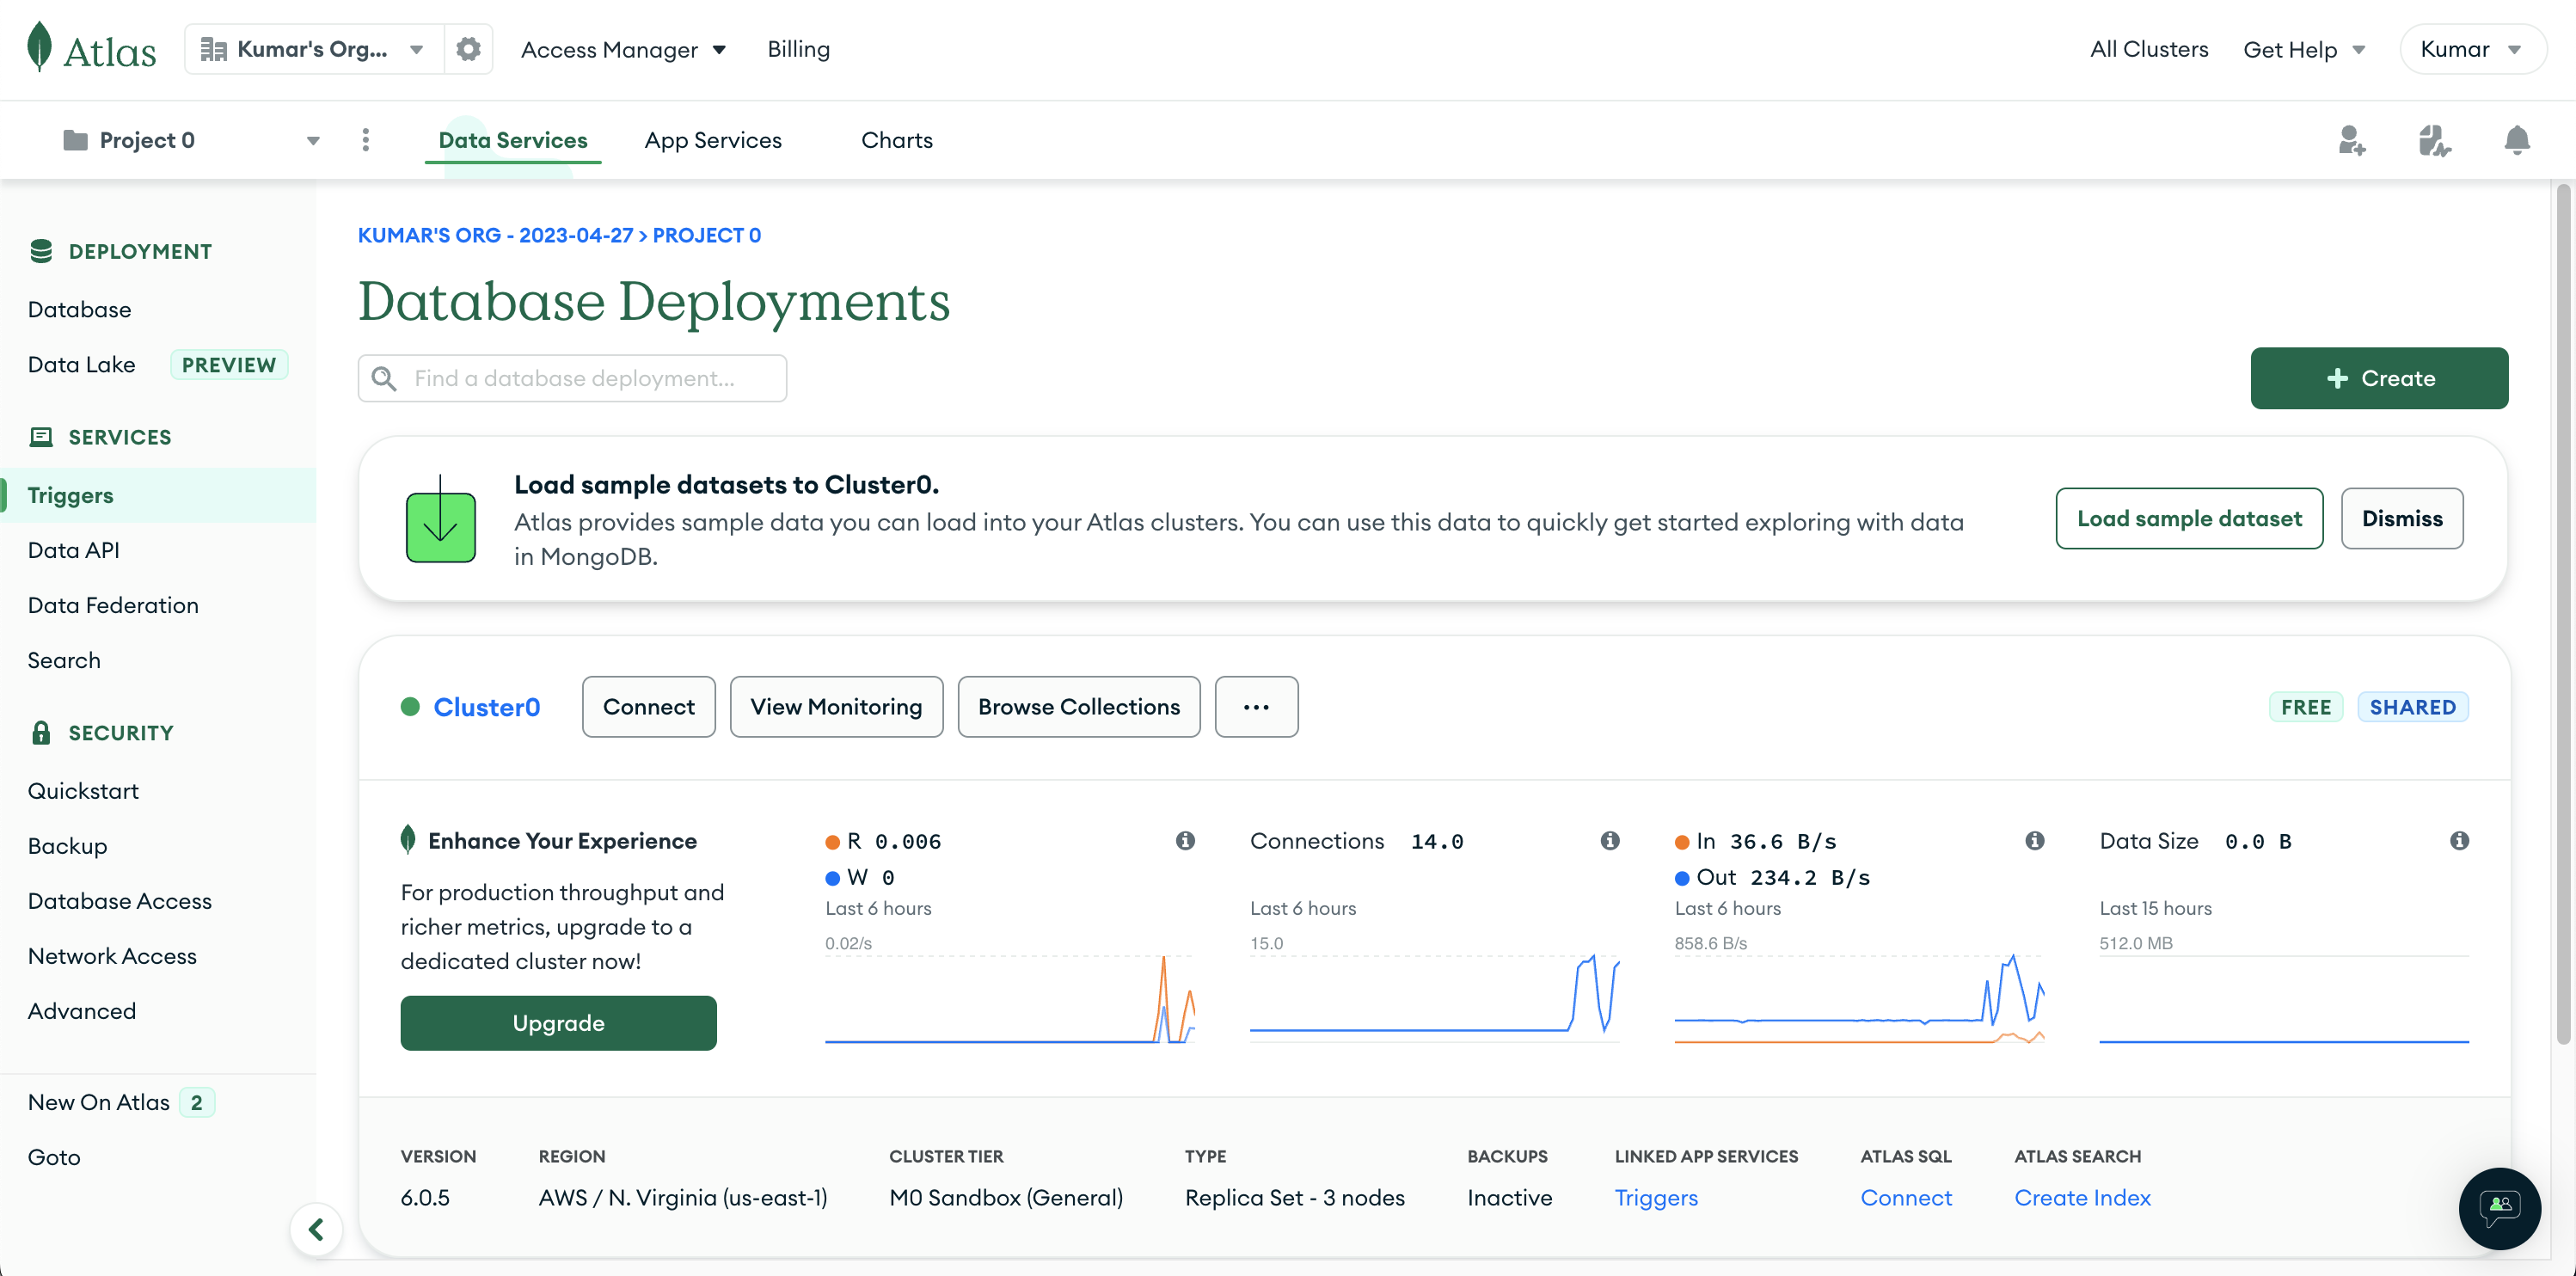
Once the cluster is created, click the Load sample dataset button below the Create button to load a few sample data sets into the newly created cluster:
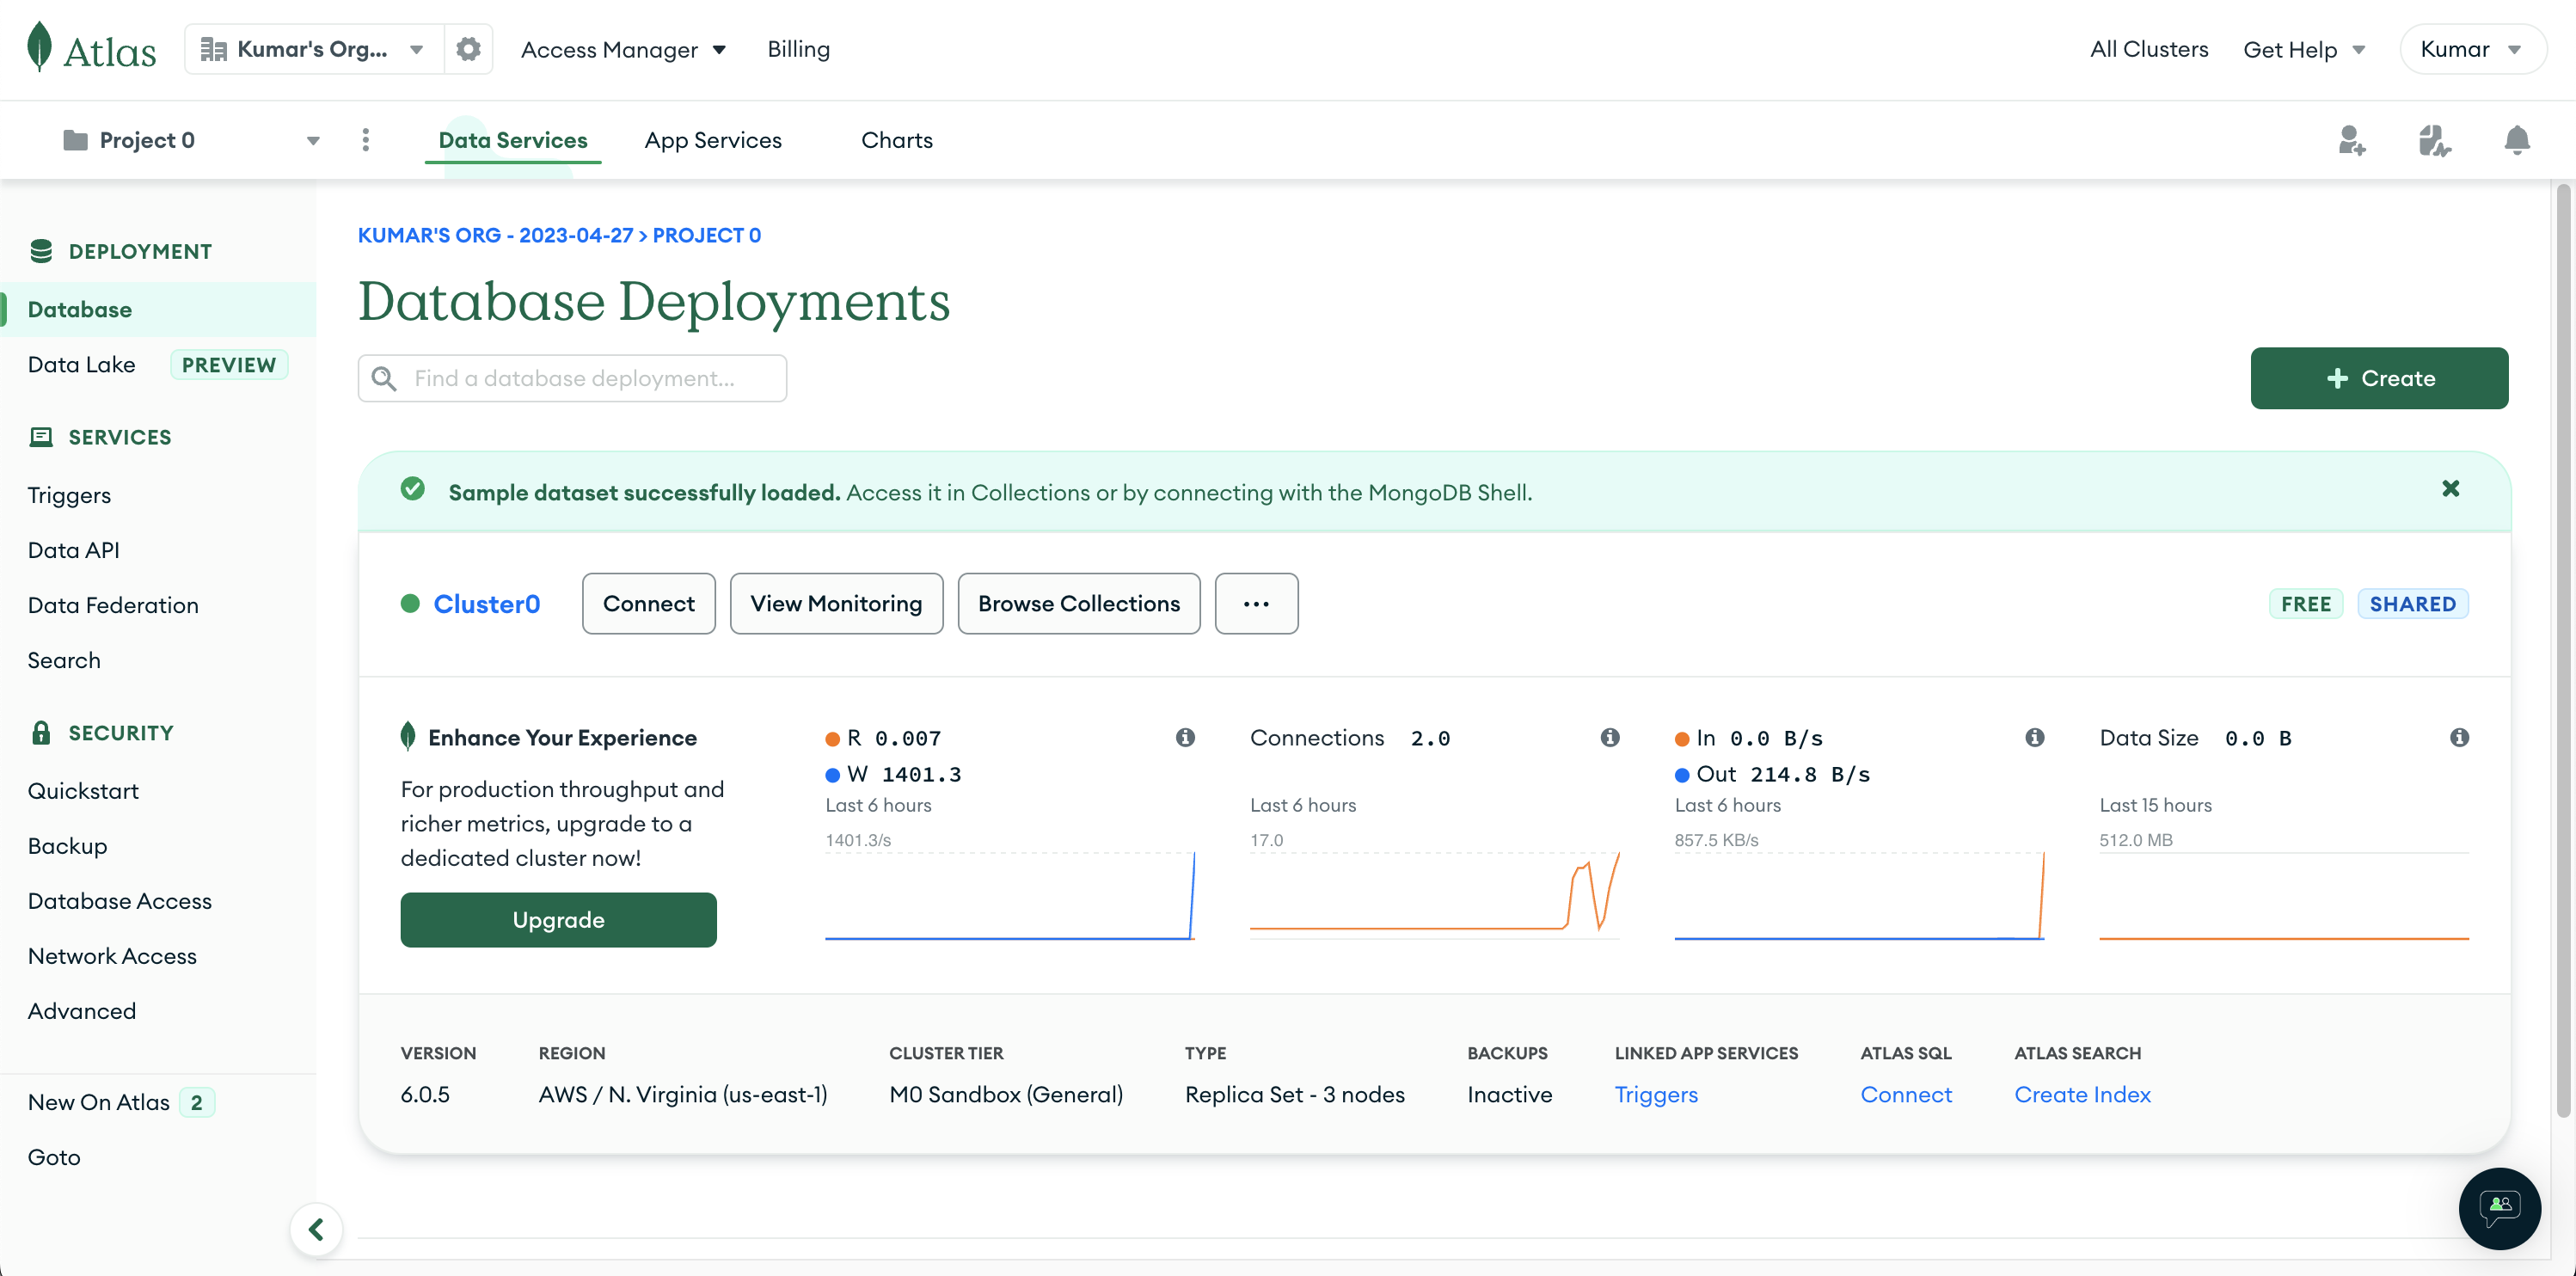
This saves us from having to manually create dummy collections and documents to test the trigger. Once the data sets are loaded, we'll see a message confirming the sample data set has been loaded:
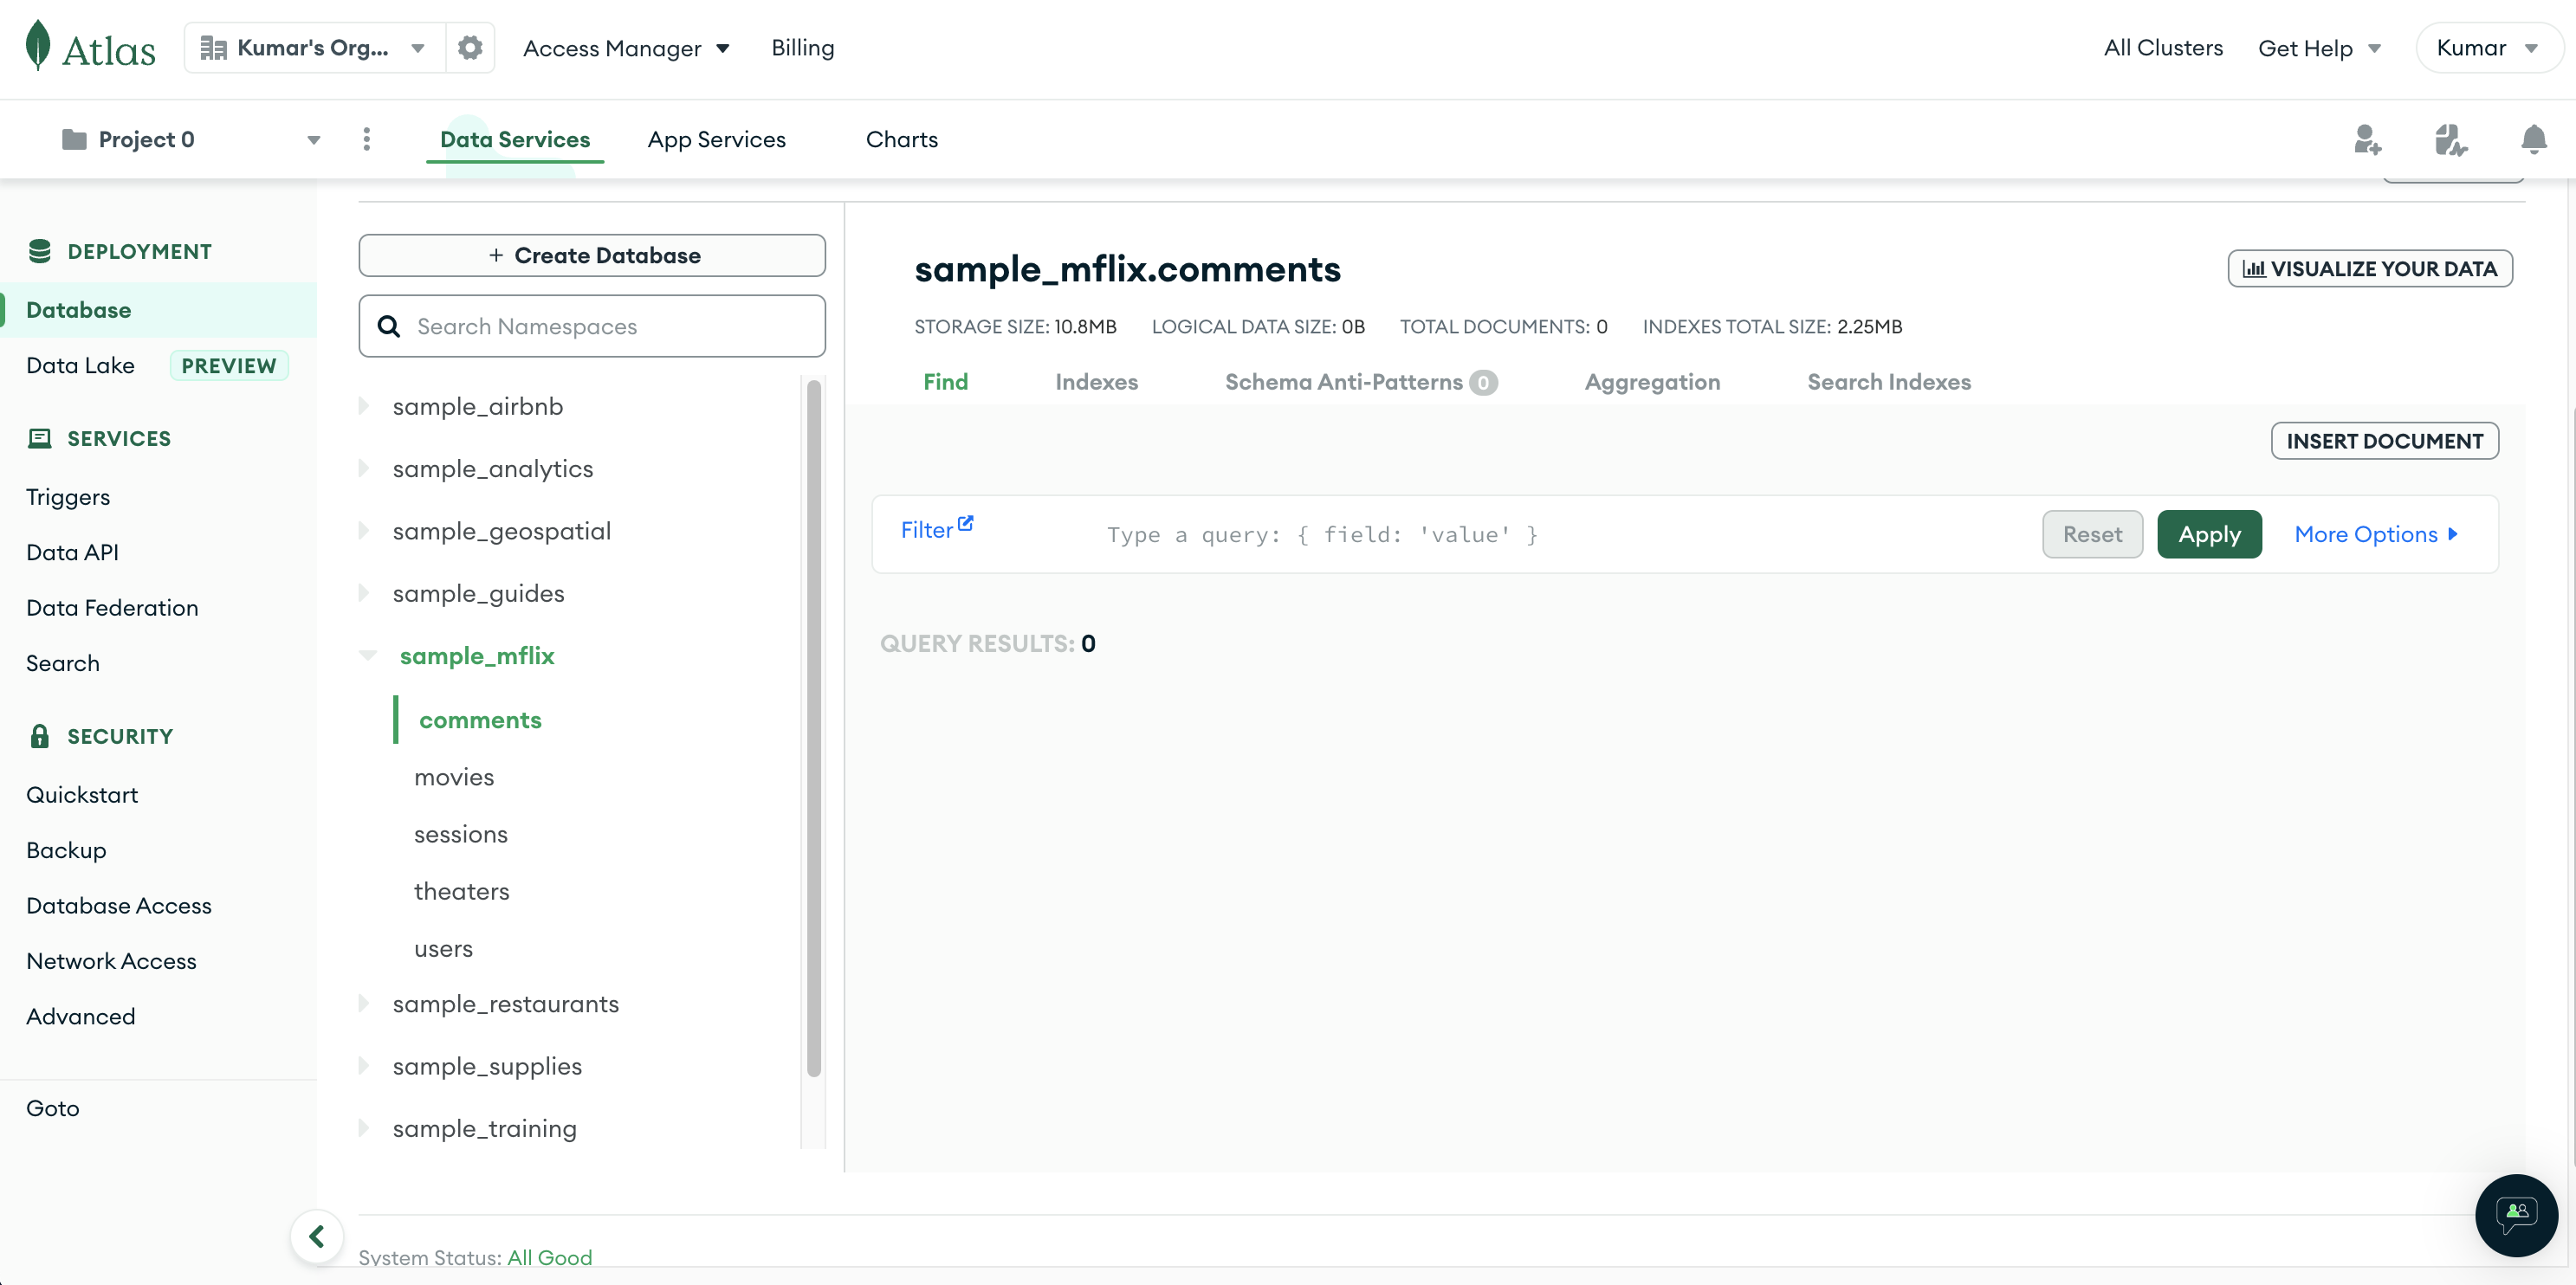
Click the Browse Collections button to look at the data. Notice that a list of collections and databases has been created for us in the cluster:
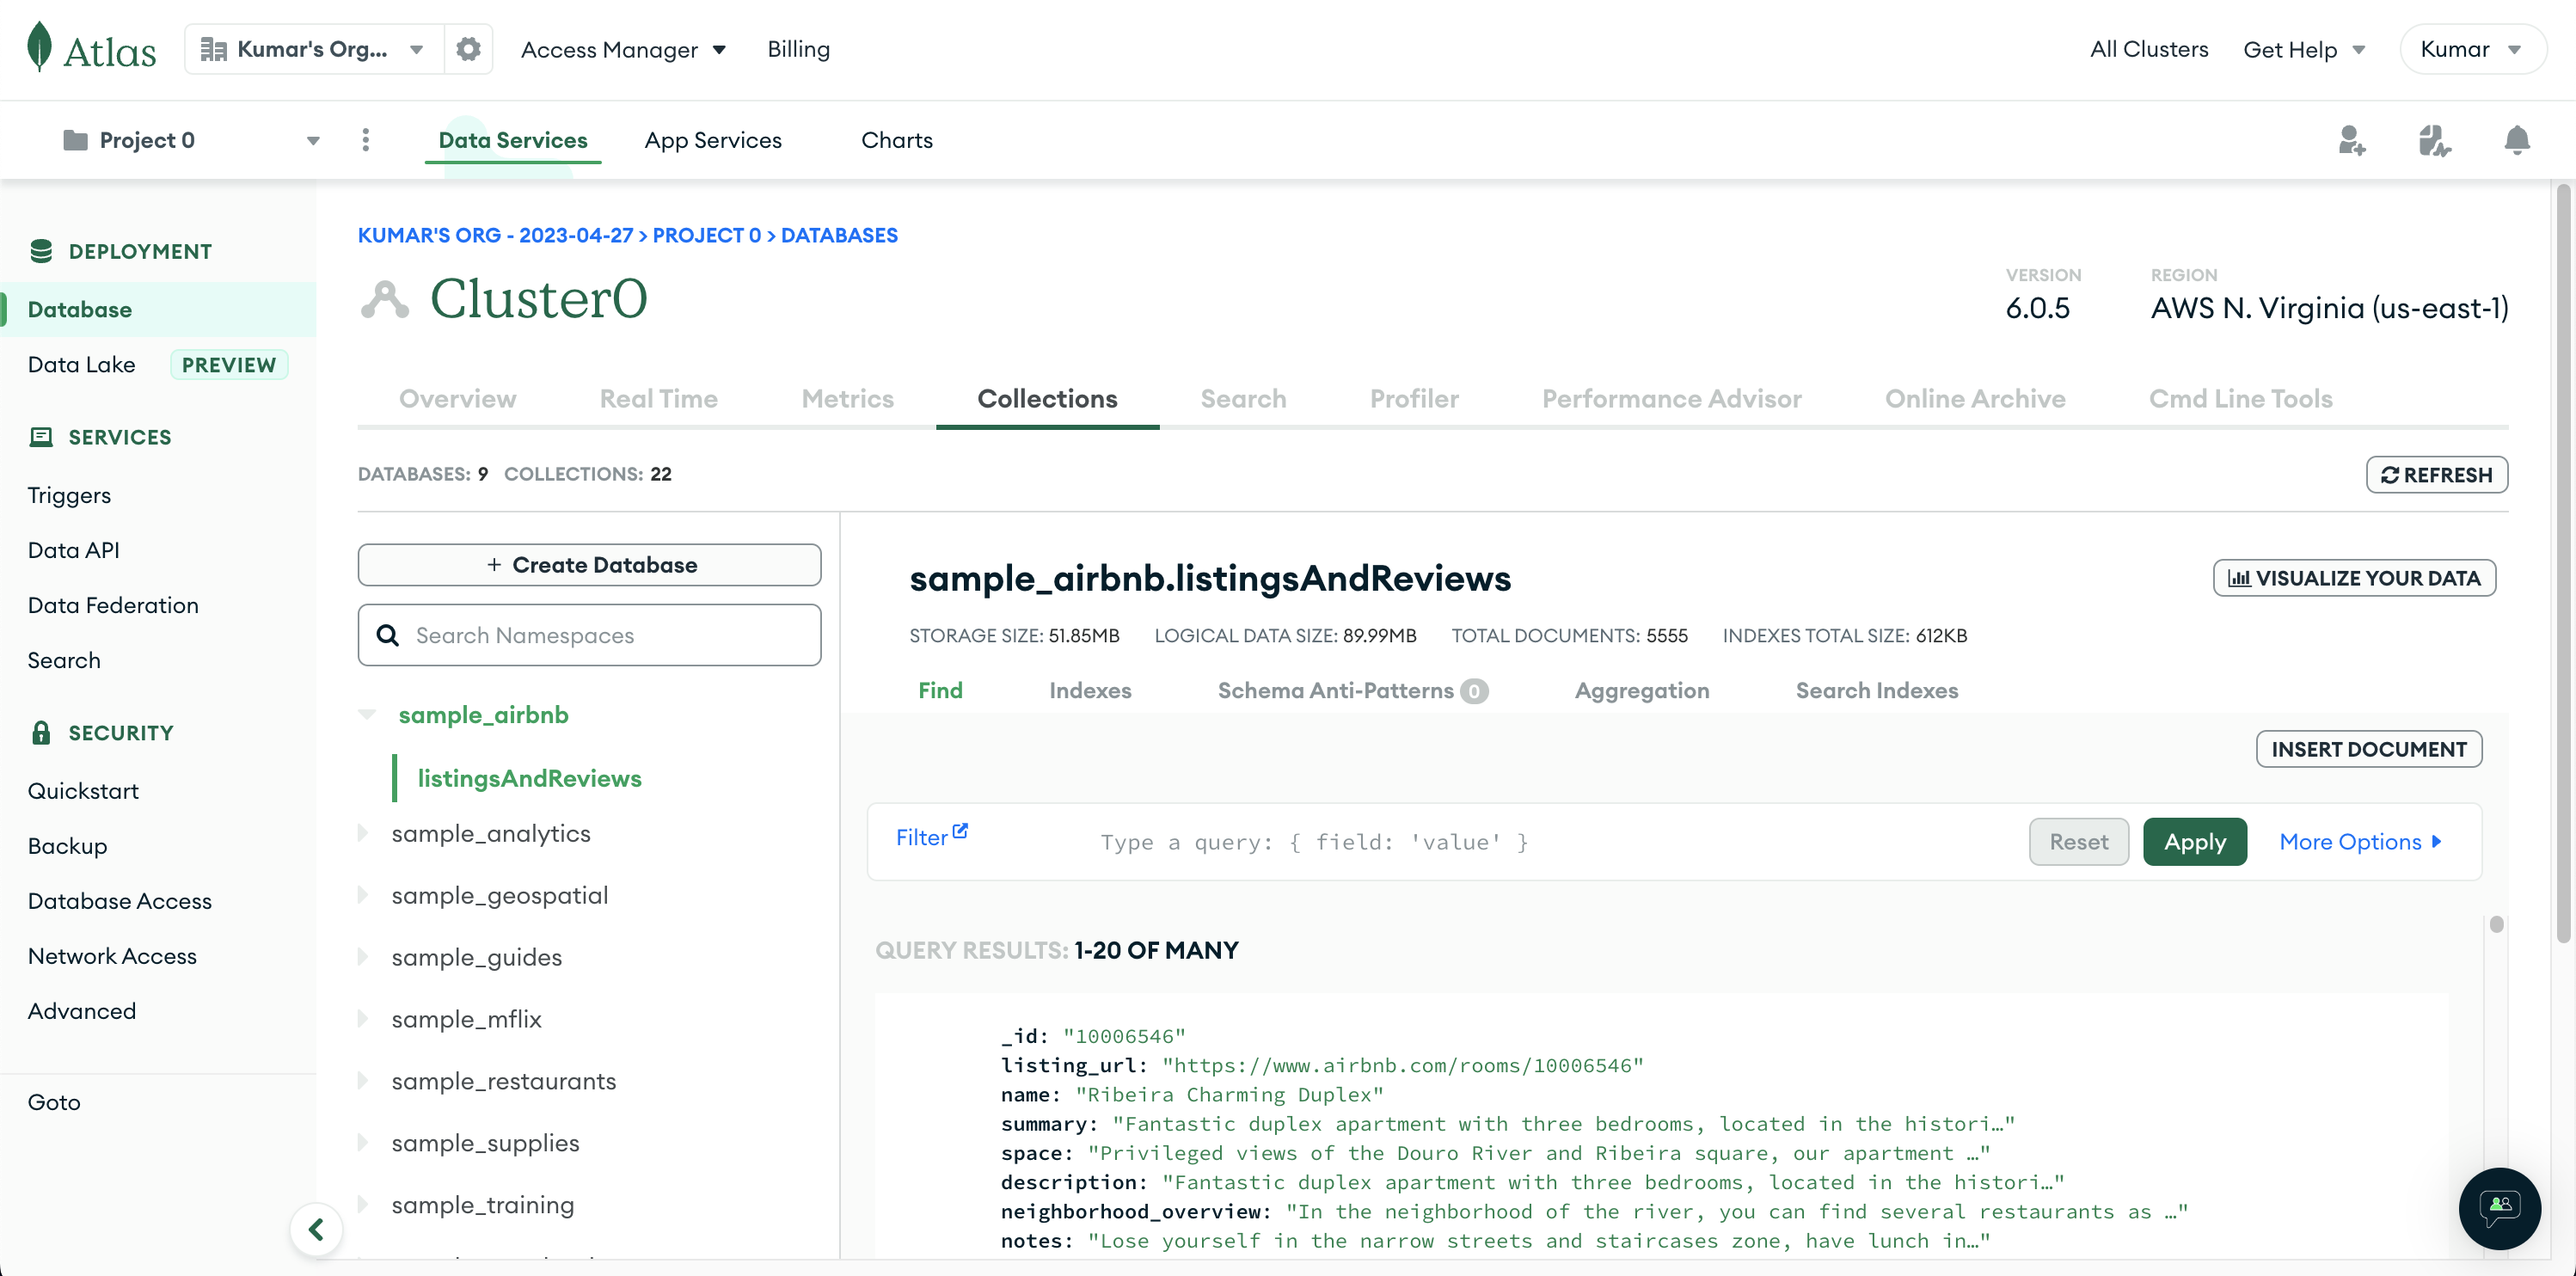
For this tutorial, we'll use the comments collection in the sample_mflix database to create triggers, as the number of properties in that collection is low (six, including the _id). This makes it easy to create and update records to test the triggers.
Creating a database trigger
To create a new trigger, navigate to the Triggers page by clicking the corresponding menu option under the Services group in the left navigation pane:

Click the Add Trigger button to add a new trigger to the cluster. We'll be presented with a form to enter details about the new trigger. Choose Database as the trigger type to create a database trigger.
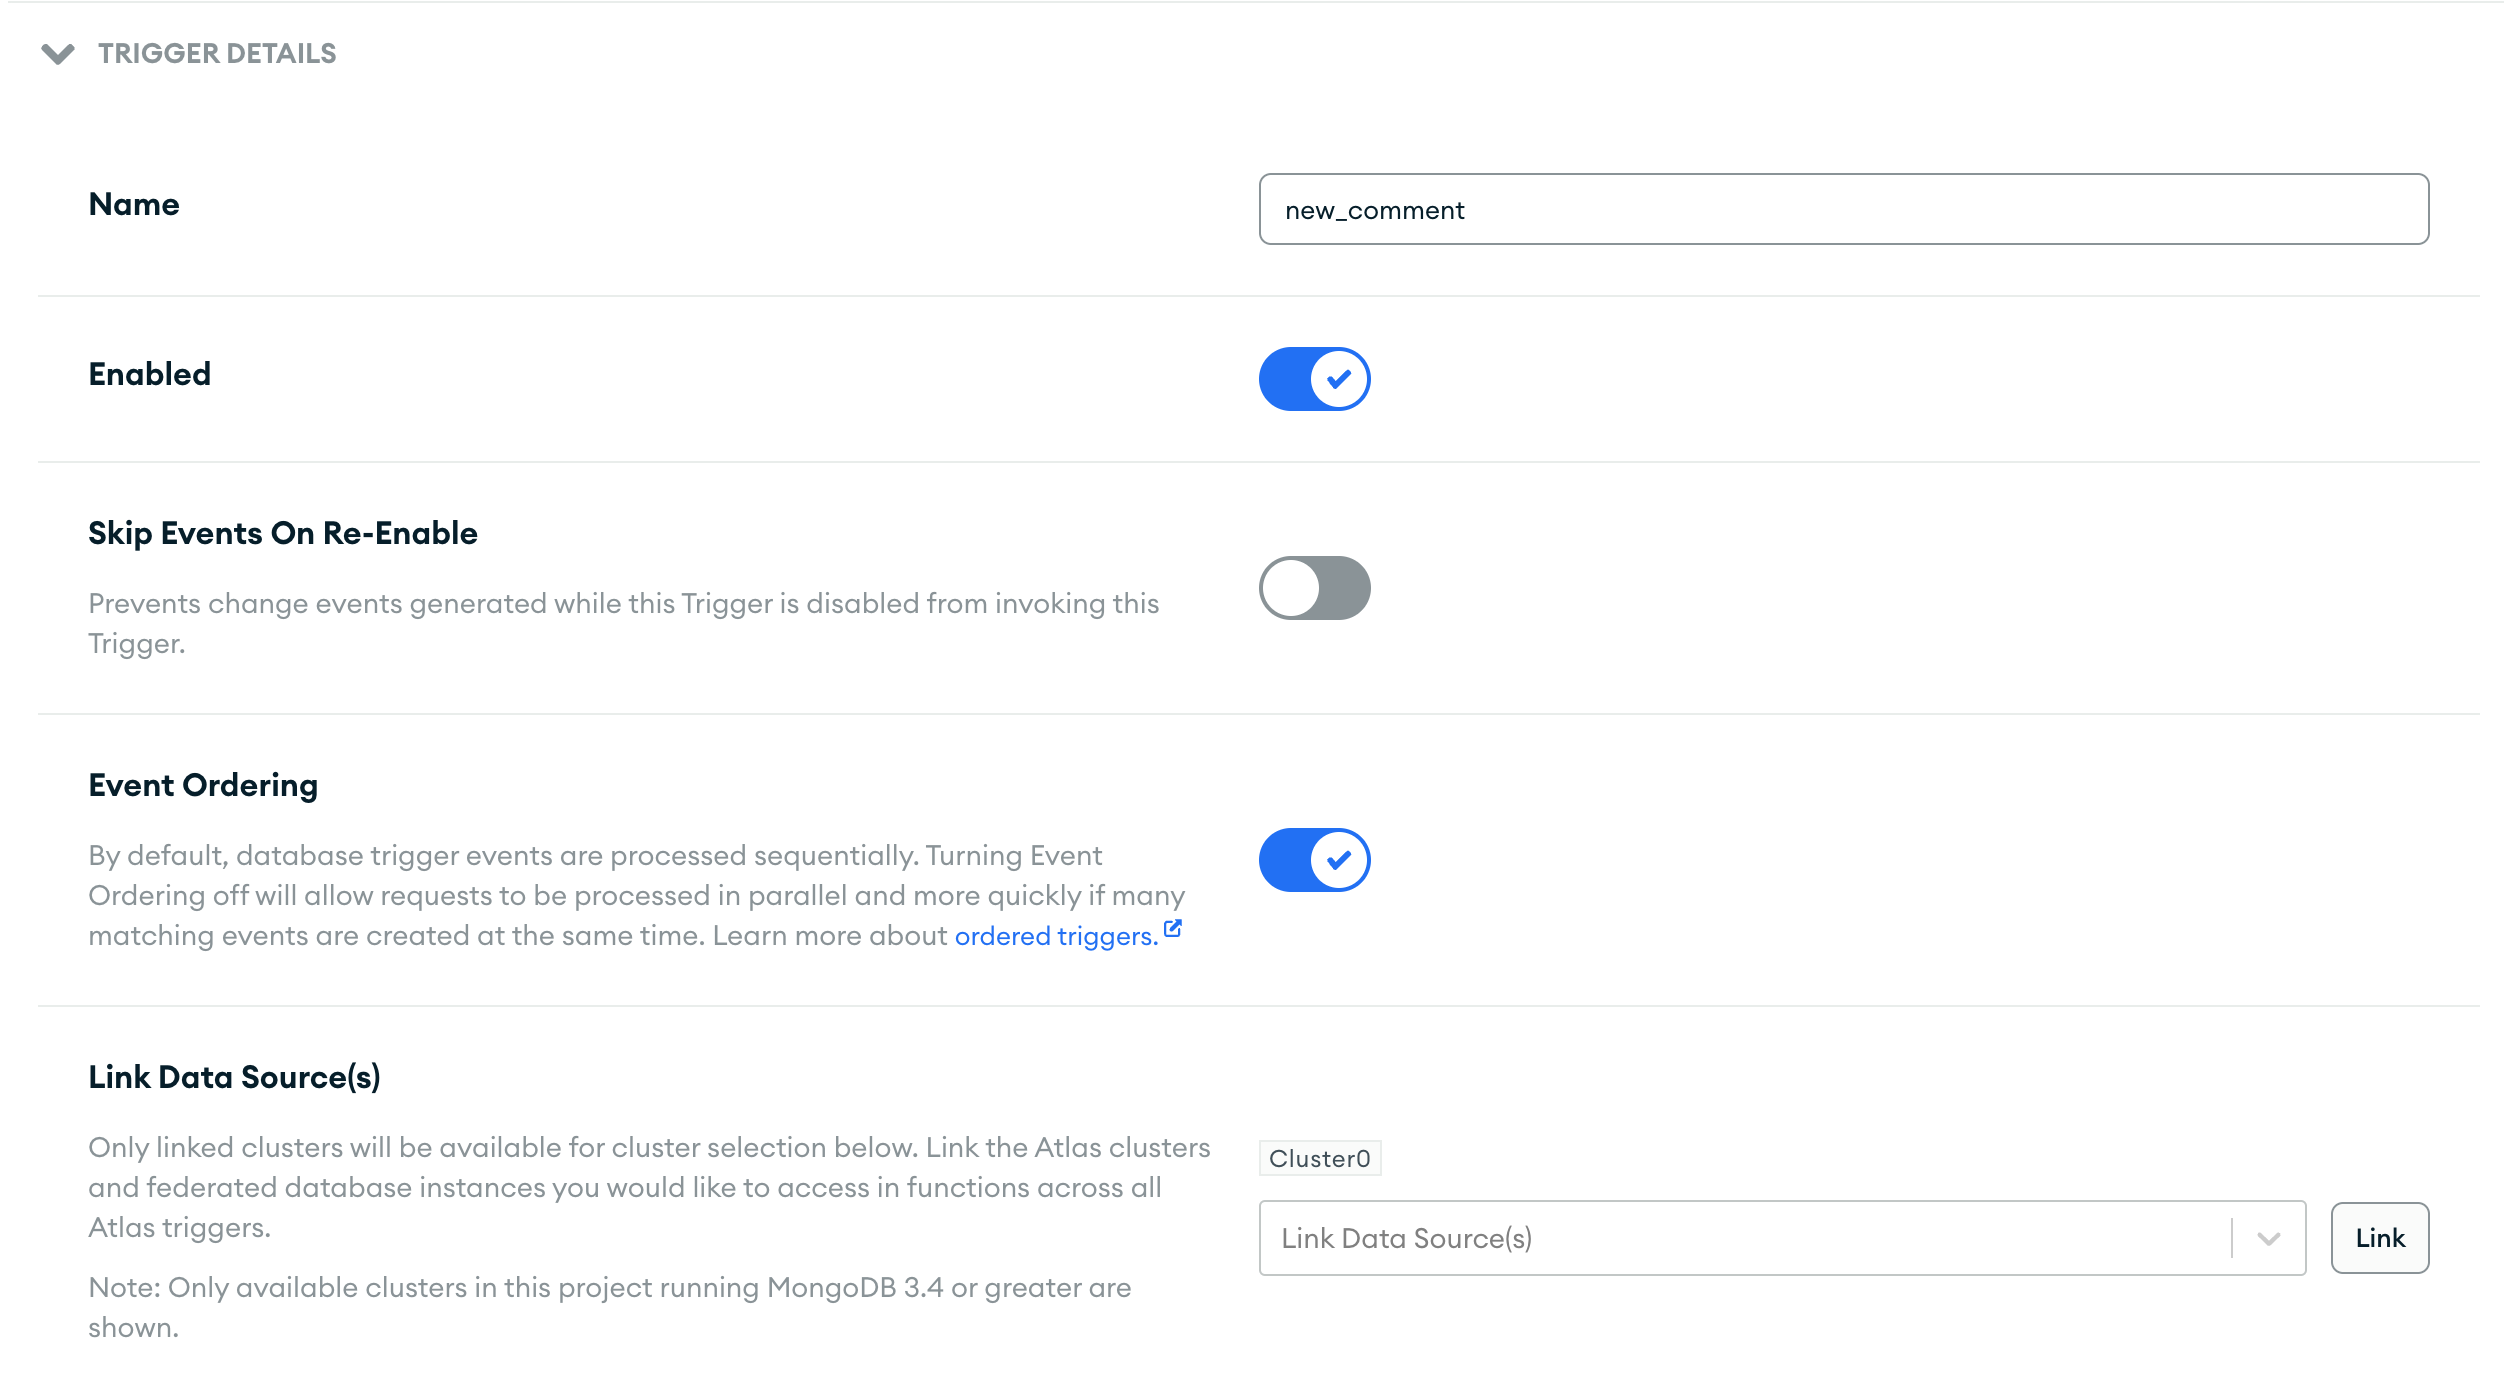
In the Trigger Details section, name the trigger and link the cluster (Cluster0) as one of the possible data sources for the trigger. Here's what this section should look like when done:
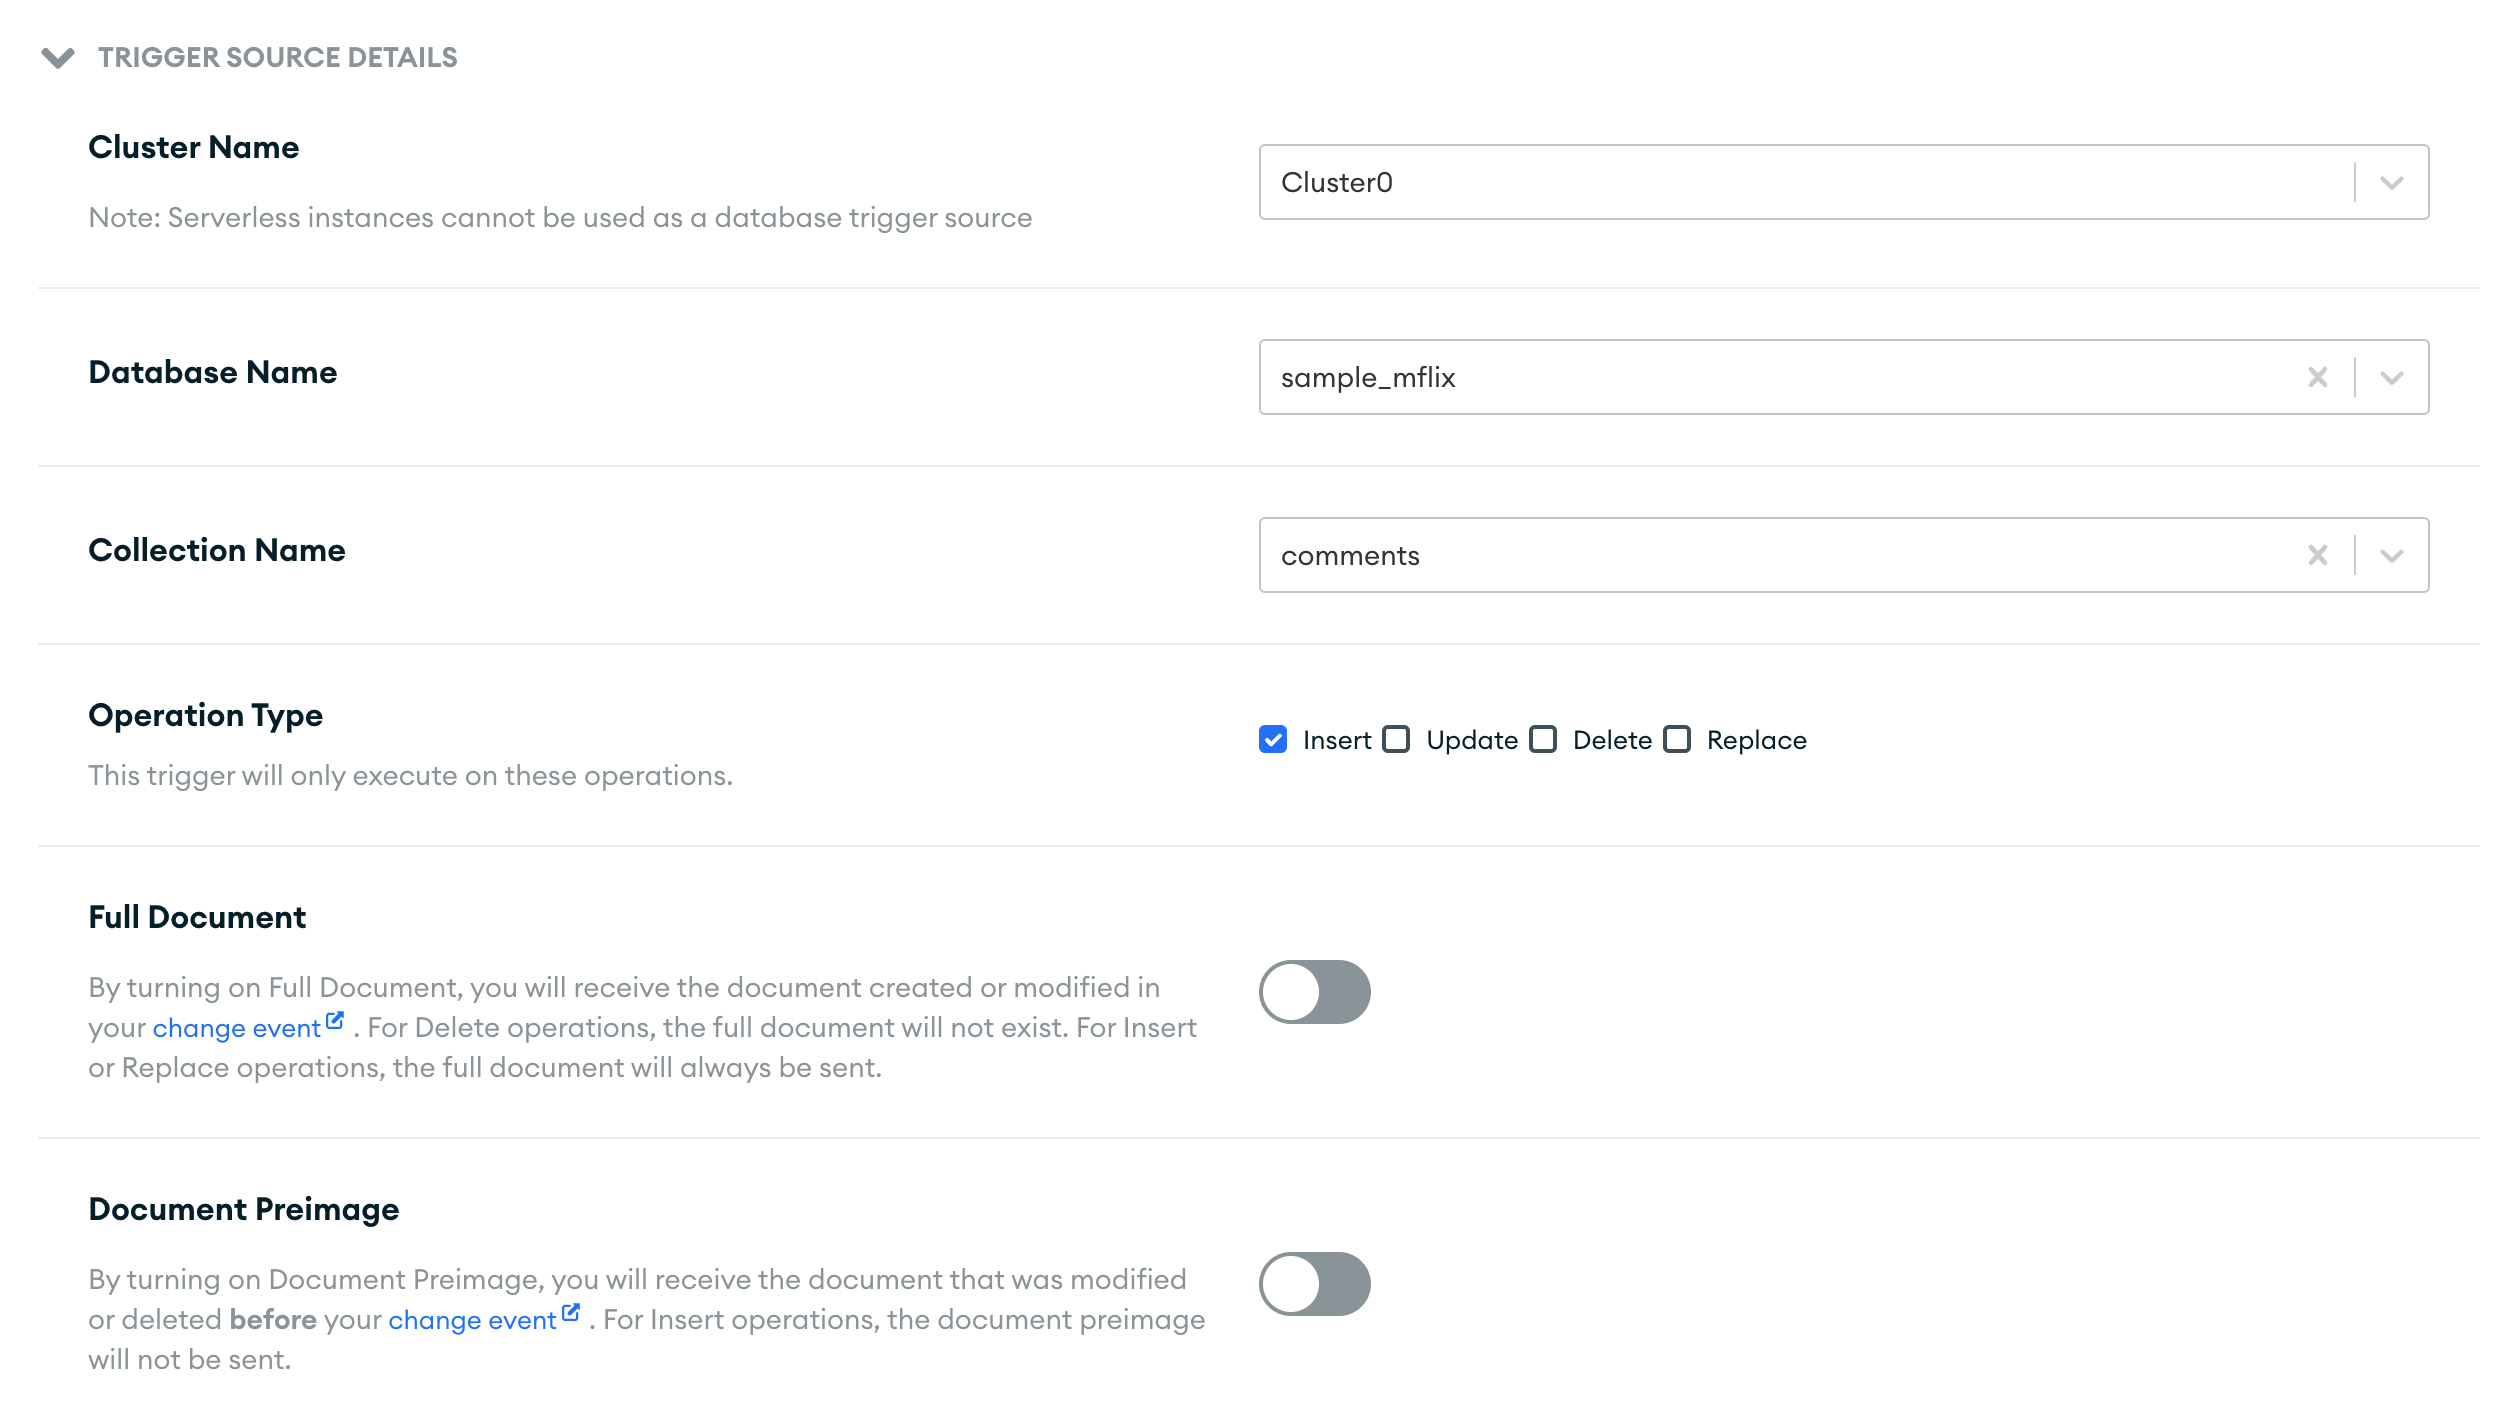
Next, in the Trigger Source Details section, choose the cluster (Cluster0) as the source for this trigger. Set the database name (sample_mflix), the collection name (comments), and the operation type (Insert).
We can also choose to receive the full document when it's updated in the change event by enabling the Full Document option. However, for the sake of simplicity in this tutorial, it's recommended to leave this option disabled. Similarly, there's no need to enable the Document Preimage option.
This is how the section should look when done:
Next, we need to create the function that will be called when this trigger runs. We can either write a function or connect the trigger to Amazon EventBridge to handle events inside the AWS infrastructure. For simplicity, create a new function on the go by adding the following code (for JavaScript) in the function code editor:
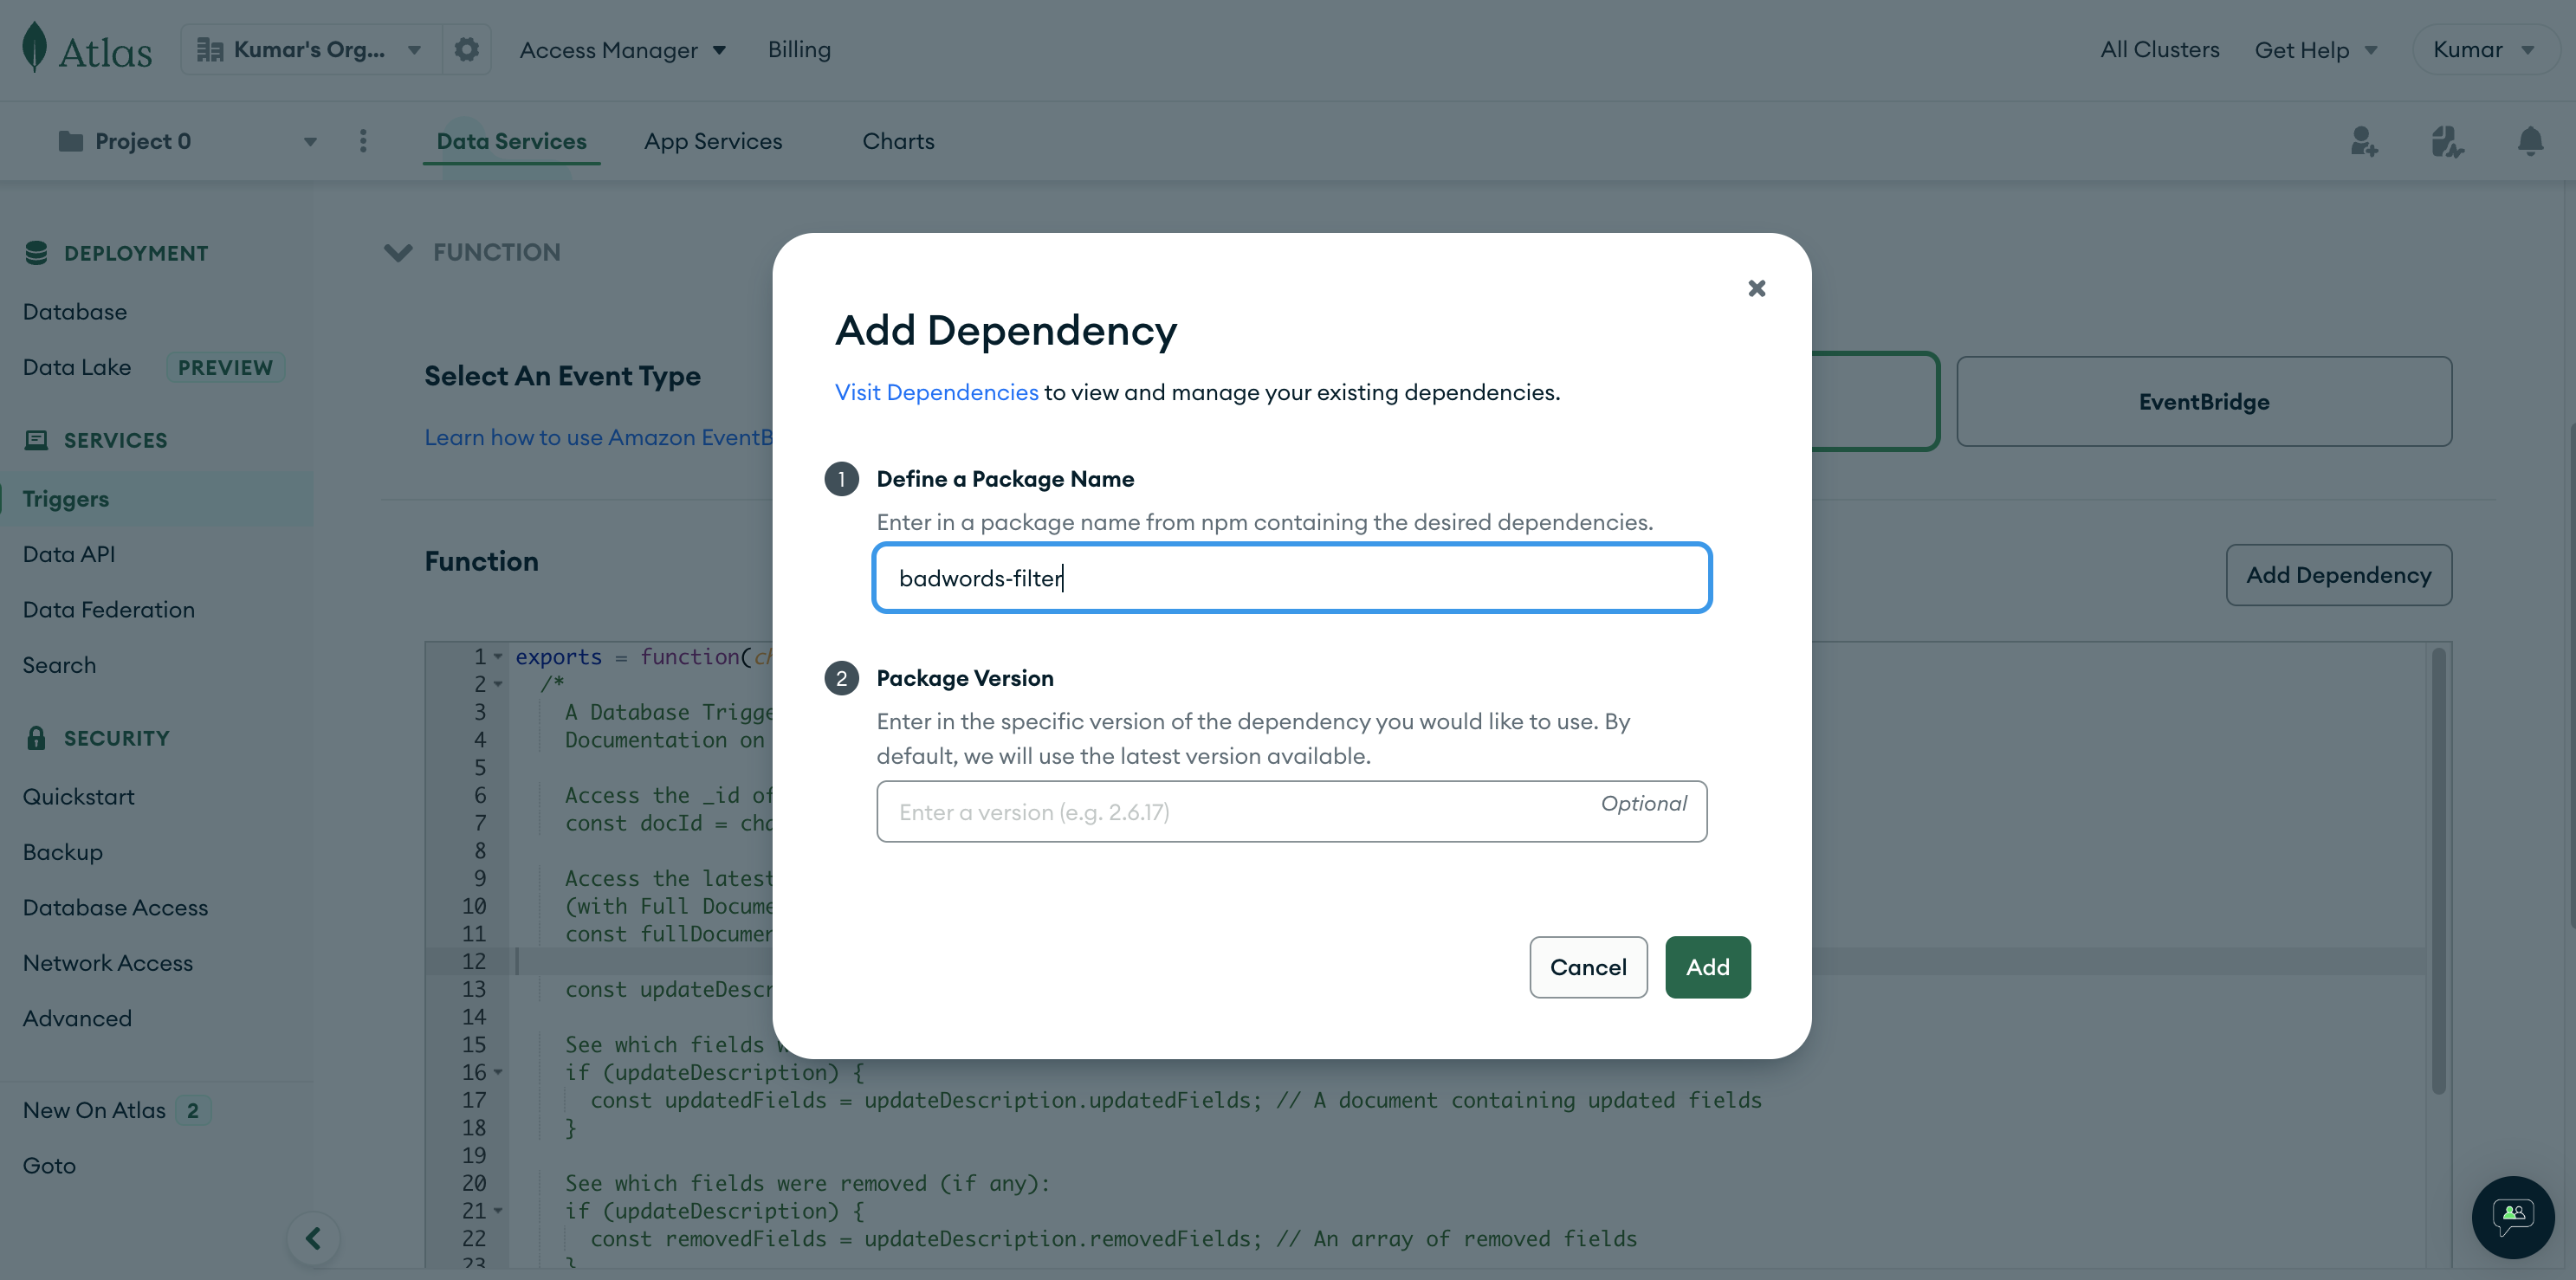
This code uses an npm package called badwords-filter to remove a list of predefined tokens from a string as part of the content moderation policy. For this tutorial, the list of tokens to be censored includes hello and badword only.
To run this code, add the package as a dependency for the function. Click the Add Dependency button on the right side above the function's code editor and add the following information to include the package:
Click the Add button on the Add Dependency dialog box, then click the Save button at the bottom of the page to save the trigger. That's it! We just created the first database trigger.
Testing the trigger
To test this trigger, we'll need to create a new comment that mentions hello and/or badword in the text of the comment. To do that, head over to the database by clicking the Database option under the Deployment group in the left navigation pane.
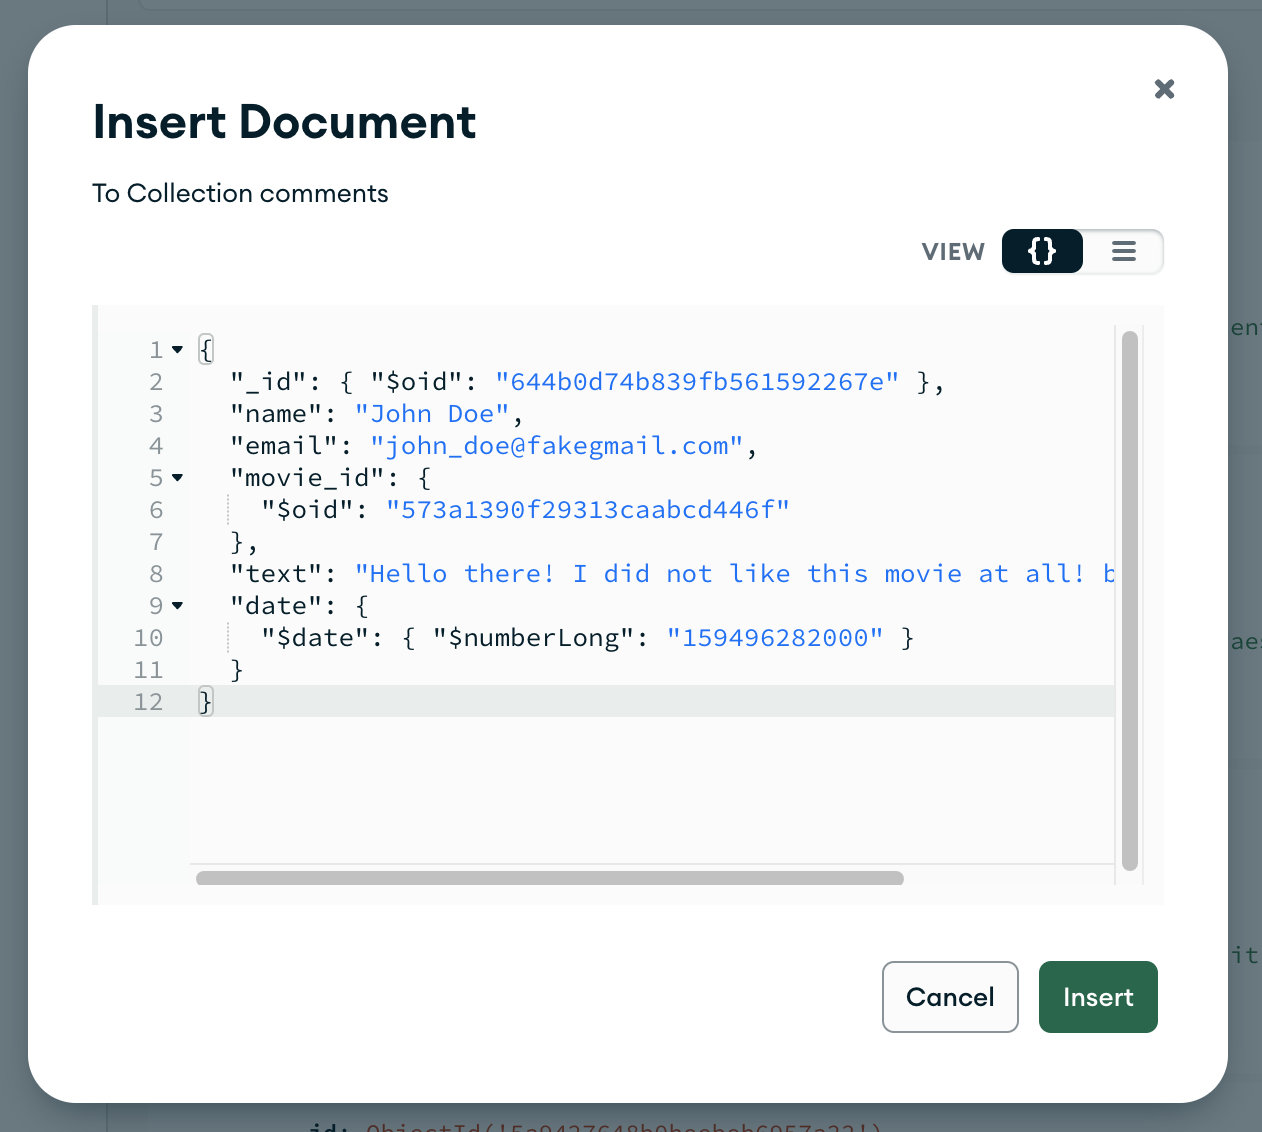
Click Browse Collections > sample_mflix > comments to navigate to the comments collection. Click the Insert Document button to create a new comment document. Insert the following code into the JSON editor:
Here's how the Insert Document dialog should look before we click the Insert button:
Once we click the Insert button, we can then run the following query in the Filter box to find the record:
Once we run the query, we should get the following result:
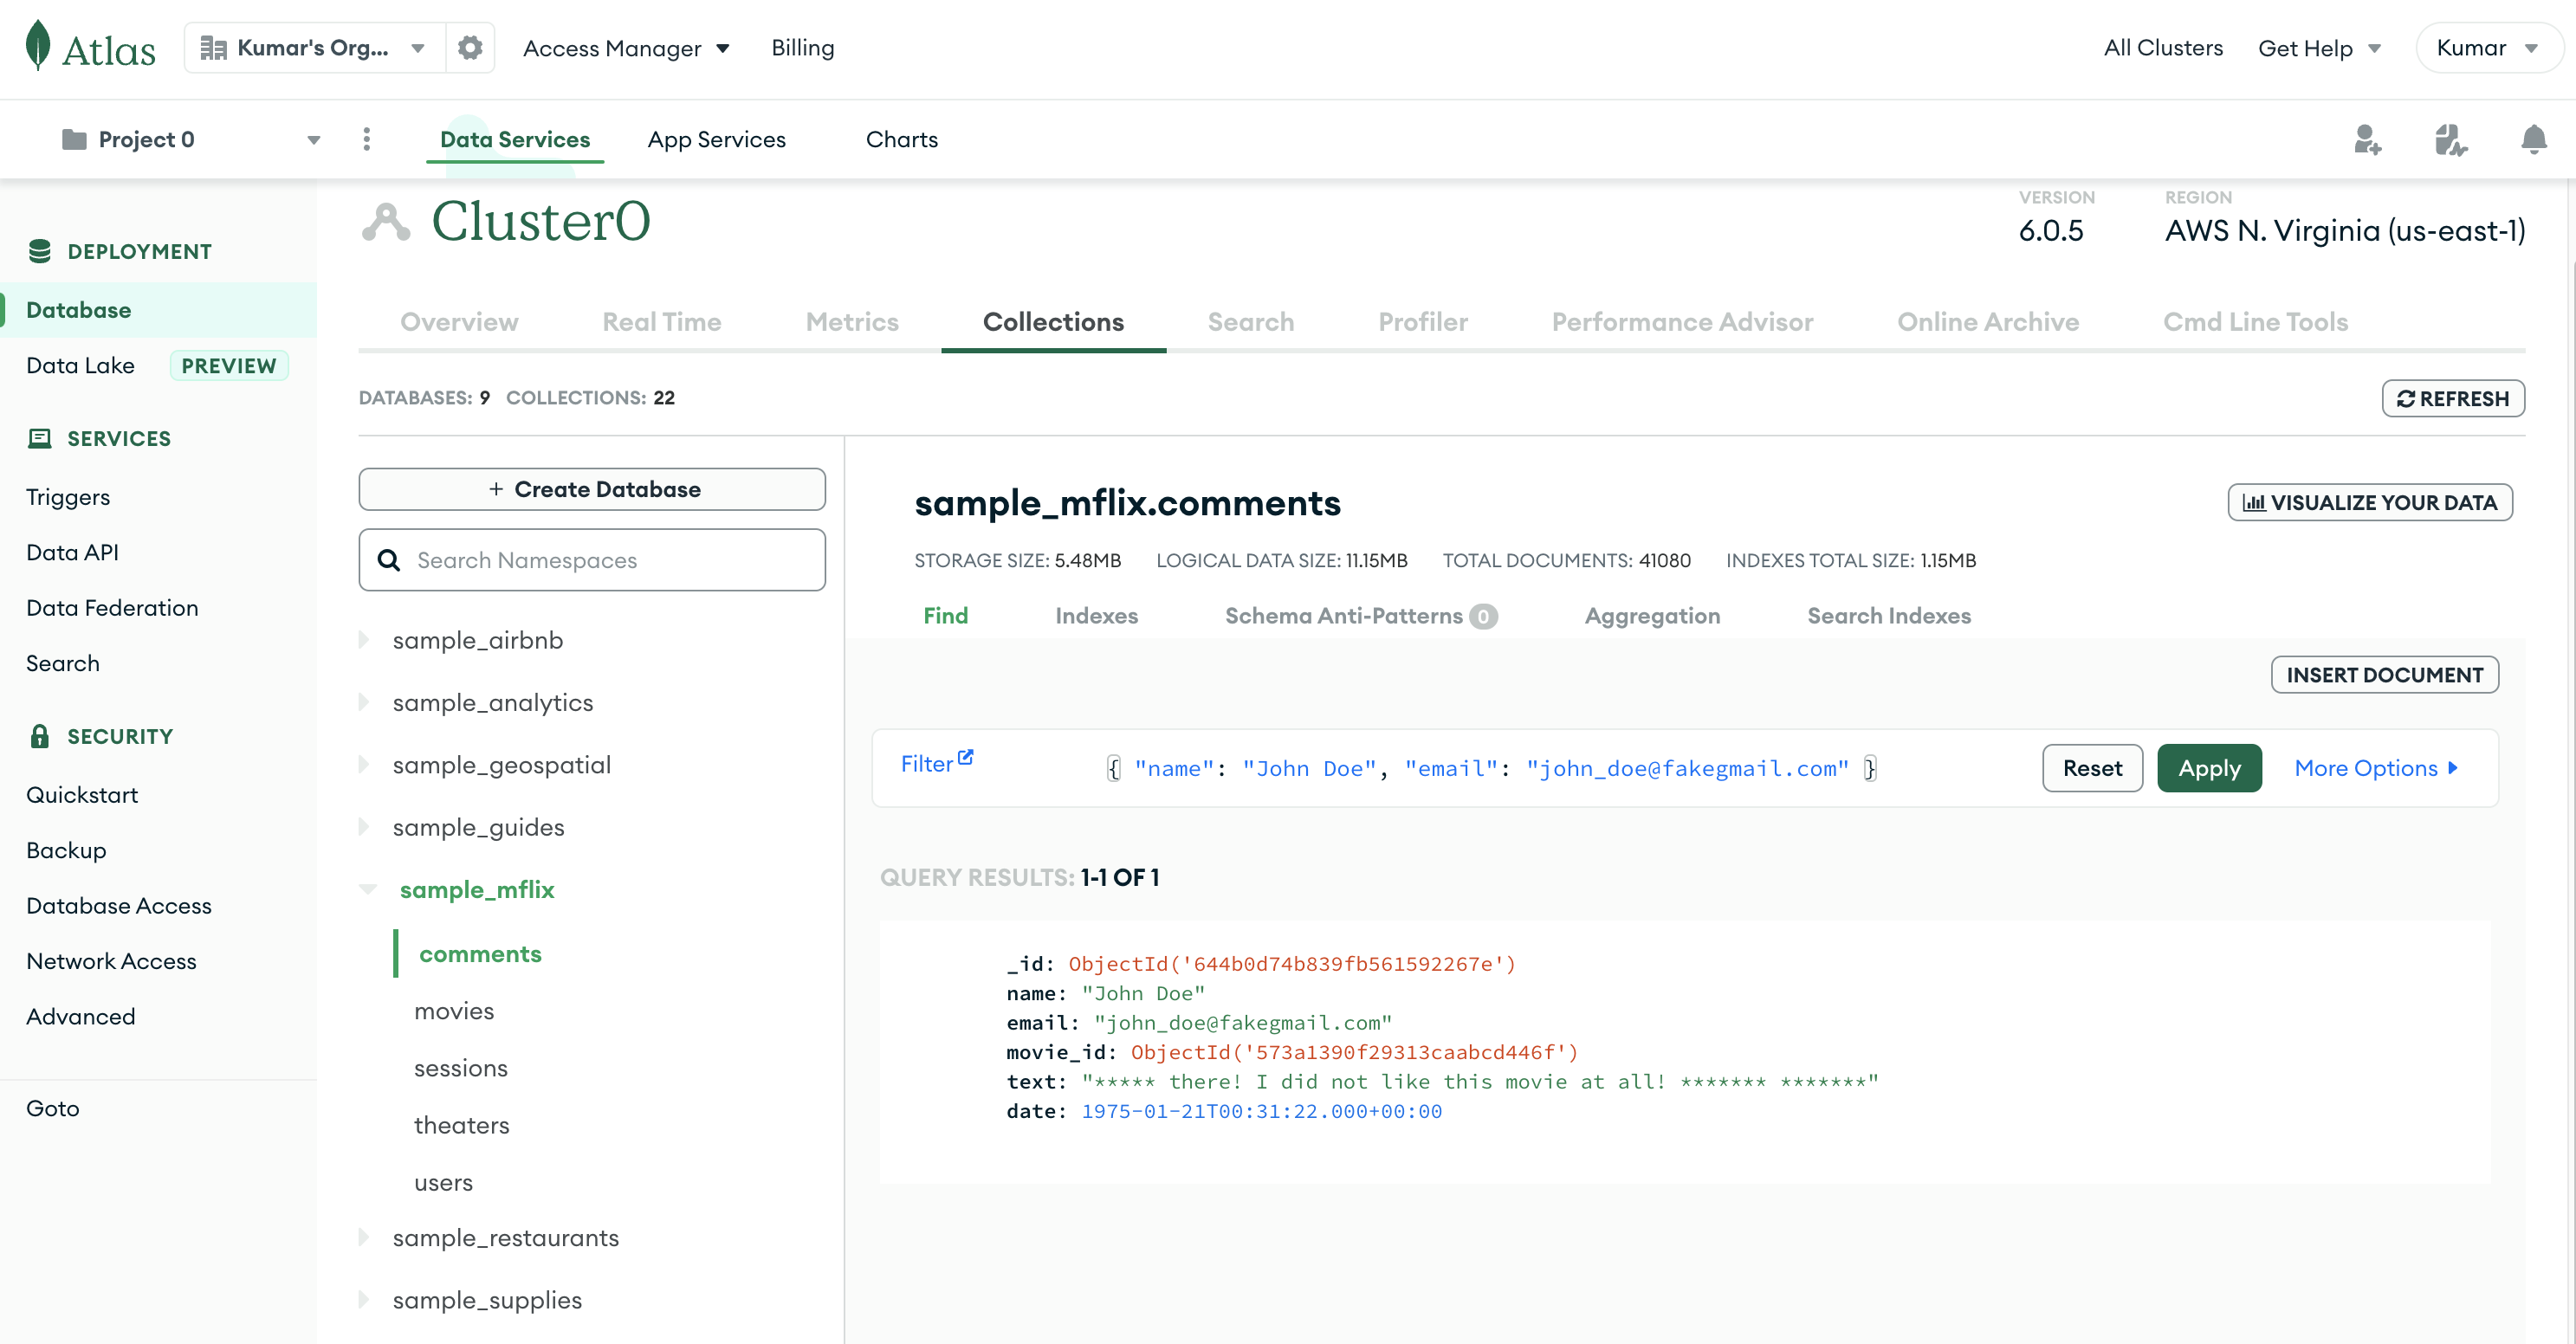
We can see that the comment text has been moderated by the trigger to remove the mentions of hello and badword and replace them with asterisks (*). This demonstrates that the database trigger is set up correctly and running on the collection.
Creating a scheduled trigger
Scheduled triggers are different from database triggers. As mentioned earlier, scheduled triggers are run at set intervals, whereas database triggers are run based on database-related events such as document insertion, updation, and deletion. In this section, we'll walk through how to set up a scheduled trigger to periodically look for comments older than a year and delete them.
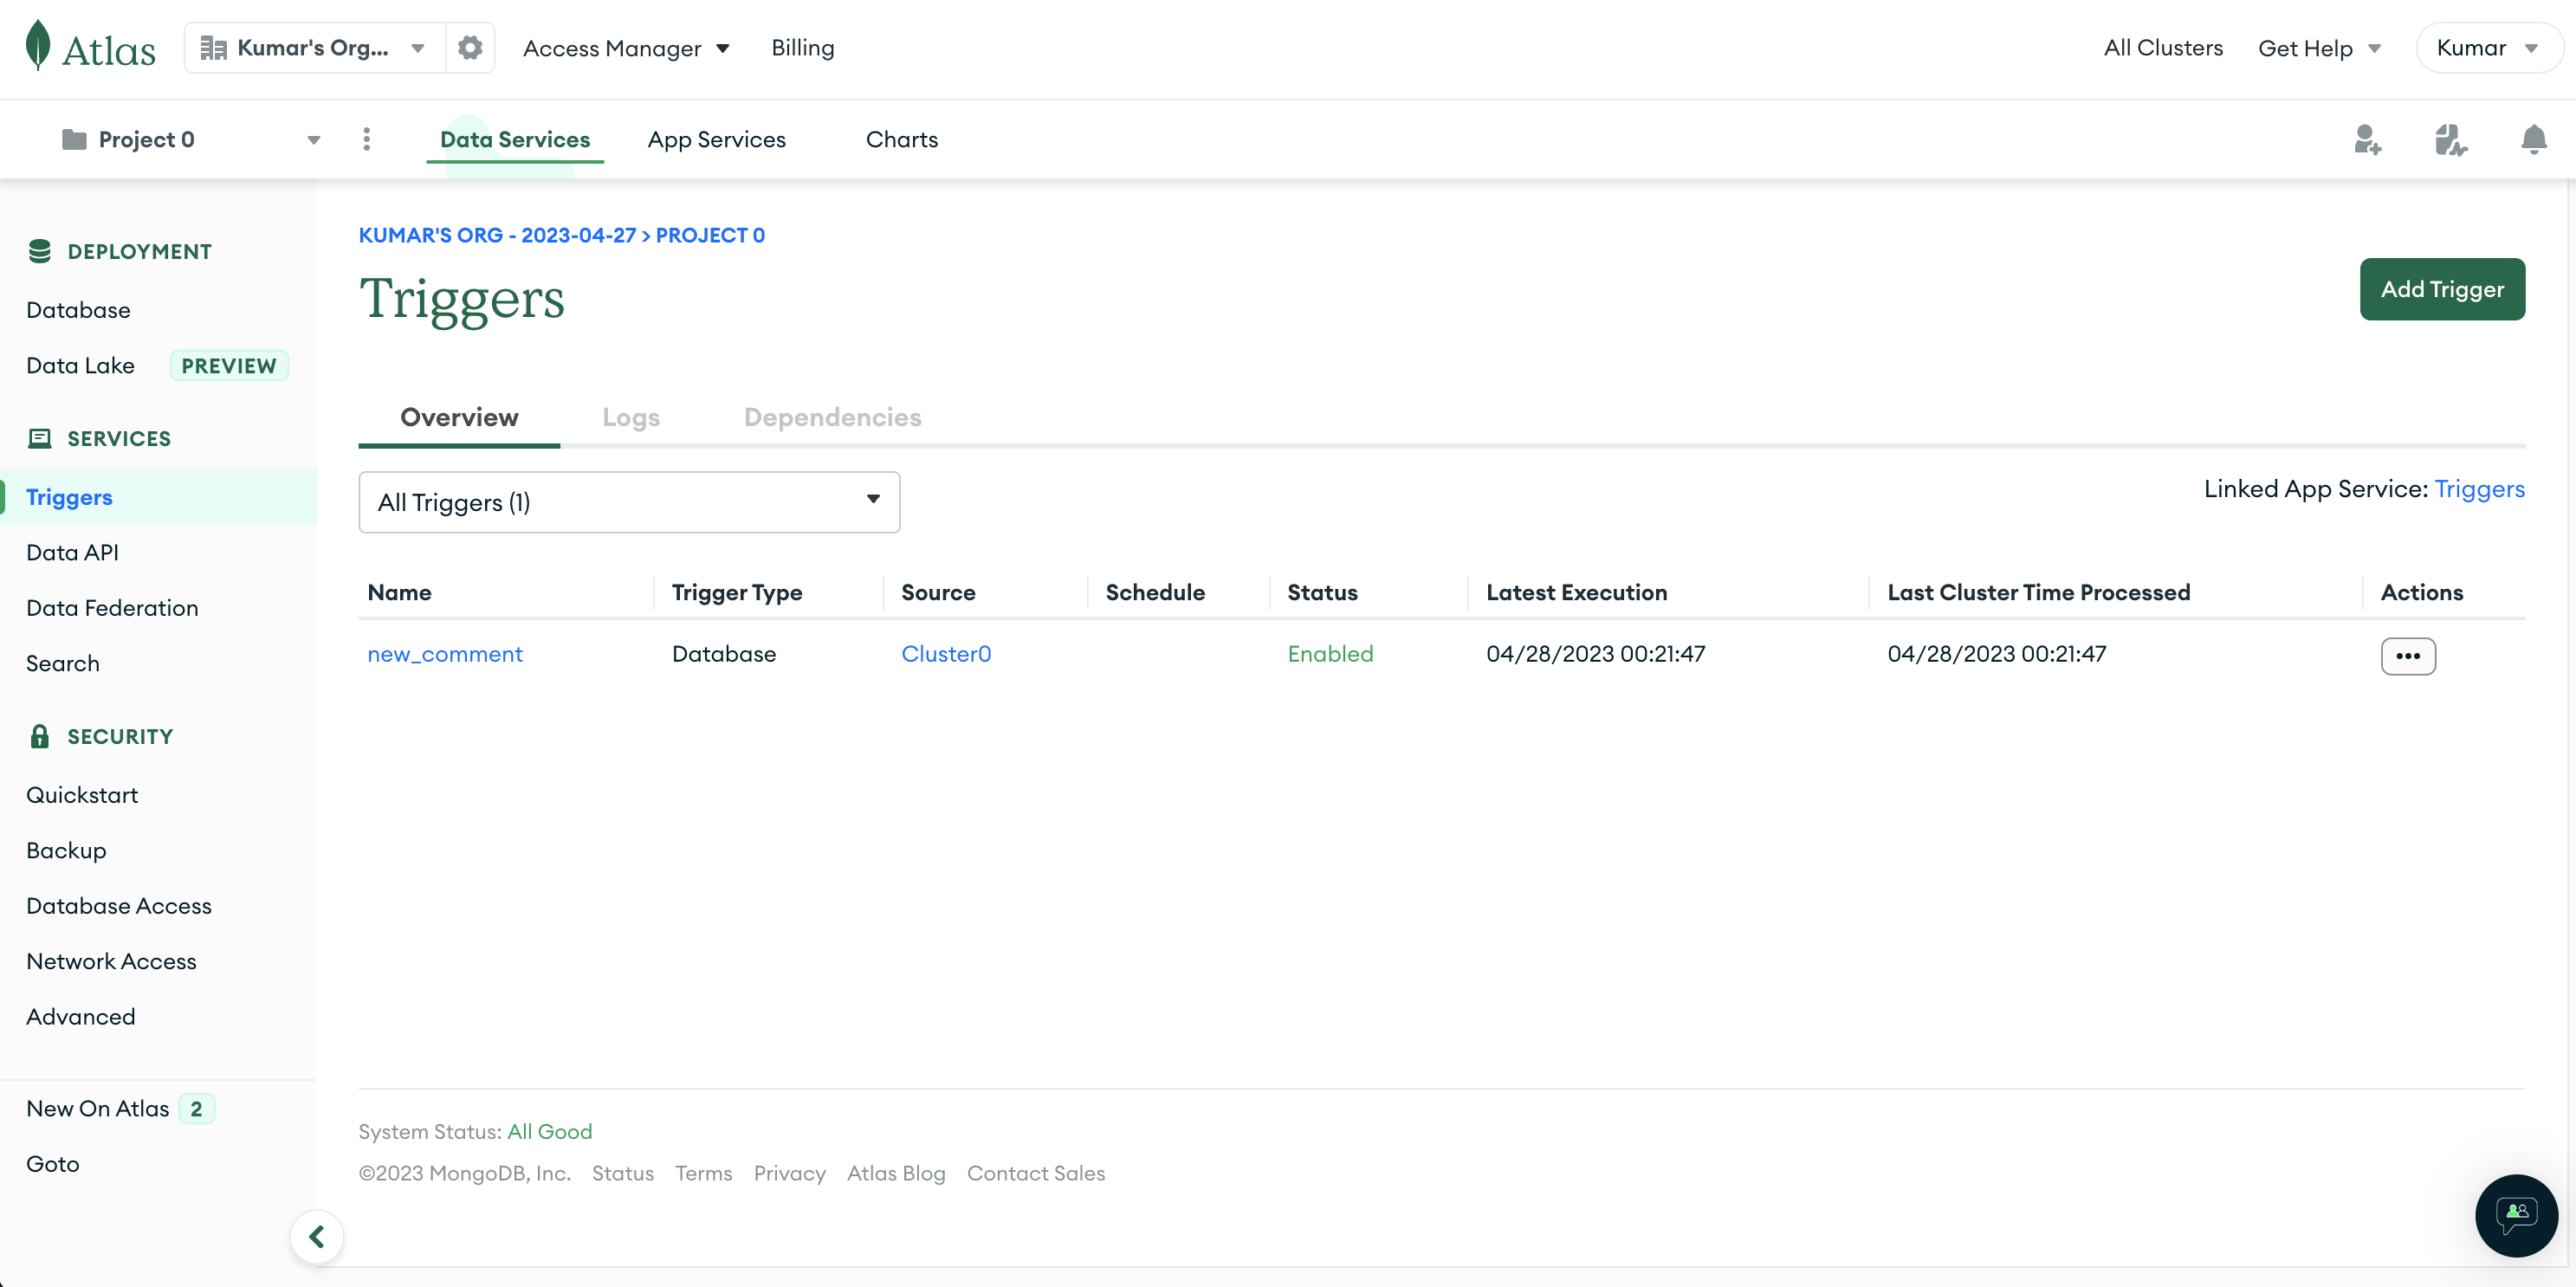
Once again, click the Triggers option under the Services group in the left navigation pane. On the Triggers page, click the Add Trigger button to create a new trigger:
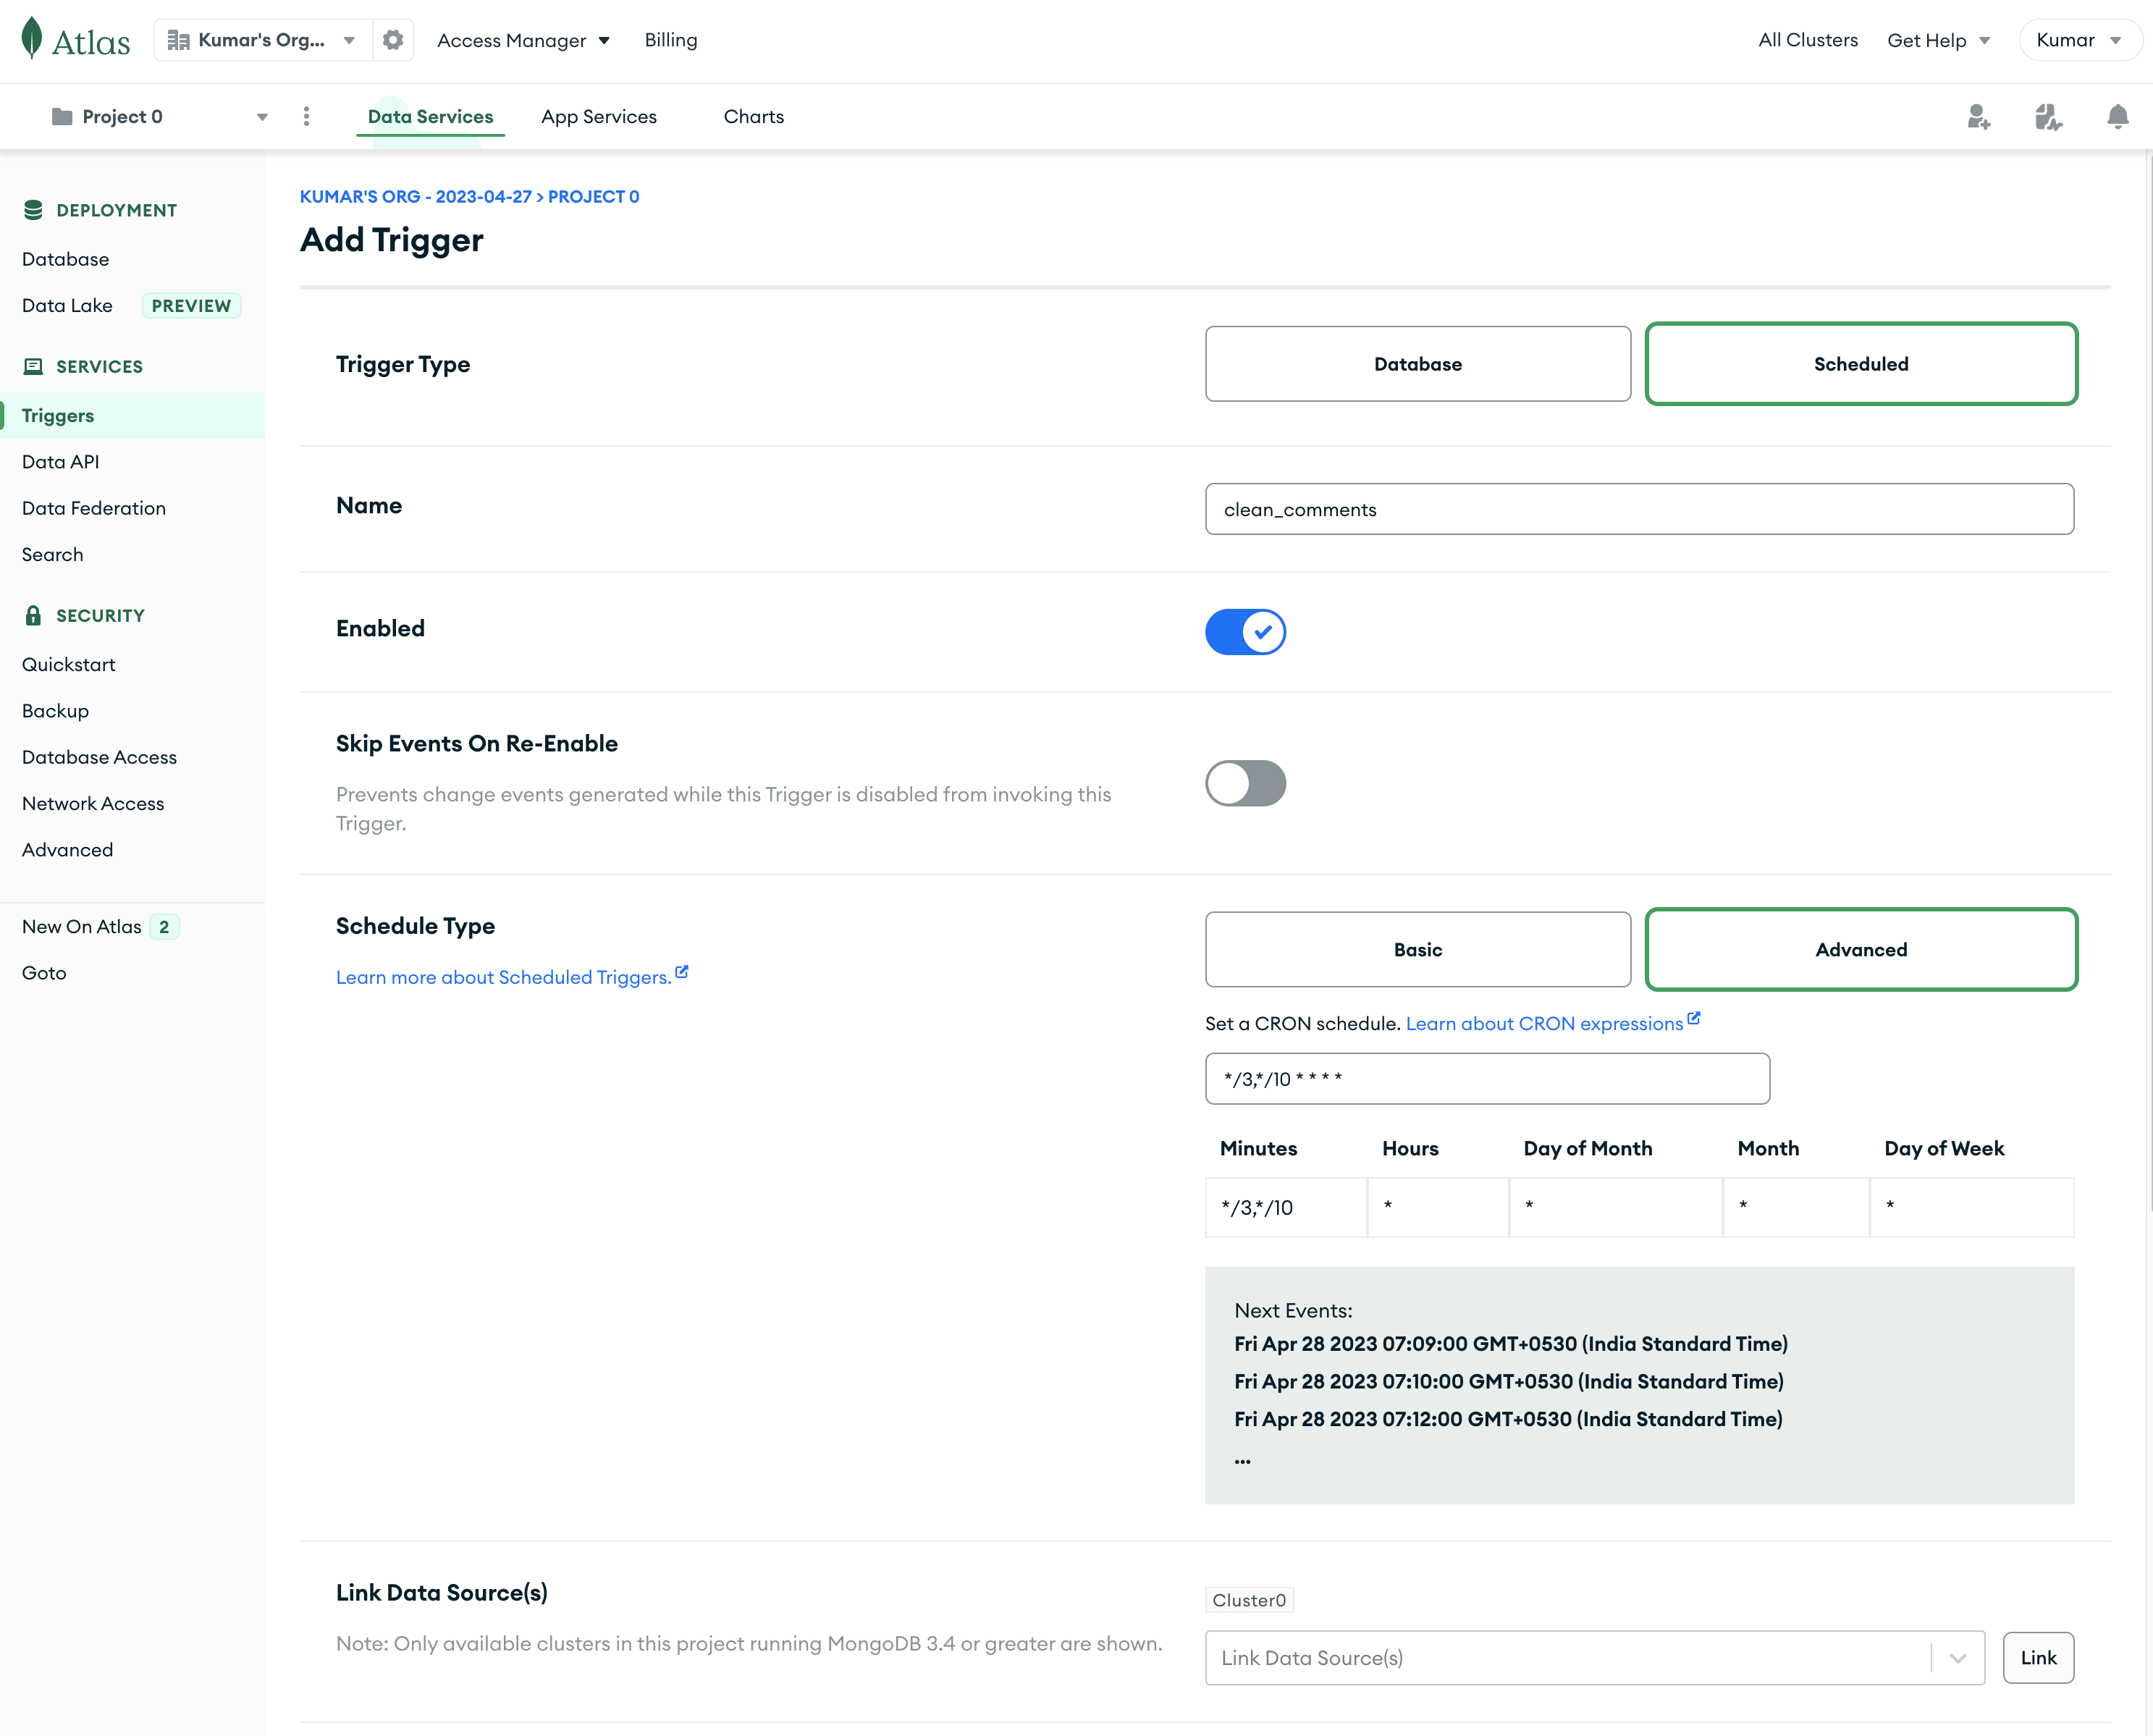
This time, choose Scheduled as the trigger type. The form will be updated to collect data for a new scheduled trigger.
Choose a name for the trigger, then set up a schedule for the trigger. We have two options for doing so: basic and advanced. The basic schedule allows us to set the trigger to repeat once every set number of minutes or hours, weekly, or monthly. This is great for setting up a simple schedule that repeats at standard intervals.
If we are looking to set up a more complicated schedule, like "once every third Monday of the month," we'll need to switch the schedule type to Advanced. The advanced schedule type allows us to use cron expressions to create schedules with maximum flexibility.
For this tutorial, use the advanced schedule type to create a schedule that runs the trigger every third and tenth minute of the hour. We can use the following cron expression for it:
Once done, the top section of the Add Trigger form should look like this:
Next, create a function that will be called when the trigger is run. Similar to the previous trigger type, we can either create a new function in the preferred programming language or direct the trigger event to Amazon EventBridge and handle it within the AWS infrastructure.
For this tutorial, choose the Function event type and paste the following code in the code editor:
This function will find and delete all comments that are more than one year old.
Click the Save button at the bottom of the page to save the trigger. We've now set up a scheduled trigger that will run every three minutes to check for old comments and clean them up.
Testing the trigger
To test this trigger, navigate to the comments collection and query comments older than a year to see if they have been cleaned up. To do that, navigate to the database by clicking the Database option under the Deployment group in the left navigation pane.
Click Browse Collections > sample_mflix > comments to navigate to the comments collection. Notice that all comments have been deleted from the database:
This is because all the comments in the data set had dates older than a year ago. To test out the trigger's activity, try adding the following documents to the collection:
This is how the collection should look now:
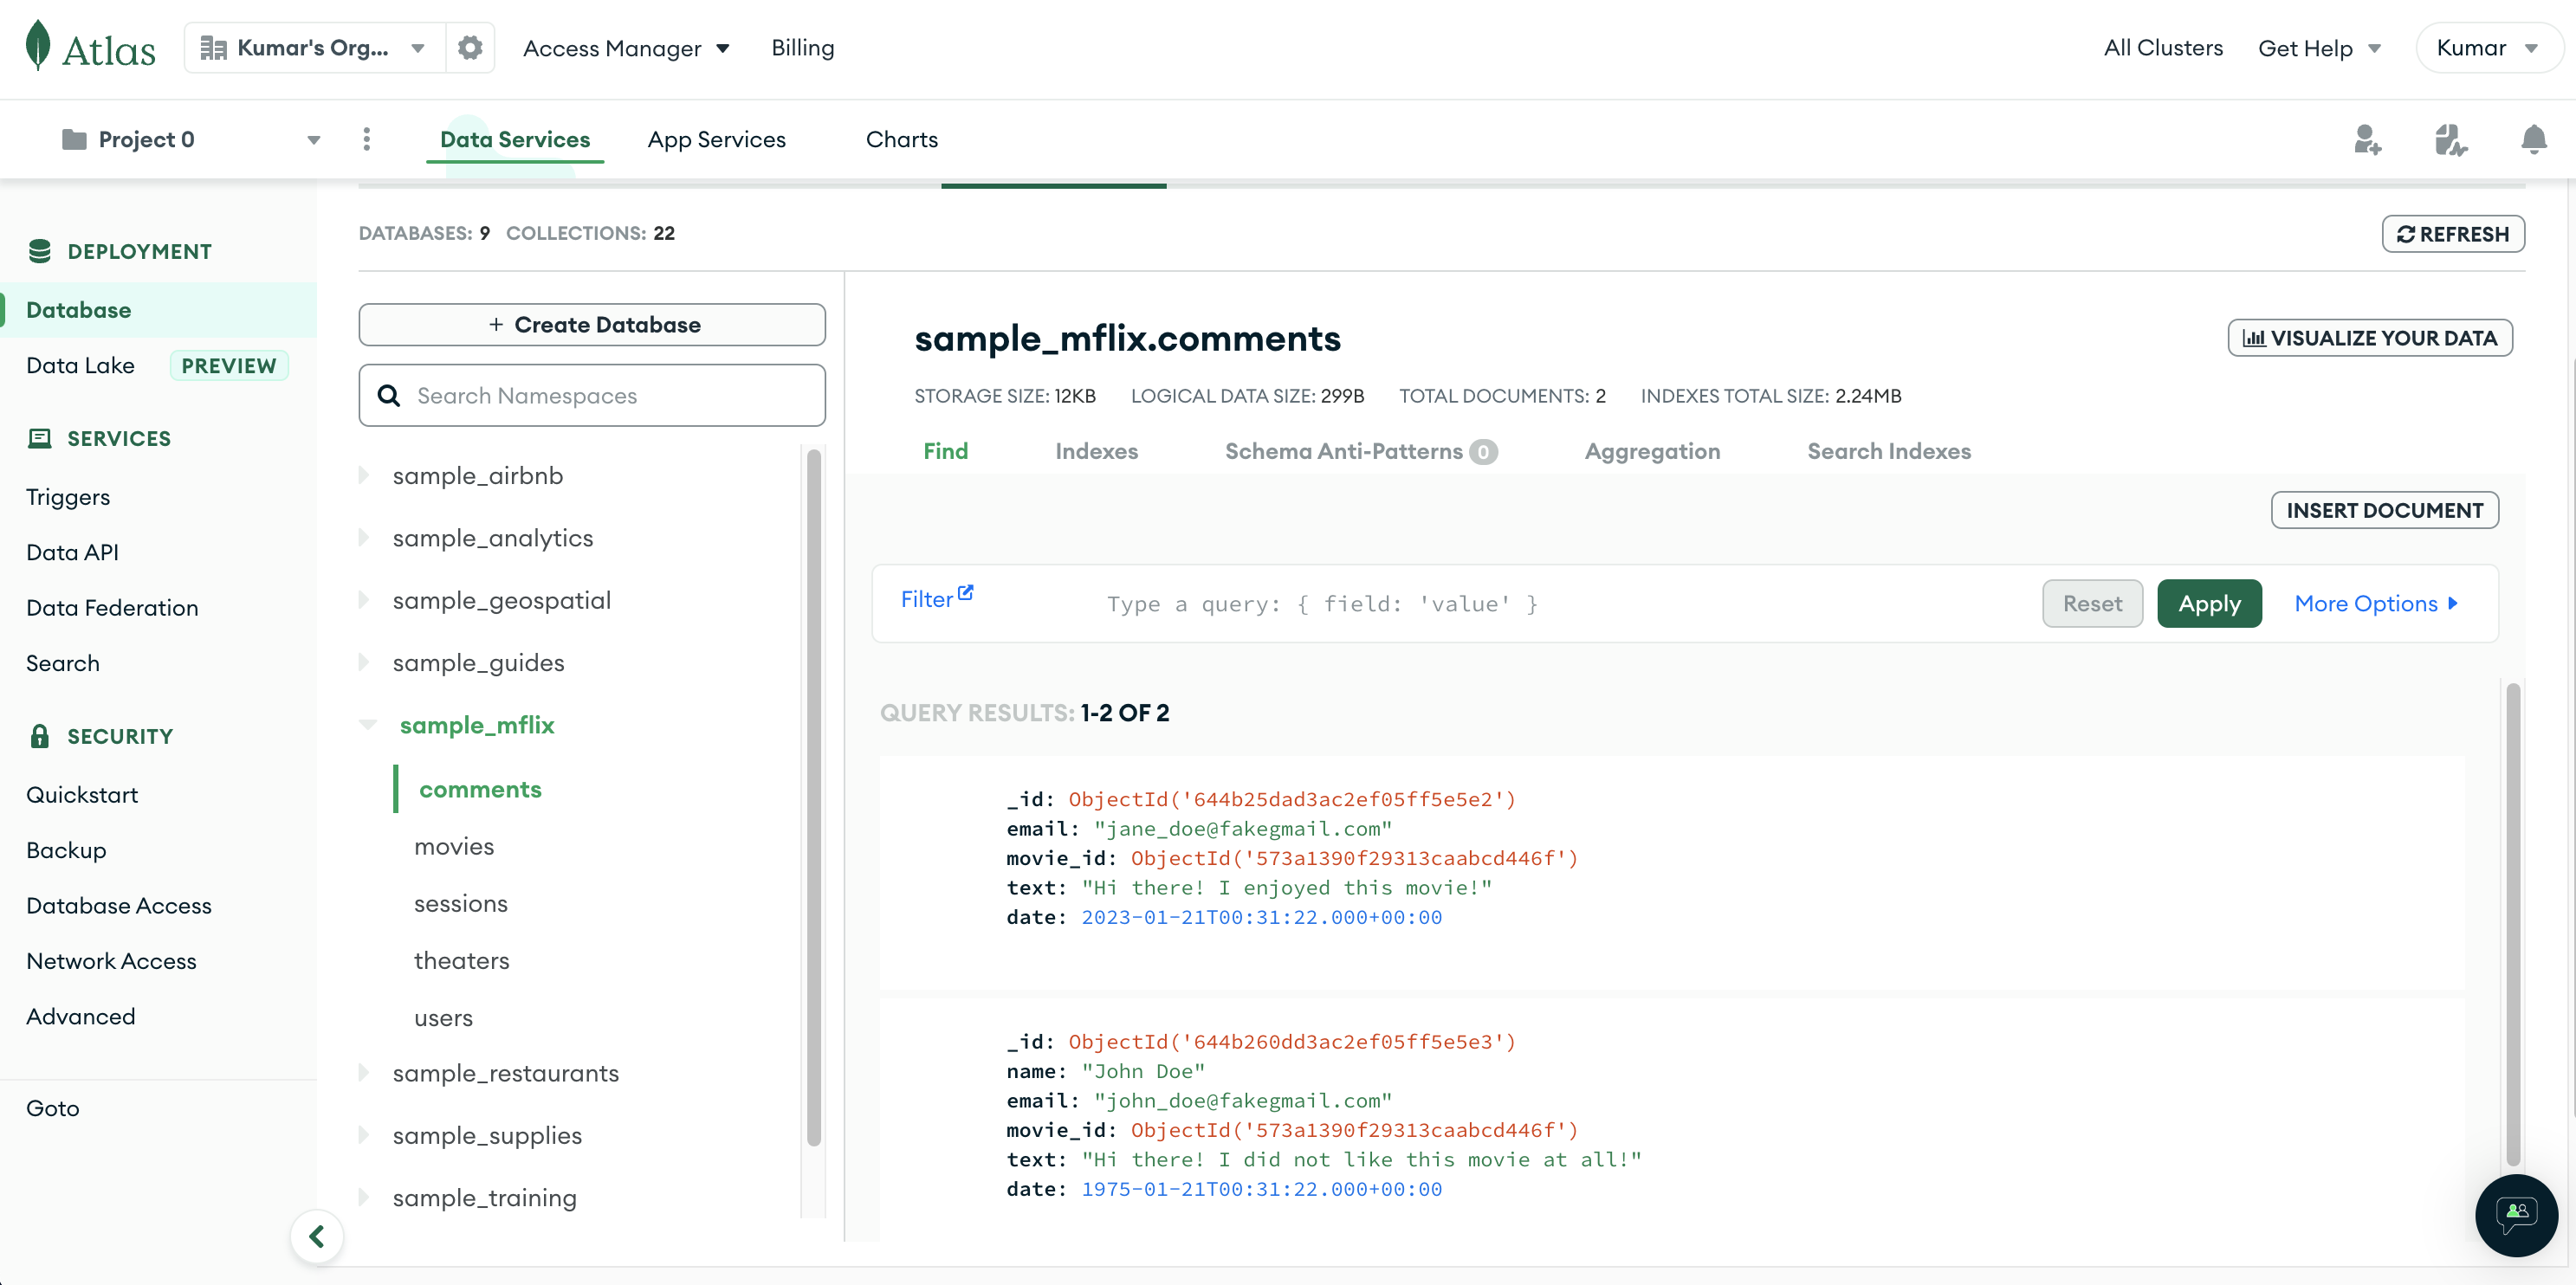
After a few minutes, if we refresh the page, we should notice that one of the documents has been deleted:
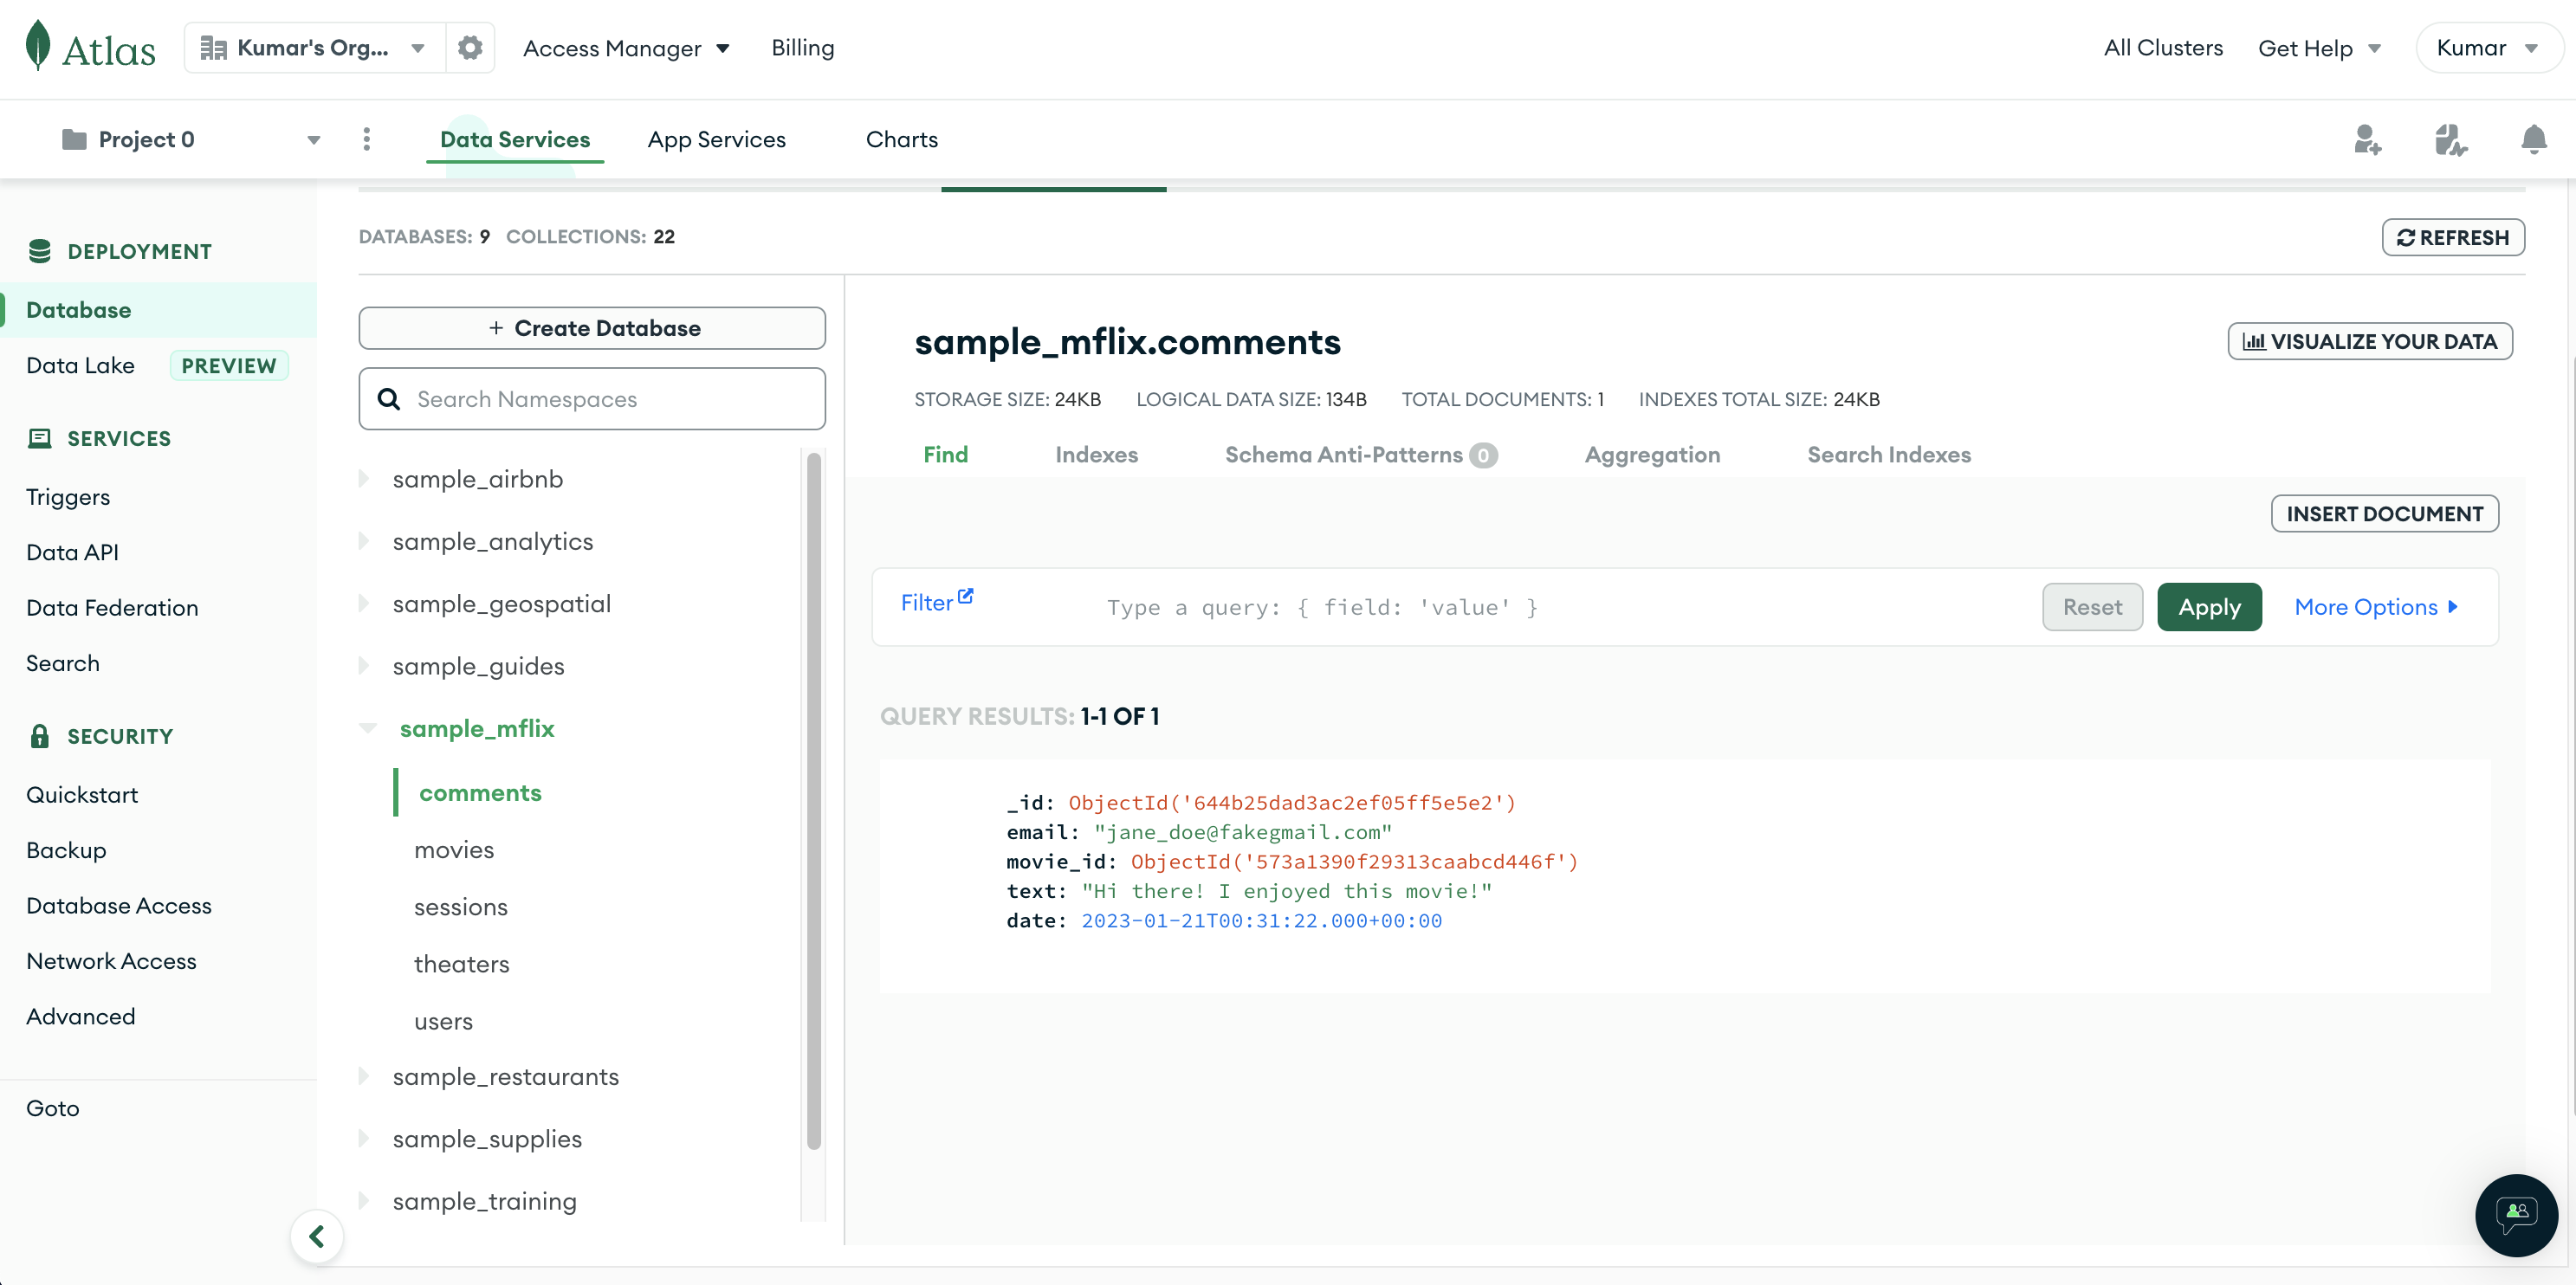
This confirms that the scheduled trigger is working well. And that's how to use MongoDB Triggers.
While triggers in MongoDB are very handy when it comes to automating schedule-based or database-related tasks, they are limited to the MongoDB space. If you already have a set of other non-database-related automation, managing MongoDB triggers separately on top of that can be cumbersome. A comprehensive solution, like Airplane, can help.
Airplane: An easier way to automate repetitive operations
Airplane is the developer platform for building custom internal tools. With Airplane, you can build powerful UIs and workflows using SQL queries, REST API calls, Python scripts, Javascript functions, and more. The basic building blocks of Airplane are Tasks, which are single or multi-step operations that anyone can use. Airplane also offers Views, a React-based platform for building custom UIs.
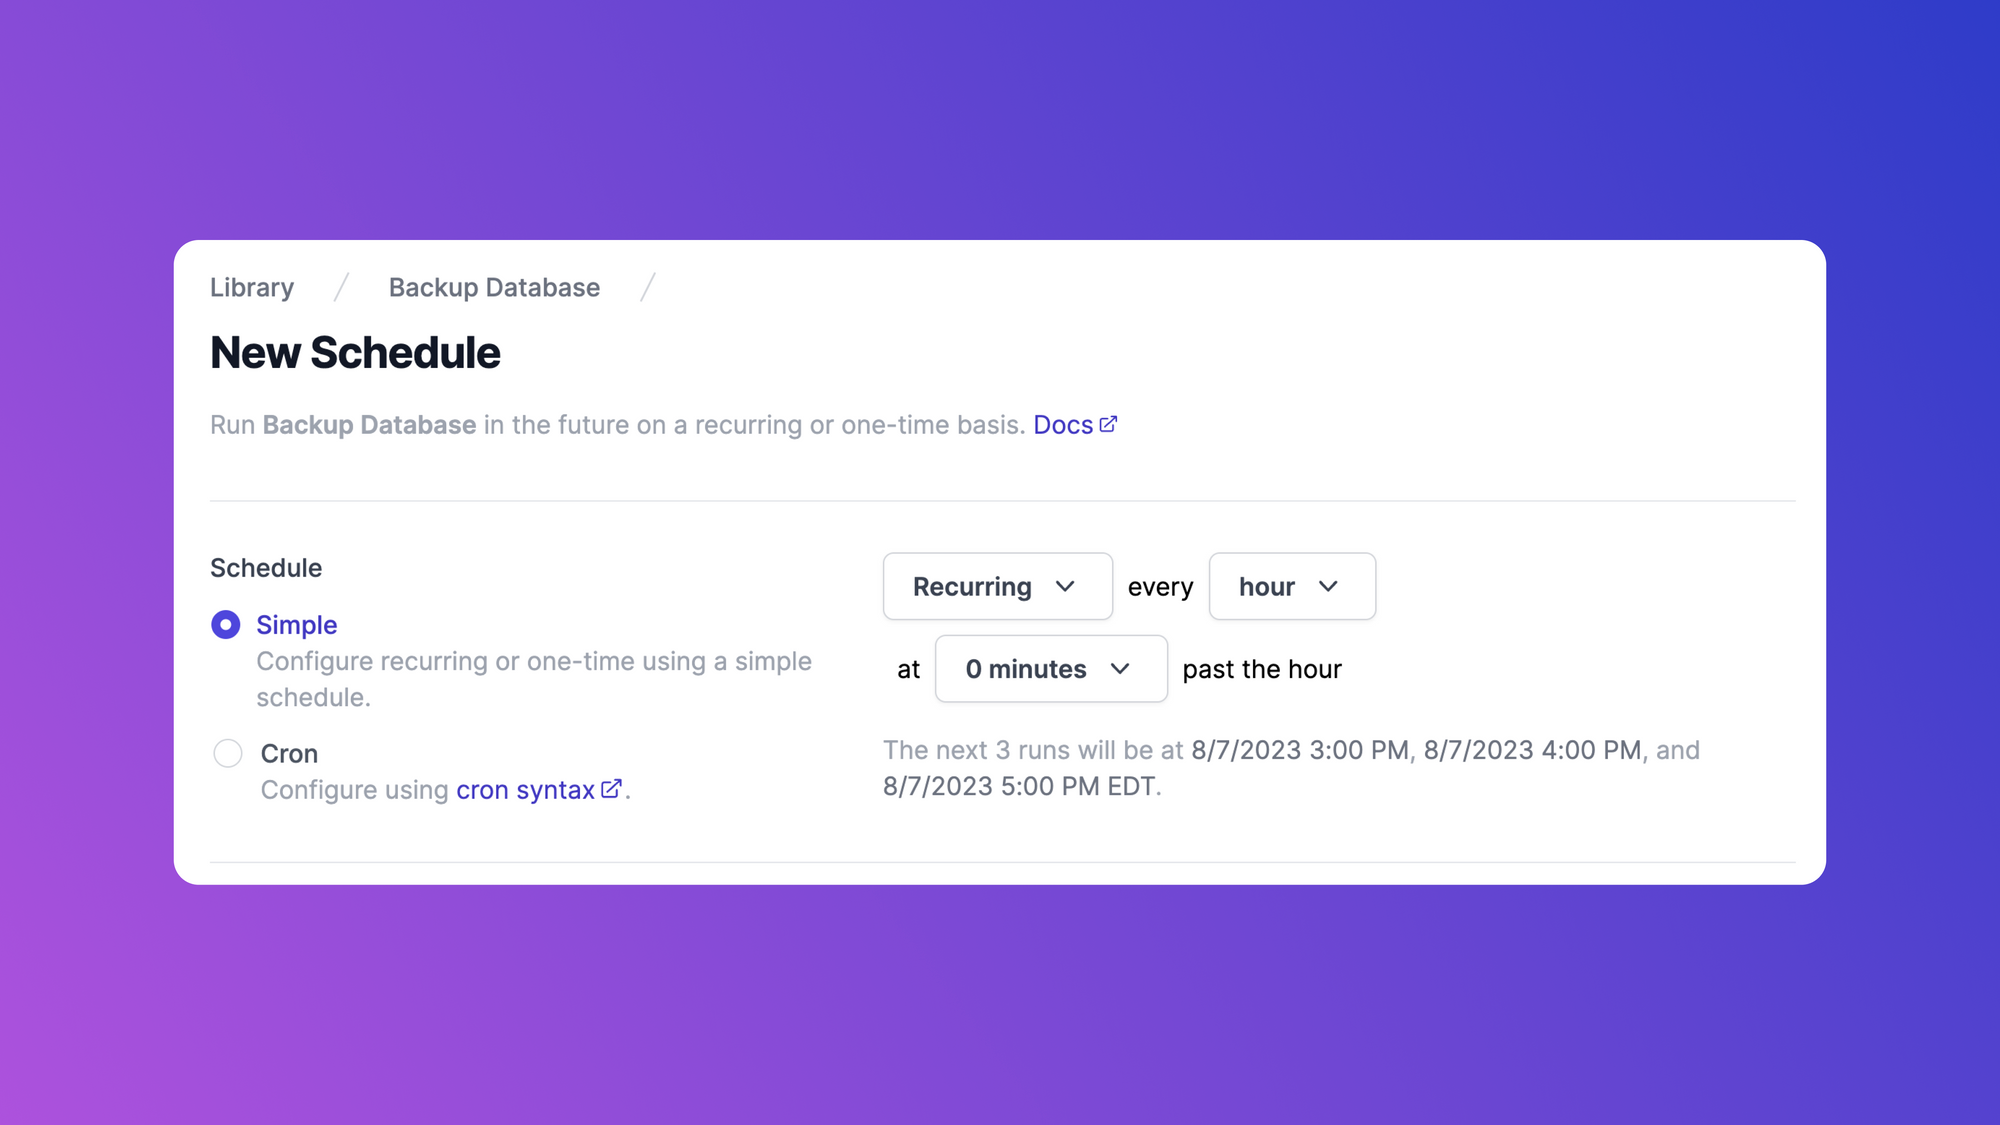
Airplane also provides serverless, maintenance-free job scheduling. Using this, you can easily schedule recurring operations, such as database cleanups, database backups, sending welcome emails, and more. You can use cron syntax or simple syntax to schedule how often your task should run, and you can integrate most services that can be accessed by APIs.

Airplane also offers strong built-in capabilities, such as permissions setting, approval flows, notifications, and more.
To try it out and schedule your first tasks quickly, sign up for a free account or book a demo.
Author: Kumar Harsh
Kumar Harsh is an indie software developer and devrel enthusiast. He is a spirited writer who puts together content around popular web technologies like Serverless and JavaScript.


