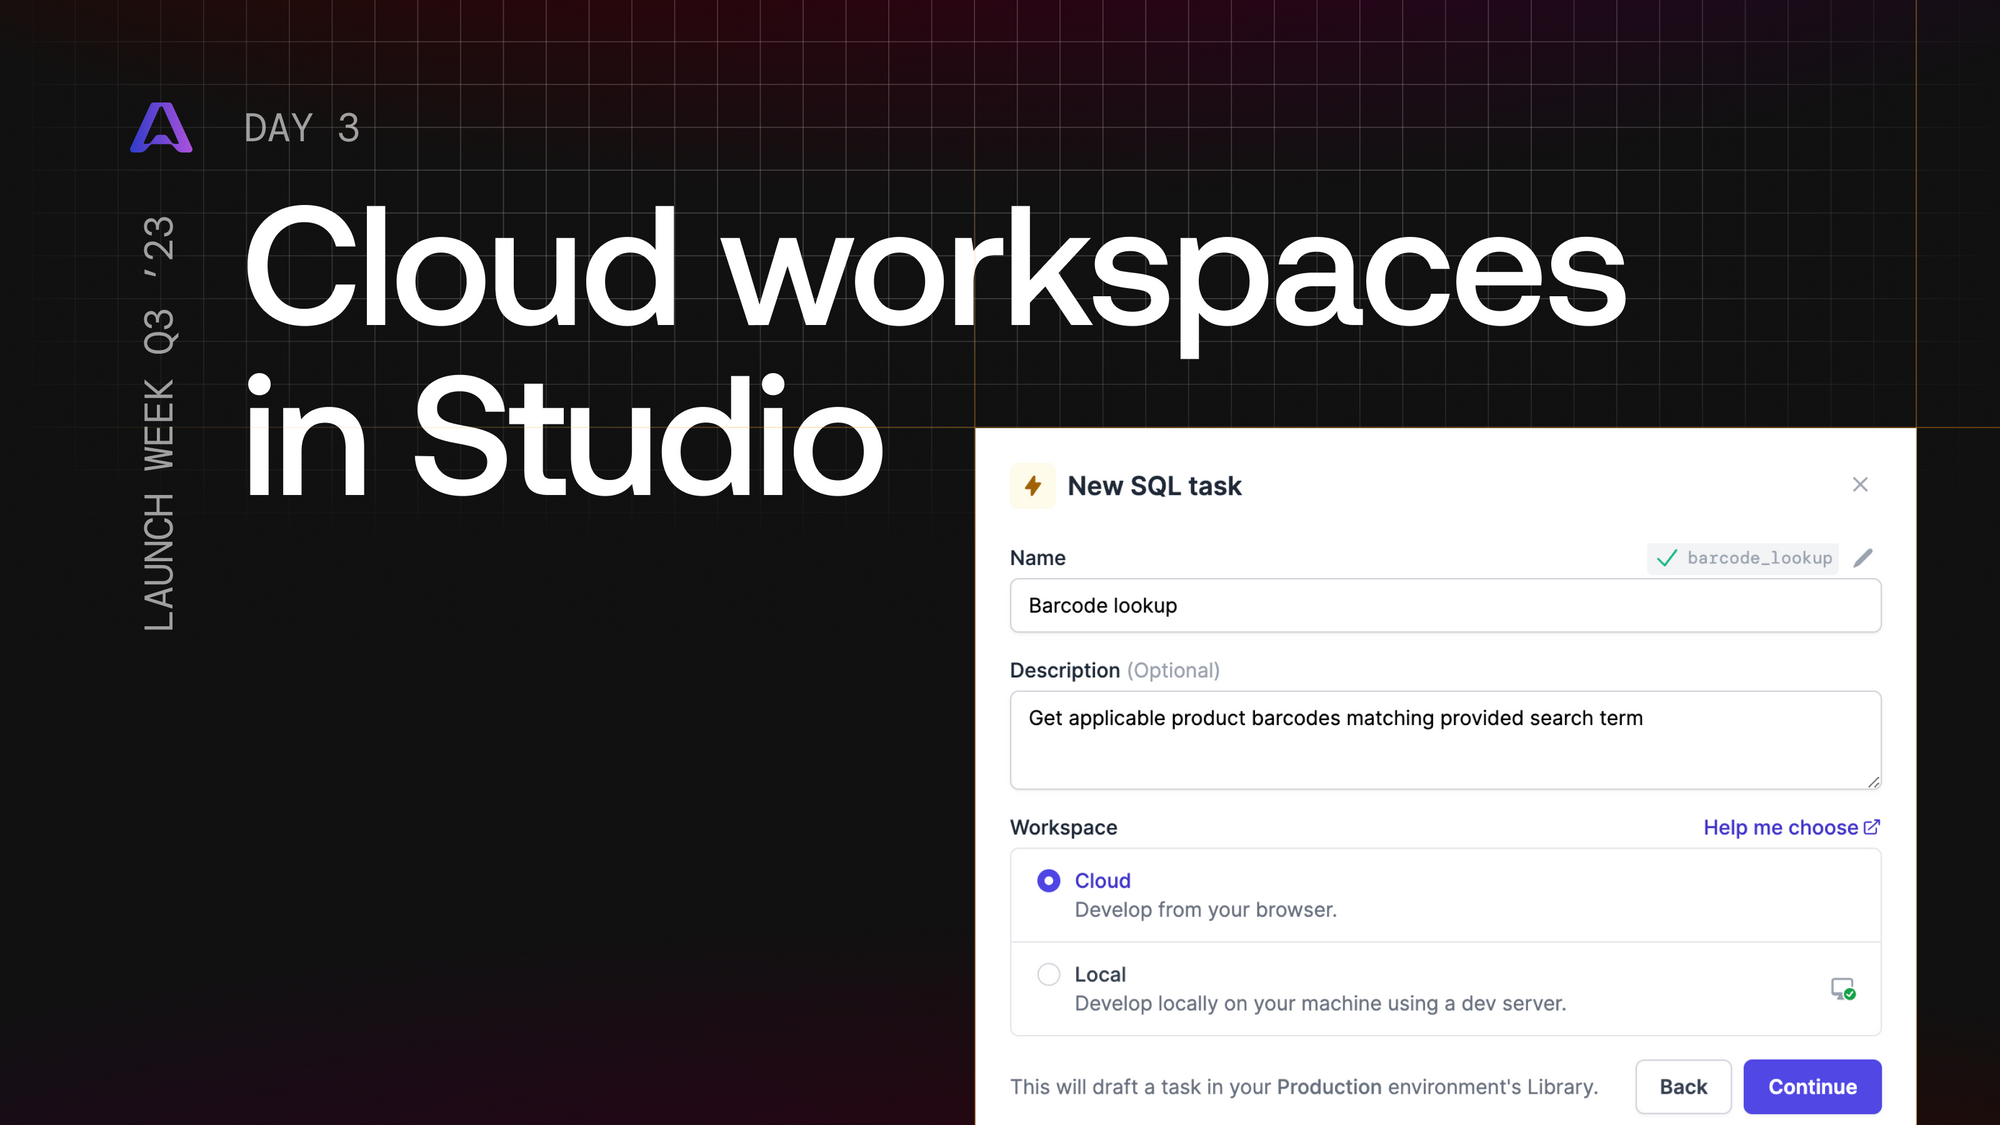
Welcome to Day 3 of Airplane Launch Week ✈️
Today, we are excited to announce cloud workspaces in Studio. With cloud workspaces, you can easily build Tasks directly in your Library without needing to set up a local development environment.
Our approach
Before cloud workspaces, users were required to manage their Task and View code on their local machines, a process that entailed installing the Airplane CLI and running the airplane dev command to initiate the local development server. While this worked well for teams who had Airplane integrated into their codebase or had robust version-control systems in place, this made it difficult for new users to start developing in Airplane quickly.
The introduction of cloud workspaces makes this much faster. You can now test and iterate on changes directly within Studio, eliminating the need for setting up a local development environment. Tasks can be built and modified directly within your Library. Cloud workspaces are great for getting started quickly and making edits efficiently, significantly enhancing the user experience in Studio.
Could workspaces are also flexible - teams can enable it on a per-environment basis and can turn it off entirely if local development is preferred.
How to use cloud workspaces in Studio
To get started using Airplane Studio, head over to https://app.airplane.dev/studio. This will bring you to the main Studio interface. Clicking on New in the upper right hand corner with give you a few options of what to create. You can get started with one of Airplane’s pre-built templates or you can create a Task or a View.
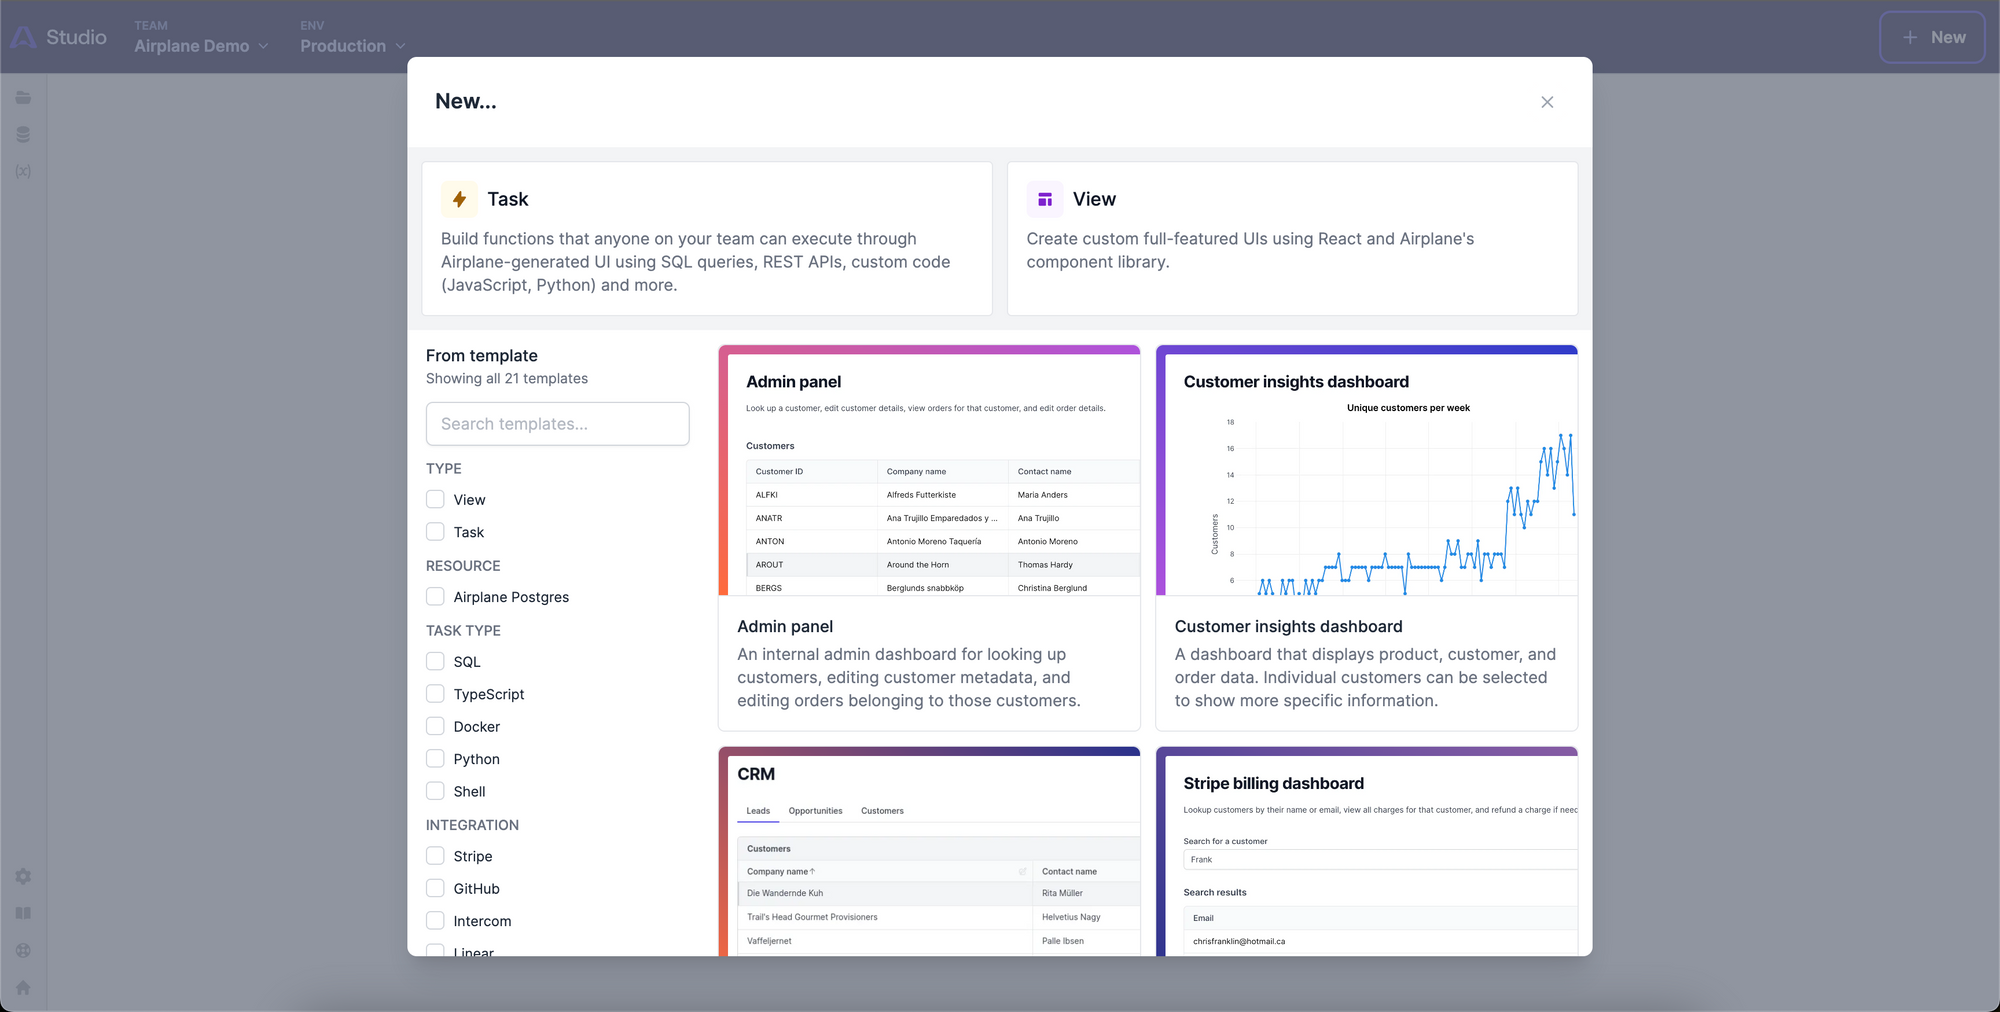
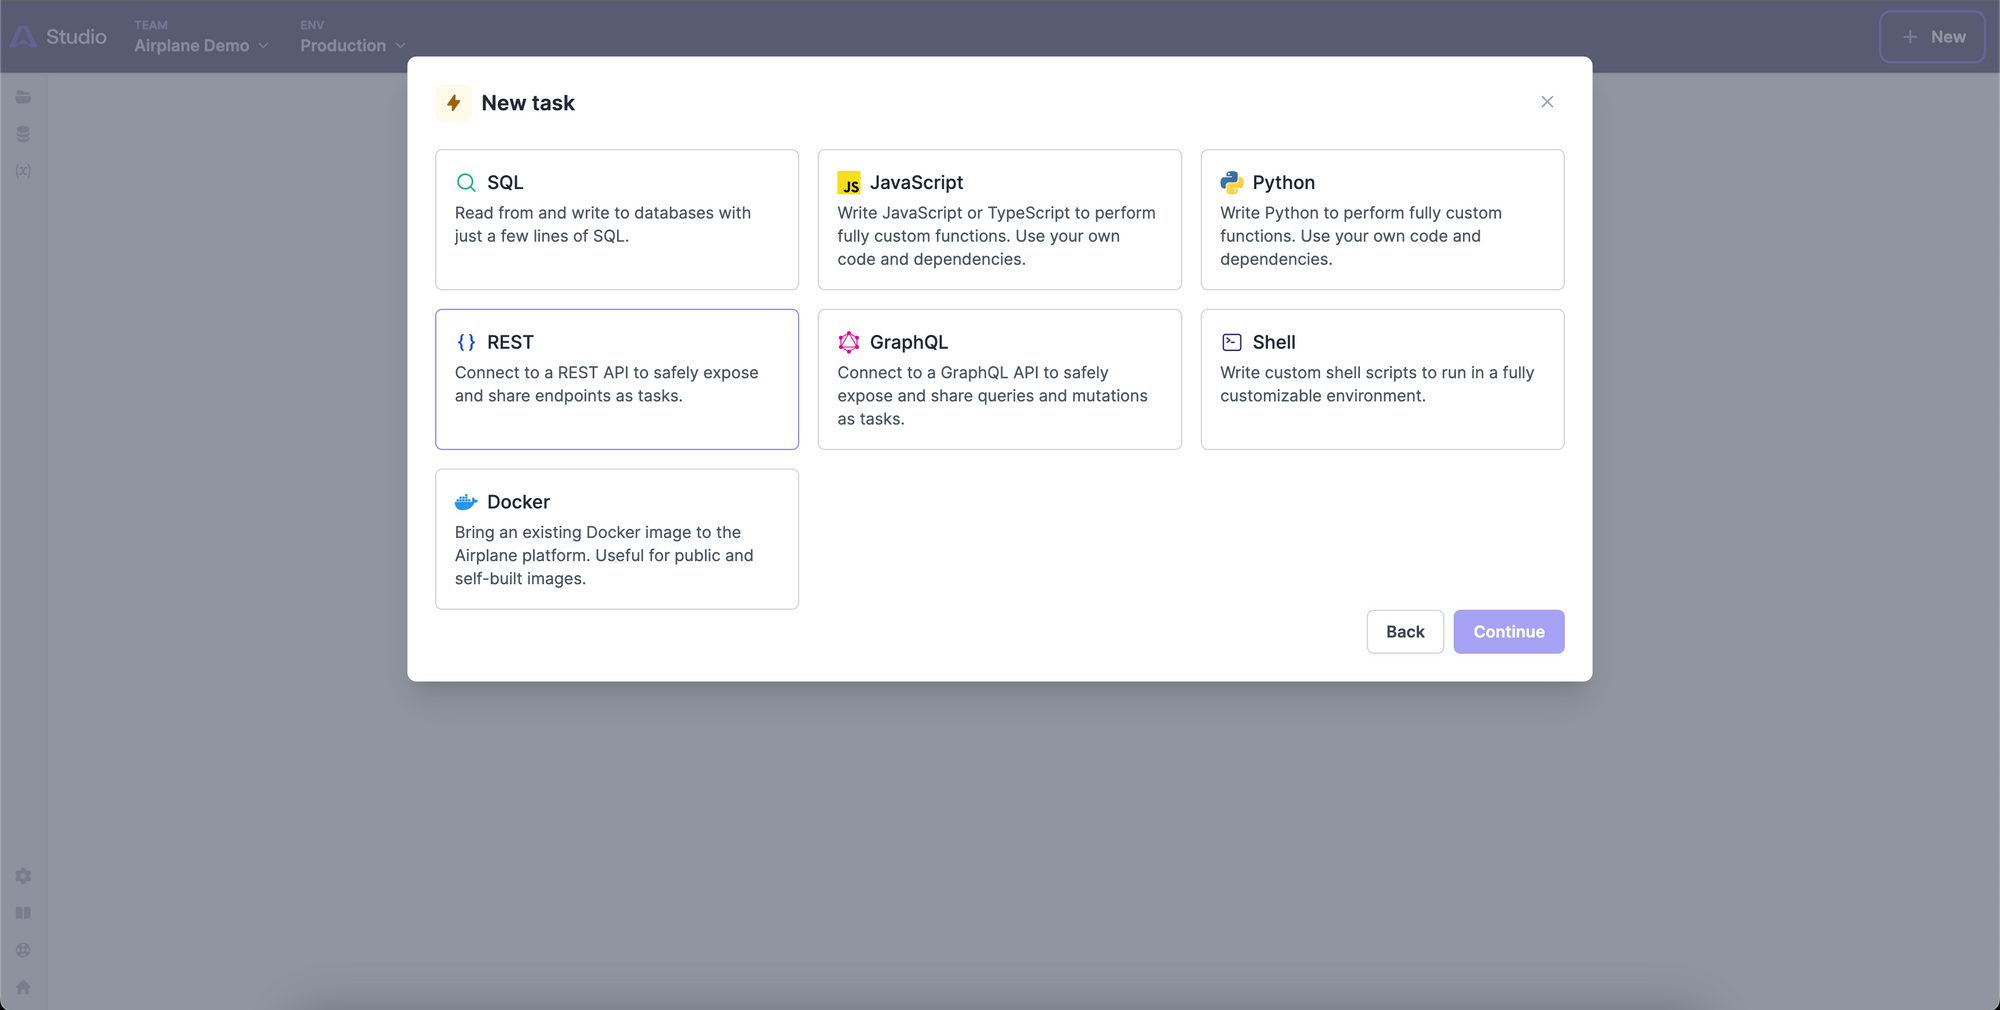
For this example, we’ll be building a Task that lets you look up barcodes for products using the UPC Database, so let’s select “Task”. And because we’re connecting to a REST endpoint, for the type of Task, we’ll choose “REST”.
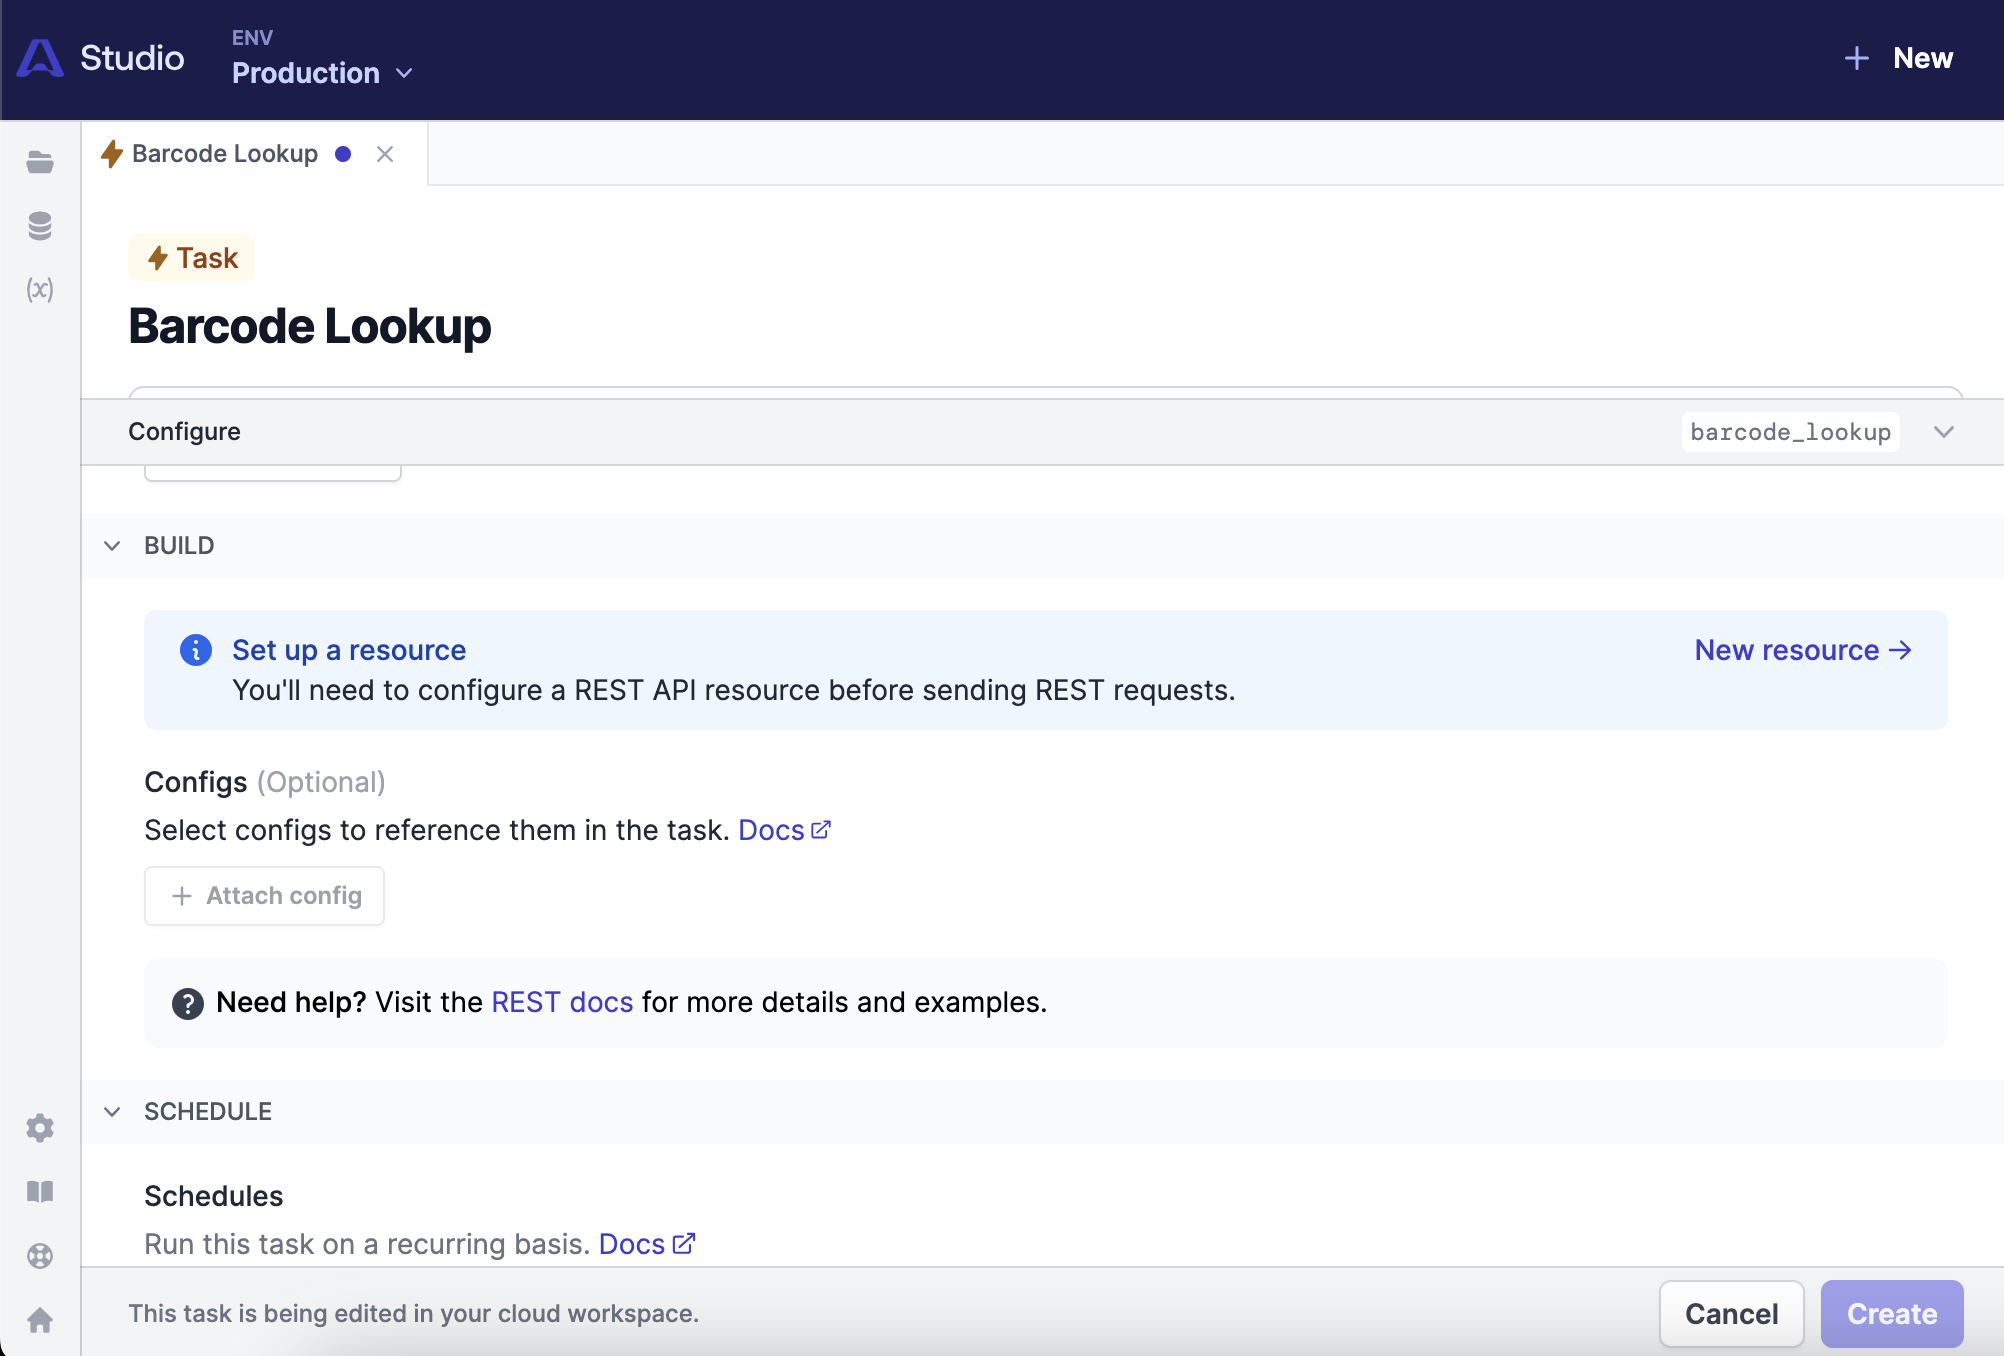
Once you’ve given your Task a name and description, Airplane will take you back into the Studio environment where you can start setting up your Task.
Finish building your Task
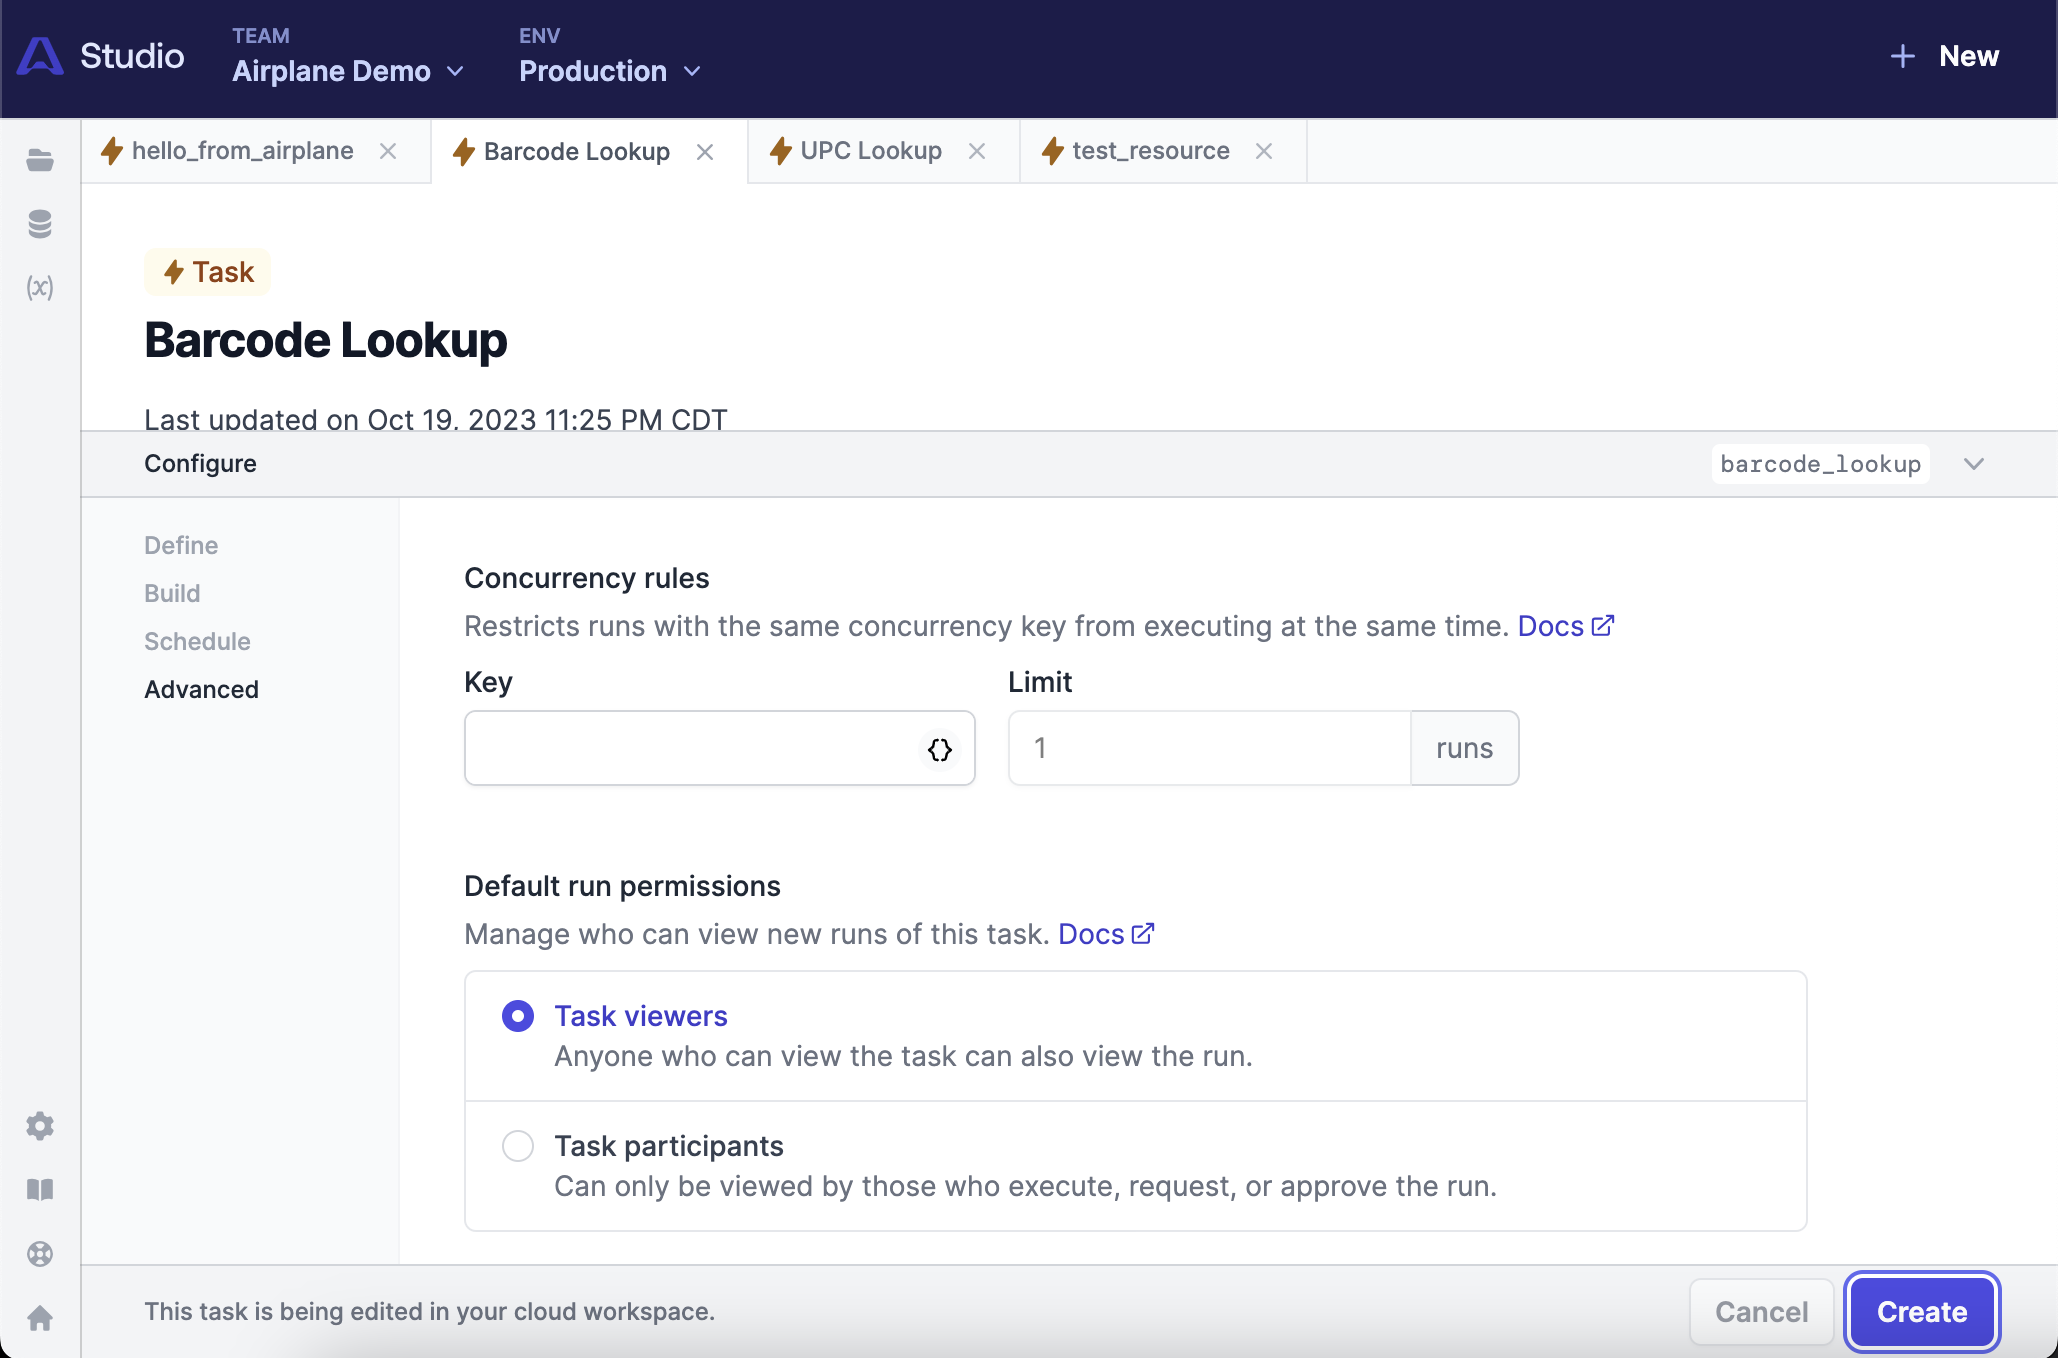
As you scroll down through the configure panel, you’ll see options to configure various options for your Task. You can add any parameters that have to be passed to your API endpoint, be able to select the API resource that you want to call, whether you want this Task to run on a schedule and more!
However, before we do any of that, we need to set up an API resource so that our Task knows which API to access when it runs. You can do this right from within Studio by clicking on the “New resource” link and configuring your REST API resource.
Once you’ve filled out all the other configuration options, you can click execute your Task directly inside Studio to make sure it works properly.
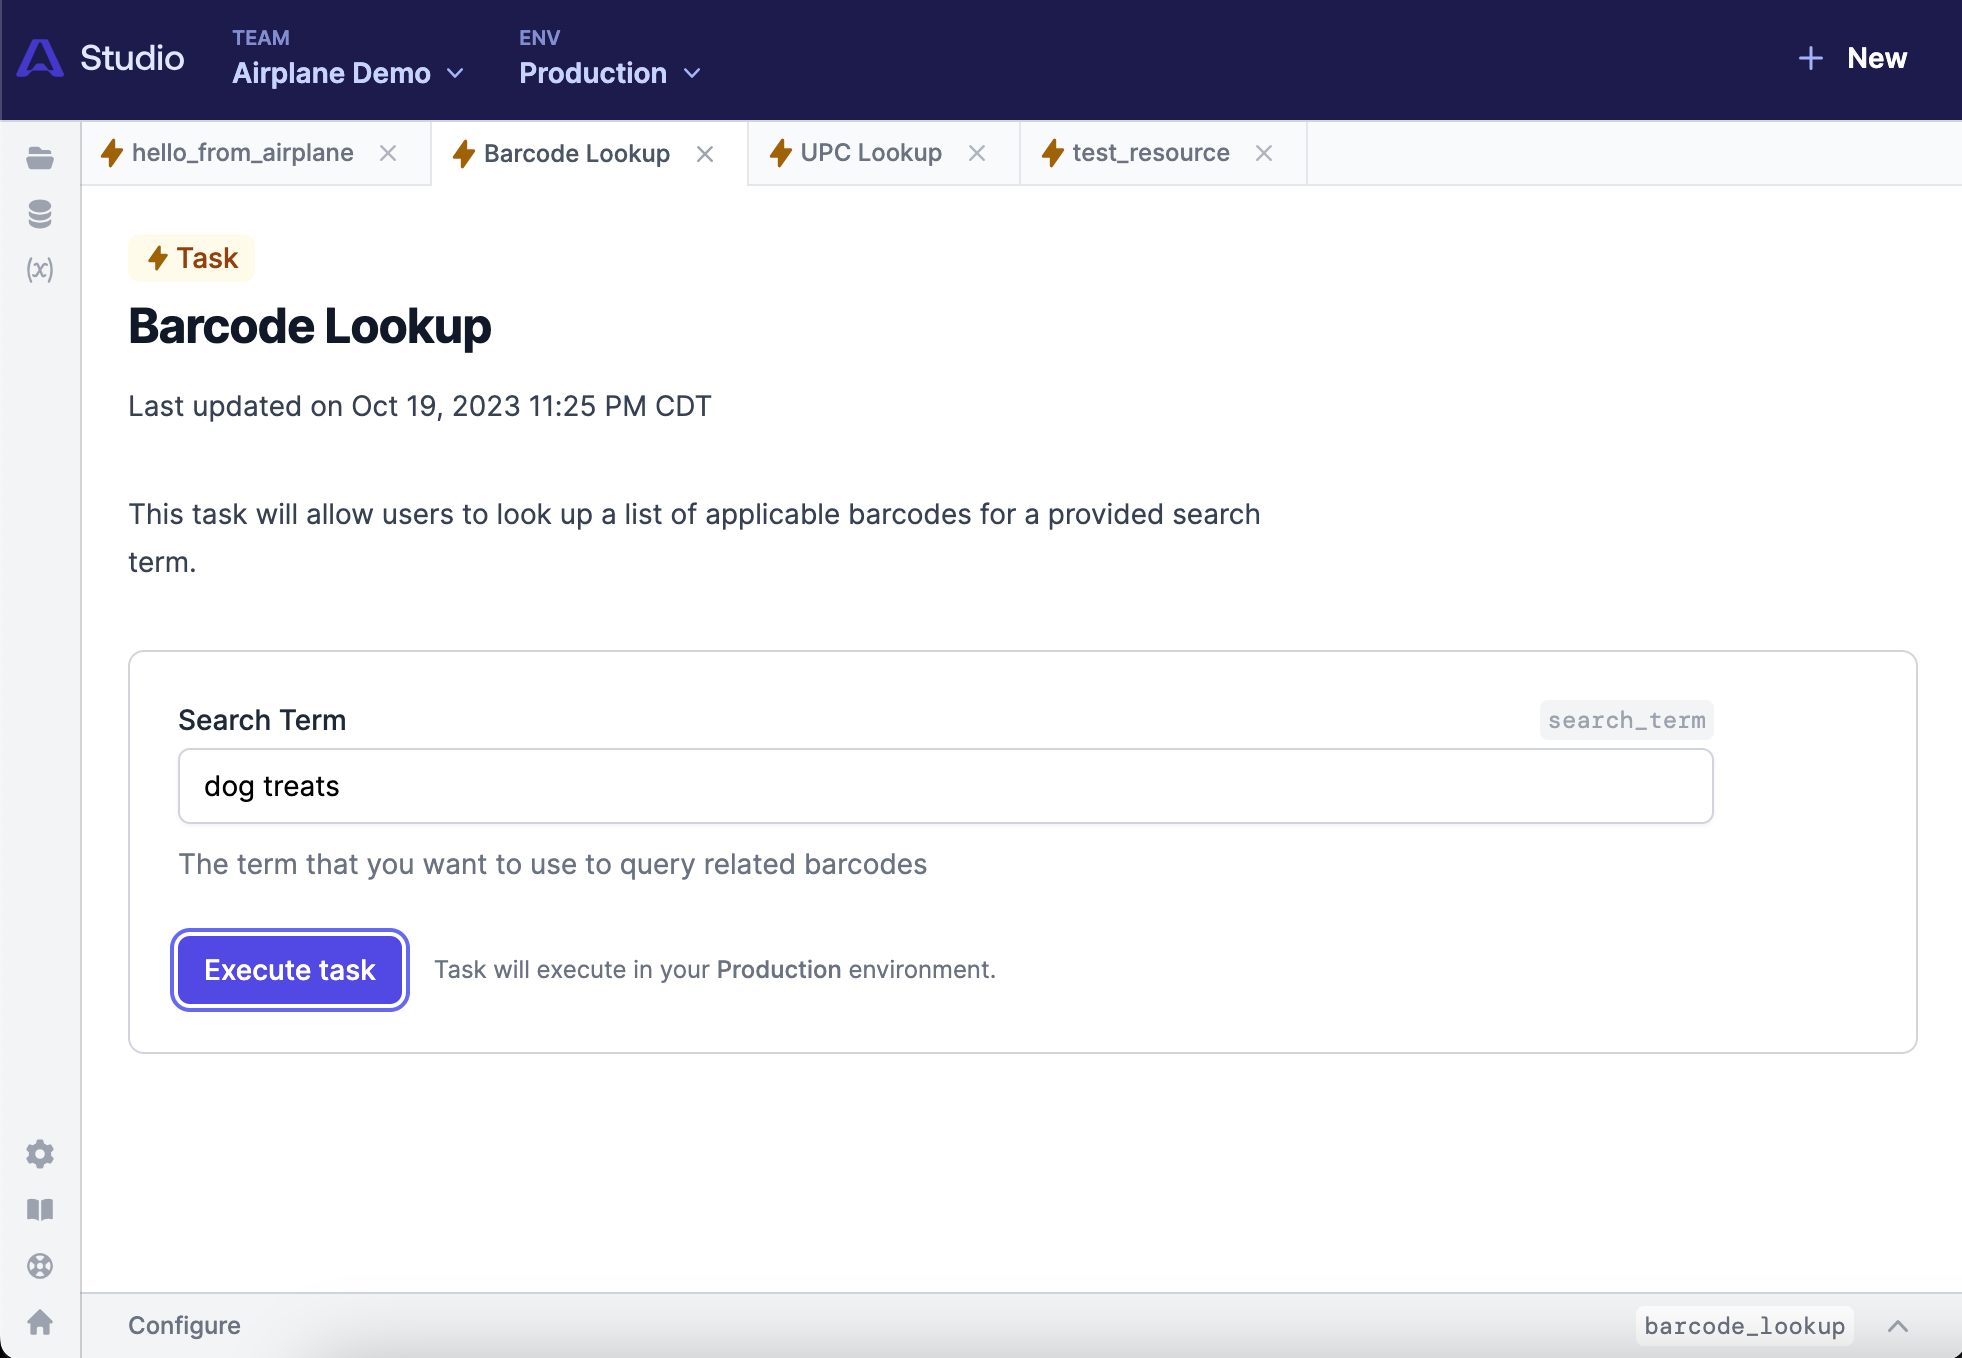
And once you’ve confirmed that your Task is working, click “Create” in the lower right hand corner to create your Task.
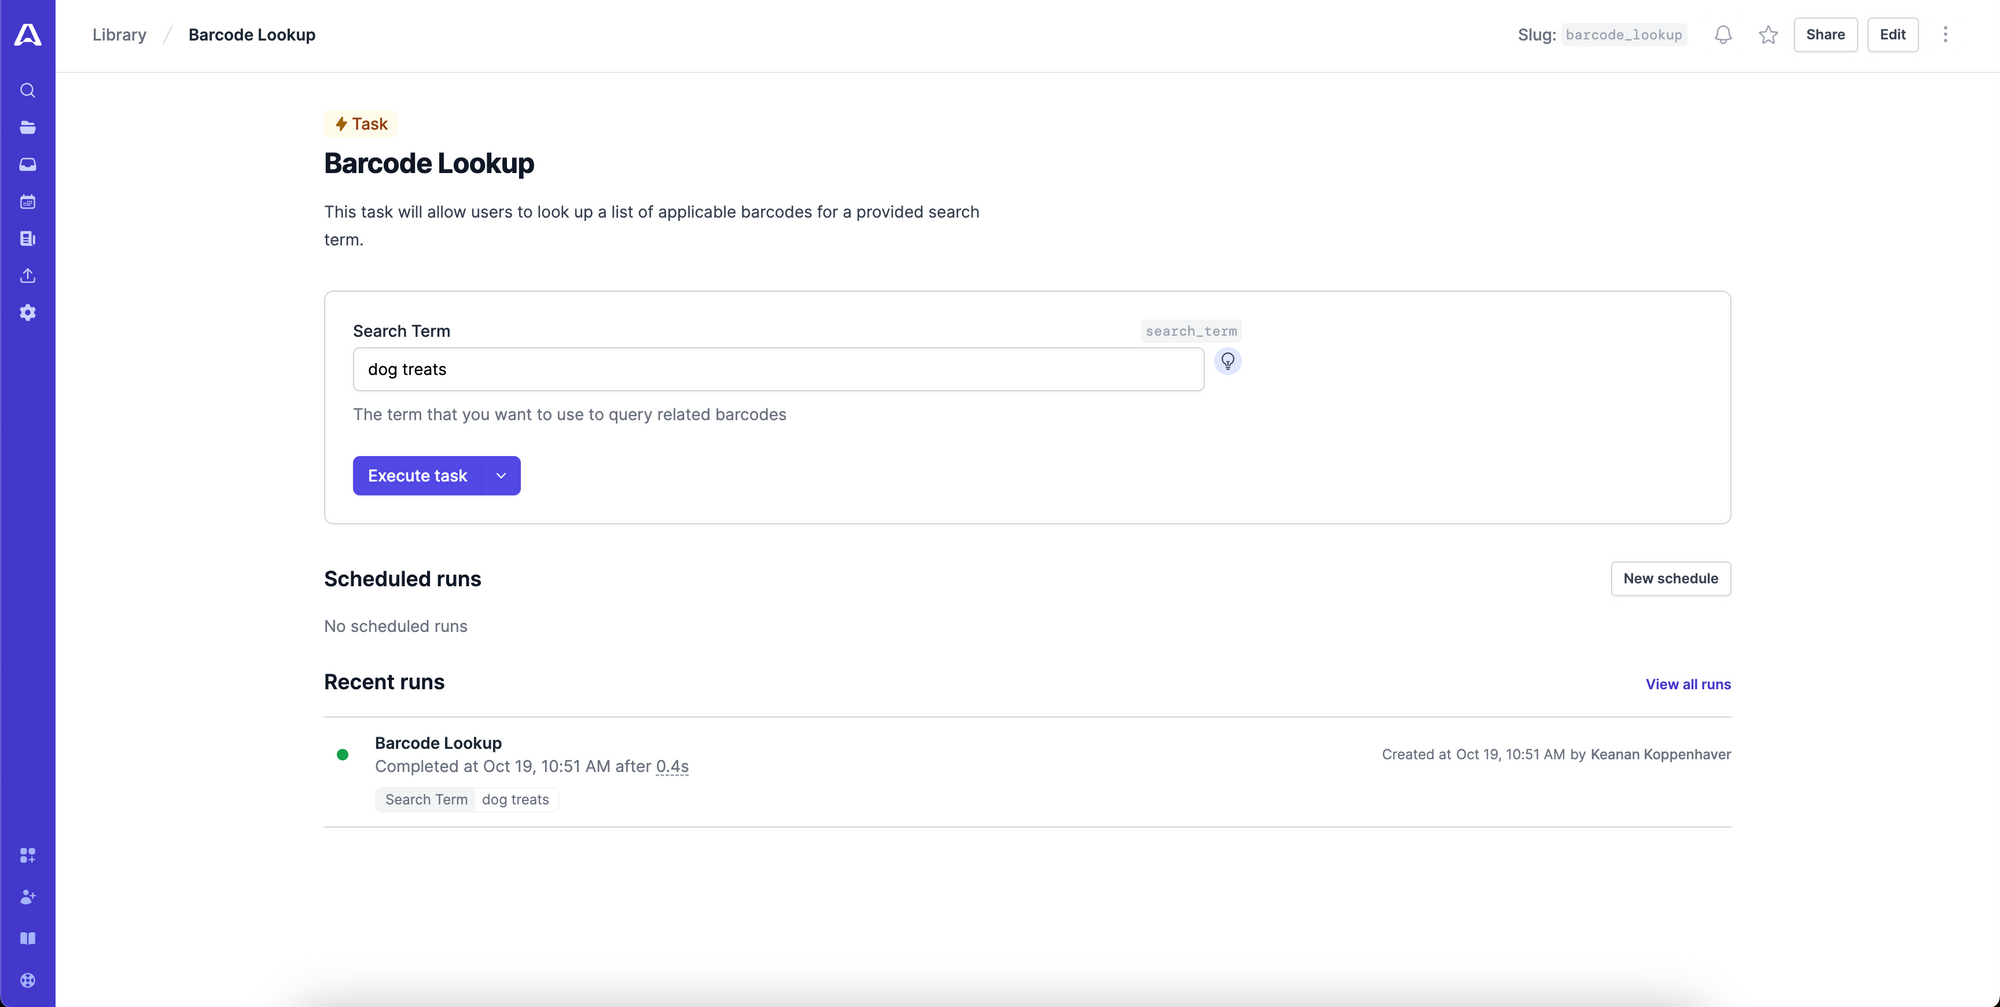
You will get a notification in the lower left corner that your Task was created. Click on “View Task” inside that notification and you’ll see your Task is now in your Airplane account and can be shared with your team!
What’s next
We are excited to continue providing enhancements and updates to cloud workspaces in Studio. You can expect to see support for editing Views, support for creating and editing JavaScript, Python, and Shell Tasks coming soon. So stay tuned as we continue to improve the Airplane Studio experience and make it even easier to build internal tools.
To try out cloud workspaces in Studio, sign up for a free account or book a demo.


