


There are many reasons why you would want to use Kubernetes. It helps orchestrate containers, ease deployments, and automates the scaling of your applications. Additionally, Kubernetes can also provide load balancing on multiple different nodes, ease your deployment process, and generally help manage your applications.
Azure Kubernetes Service (AKS) is one of the three major cloud Kubernetes offerings, alongside Elastic Kubernetes Service from AWS and Google Kubernetes Engine. In this post you will be given a walkthrough of why you’d want to choose AKS, how to set it up, and what you should be aware of when using AKS.
Why AKS?
If you’re already running some or all of your workload on Azure, AKS is an obvious choice for your cloud solution. It integrates directly with Azure AD, making it easy for you to manage permissions. As well as integrating well with other components, you can also expect great integration with Azure DevOps and GitHub, both Git providers owned by Microsoft.
Additionally, Azure is also the only cloud provider left offering a free master node. Depending on the size of your cluster, the price is negligible, but it’s something to keep in mind. Some small but important features also make a difference.
By default, any security patches are automatically installed in your cluster. General auto-updating is another feature, and yet another great benefit is that AKS supports scale-to-zero. Combine that with the free master node and you can have an AKS resource ready to use, which costs you nothing while you don’t use it.
Azure also offers Azure Monitor for built-in monitoring of cluster performance and health.
Deploying AKS
There are many different ways to deploy an AKS cluster since many third-party tools like Terraform and Pulumi exist. However, there are only two official ways to deploy a cluster:
- the Azure Portal
- the Azure CLI
You’ll be introduced to both in this article.
Using Azure portal
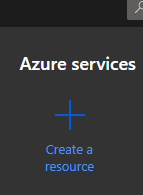
First, let’s explore the Azure Portal. A prerequisite for following this guide is that you already have an Azure account and subscription set up. Once you’ve opened up the portal, click Create a resource. This will lead you to a page where you can search for various resource types.
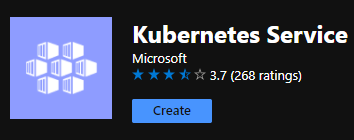
On this page, search for Kubernetes Service. Click the name in the dropdown menu, then click Create.
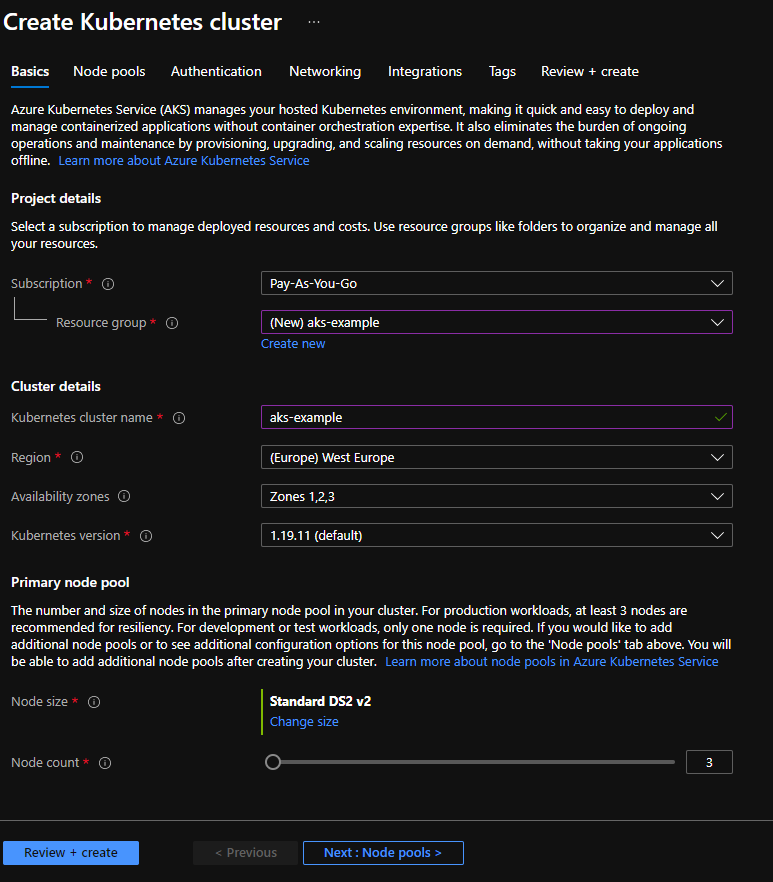
First, you need to enter some basic information about your cluster. Select what subscription you want the cluster to be created in, then choose what
resource group you want to use. You can either choose an existing resource group, or you can create a new one. Creating a new one will be denoted by (new) in front of the name, as seen in the example below.
Next, choose the name of the cluster. Everything else can be left as default or be modified to your liking; it’ll depend on your needs. If you’re in doubt on what the options mean, you can hover above the Information icon to the right of the field name.
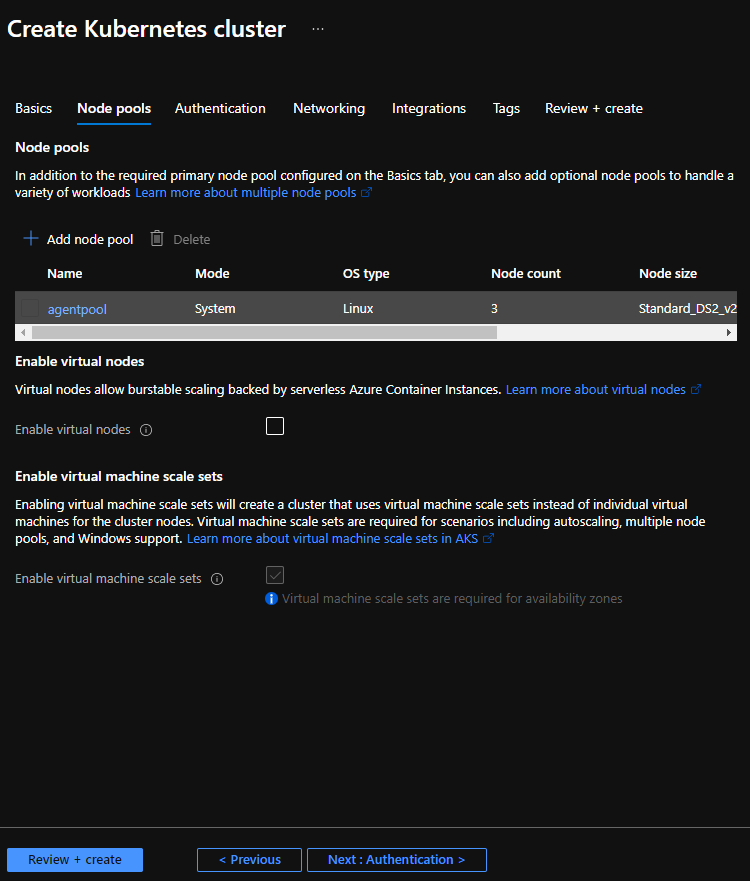
Next, define your pools. Every Kubernetes cluster has a default node pool, which is the agentpool seen in the example below. Change this to meet your requirements. Here, it is set to the default values.
Leaving the values as default is a good choice for almost anyone. It will let you authenticate using Azure AD but still manage RBAC inside the cluster as you otherwise would. Change these values if you want a more integrated experience with Azure AD.
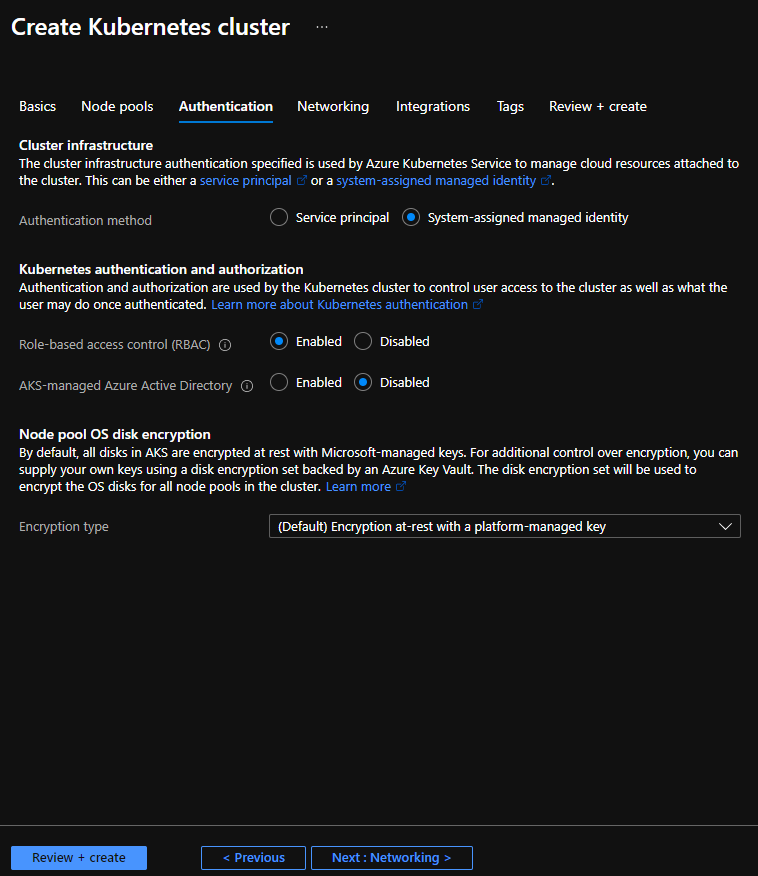
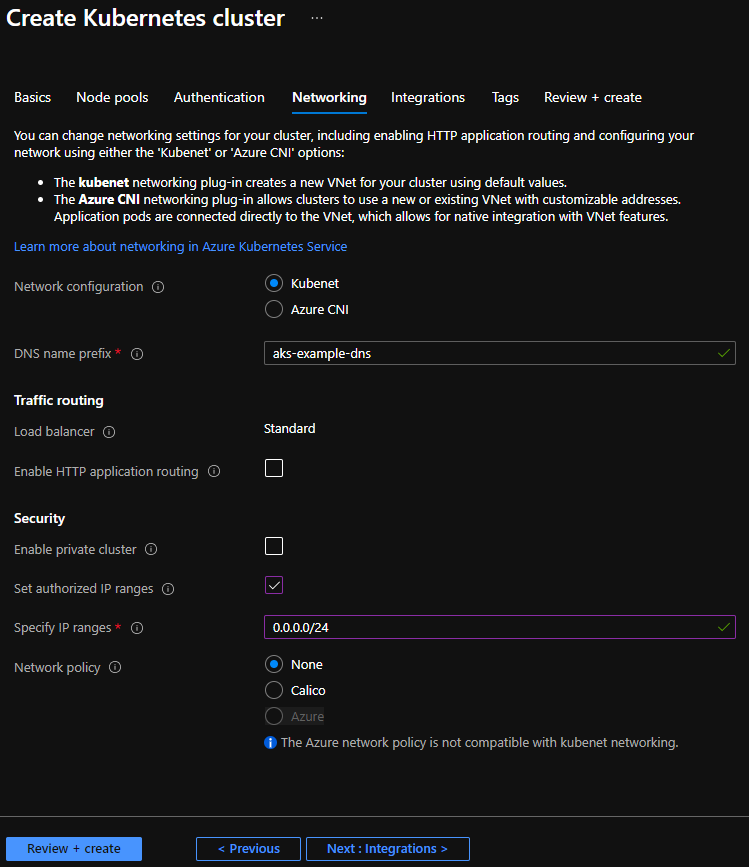
The only thing you need to change here is checking the Set authorized IP ranges box, and enter <your-ip>/24. In a production cluster, you likely want this to be the IP of your office or a company VPN, but for now just enter your own IP. This will allow you, and only those using your IP, to manage the cluster. This is an important step, as there are bots constantly scanning the web for open Kubernetes API servers.
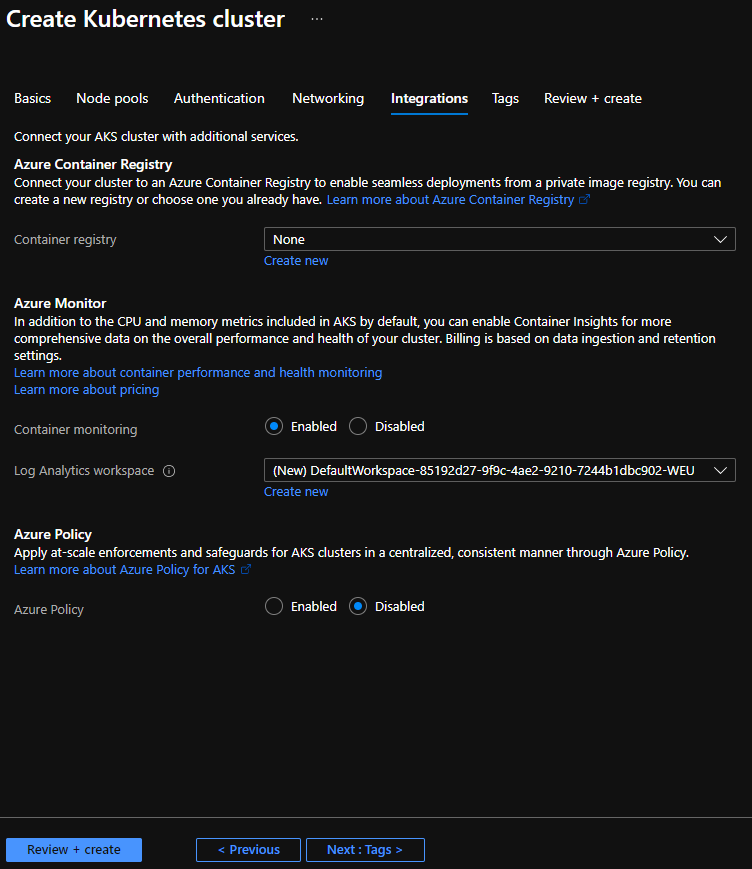
Here you can also leave all the values as default. What you mostly want to take note of is the Azure Container Registry. If you are using Azure Container Registry, you can set up a direct integration between ACR and AKS. This will make your life a bit easier, as you don’t have to worry about the typically necessary permissions needed with a private registry.
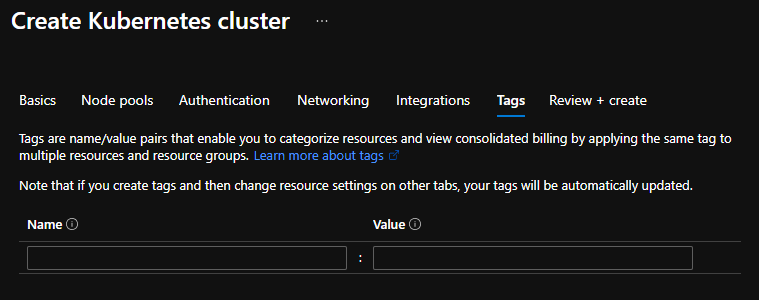
It’s considered best practice to tag your resources with something like environment, owner, etc. to make finding those resources easier. For this example, the Tags section is left empty.
Finally, Azure will verify all the information you’ve entered and make sure the cluster can be created. If you get any validation errors, make sure to fix them. Once validation has passed you can click Create to create your cluster.

Using Azure CLI
If you don’t want to use the Azure Portal for creating your cluster—maybe you want to automate the creation for future uses—you can use the Azure CLI as an alternative. A prerequisite is that you’ve set up a subscription in Azure, and that you’ve set up and authenticated the Azure CLI.
You can choose an existing resource group to use for your AKS cluster, or you can create a new one. To create a new cluster, run the following command:
az group create --name aks-example --location westeurope
Now you’ve got your resource group created, you are almost ready to create the cluster. The next step assumes that you want to monitor your cluster. To do so, you need to register two specific providers within Azure. You can check whether these providers are registered by running the following commands:
If the output shows they aren’t registered, you can do so by running the following commands:
Now you’re ready to deploy your cluster. Doing so via the Azure CLI is easy and only requires that you run the following command:
You may notice the --api-server-authorized-ip-ranges flag in the command. There are constantly bots scanning the web for open Kubernetes API servers, so it’s important that you restrict the IPs allowed to access your API server. Over time you likely want to set this to your office or a company VPN IP, but for now set it to your own IP.
Cluster connection
Once your cluster is deployed, either via the Portal or the CLI, you need to connect to it. If you don’t already have kubectl installed, you can do so by running az aks install-cli. With kubectl installed, you need to get the credentials for your cluster. These are obtained by running the following command:
az aks get-credentials --resource-group aks-example --name aks-example
kubectl is now configured, which you can test by running kubectl get nodes.
If you want to get more insight into your cluster once it’s been deployed, you can use Datadog, a software platform to monitor Kubernetes metrics and events. The platform makes it easy for teams to monitor Kubernetes events, metrics, latency by microservice, and logs.
Conclusion
Now you know more about how you can deploy a cluster using AKS. AKS will help you scale your applications to your needs and provide a free master node while doing so. On top of that, it integrates well with Azure AD, making it a great solution if you’re already using Azure.
If you're looking to build a dashboard to help monitor your clusters in real-time, then check out Airplane. With Airplane, you can build custom workflows and UIs using scripts, queries, APIs, and more. Everything you build in Airplane can be version-controlled, integrated with the rest of your codebase, and extended using third-party libraries.
To try it out, sign up for a free account or book a demo.


